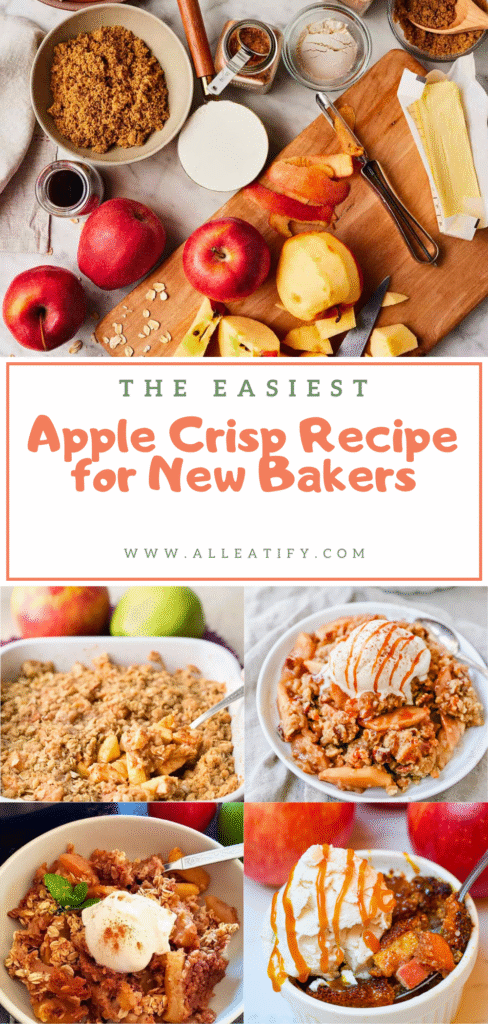
Best 25-Min Apple Crisp Recipe for Sunday (2025)
There’s something magical about apple season. The air is crisp, the leaves are turning, and suddenly you’re craving all things warm, sweet, and cinnamon-spiced. Enter the apple crisp. It’s the kind of dessert that wraps you in a cozy hug with every bite.
If you’ve never made one before (or even if you have), this easy apple crisp recipe will quickly become your go-to. It’s the kind of dish you’ll make on repeat, not just in fall, but all year long. Loaded with tender, juicy apples and topped with the crunchiest, most buttery crumb topping, it’s a warm dessert dream come true.
So grab your apples, your favorite baking dish, and maybe a scoop of vanilla ice cream because we’re diving into one of the most soul-satisfying recipes ever.
🍂 Why You’ll Love Apple Crisp This Fall
There’s just something irresistibly nostalgic about a warm apple crisp in the fall. The scent of cinnamon and baked apples filling your kitchen? It’s the smell of sweater weather and cozy nights in.
Unlike complicated desserts, apple crisp is comforting without the stress. No fussy crusts. No dough chilling. Just a few simple steps and ingredients you already have at home. It’s the ultimate low-effort, high-reward fall dessert.
What makes this recipe even more lovable?
- Apples are in peak season, meaning they’re fresher, juicier, and more affordable.
- The crumb topping is everything crunchy, buttery, and golden.
- It’s kid-friendly, weeknight-friendly, and holiday-worthy all at once.
- And let’s be honest… It’s the perfect excuse to eat dessert with a giant scoop of vanilla bean ice cream.
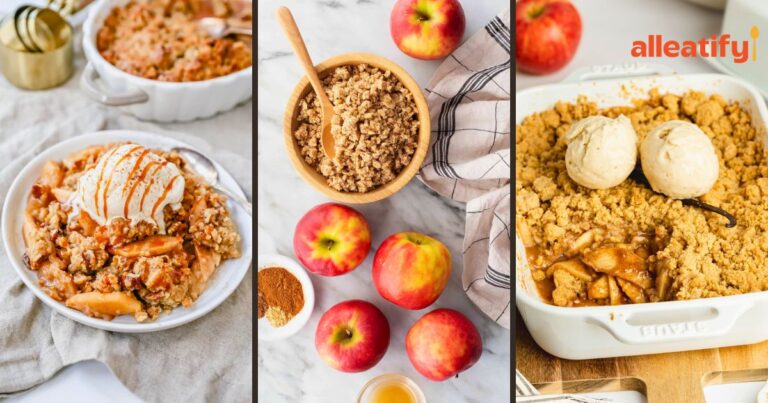
This apple crisp is what fall dreams are made of: warm, saucy apples on the bottom, crispy oats on top, and that comforting smell of cinnamon floating through the house. It’s the dessert that makes you want to light a candle, put on fuzzy socks, and pour a cup of tea (or wine, no judgment here).
📝 Ingredients for Apple Crisp
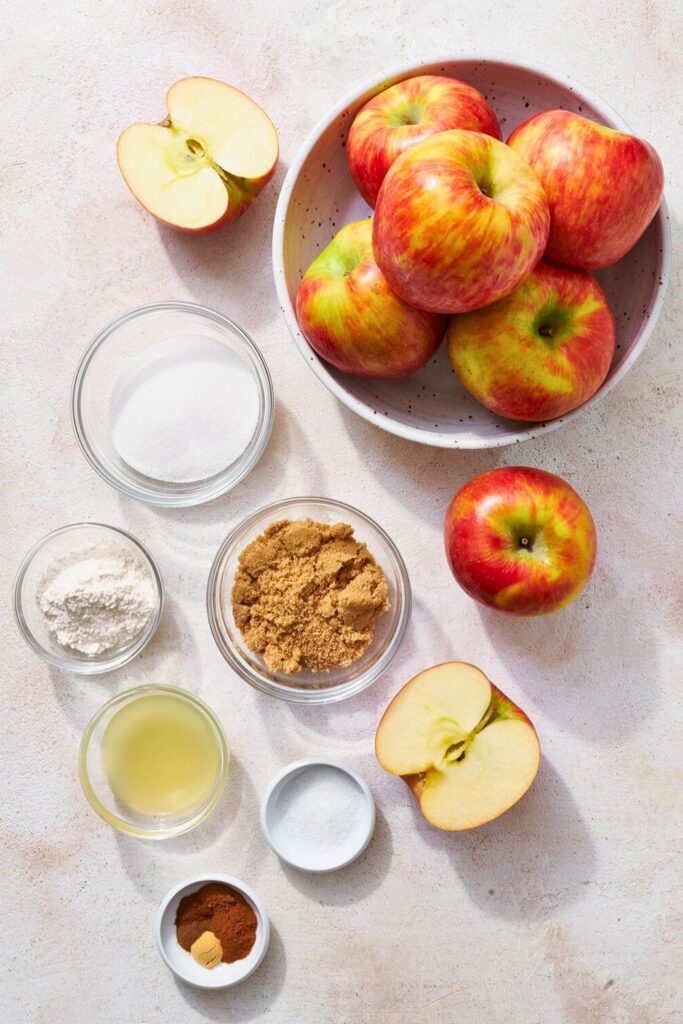
Here’s a quick breakdown of everything you’ll need to bring this cozy dish to life:
| Ingredient | Amount | Purpose |
|---|---|---|
| Apples | 4 pounds (peeled & sliced) | Main base, provides sweet-tart fruit filling |
| Lemon juice | 2 tablespoons | Prevents browning & brightens apple flavor |
| Granulated sugar (for apples) | ¾ cup (or 1 cup if apples are tart) | Sweetens and balances tartness |
| All-purpose flour (for apples) | 3 tablespoons | Thickens the apple filling |
| Ground cinnamon (for apples) | ½ teaspoon | Adds cozy fall spice |
🍯 For the Crumb Topping:
| Ingredient | Amount | Purpose |
|---|---|---|
| All-purpose flour | 1¾ cups | Forms the bulk of the crumb structure |
| Old-fashioned rolled oats | 1 cup | Adds crunch and texture |
| Brown sugar (packed) | ½ cup | Rich molasses-like sweetness |
| Granulated sugar | ¼ cup | Extra sweetness & helps the topping crisp |
| Ground cinnamon | ½ teaspoon | Warm flavor that pairs with the apples |
| Salt | ¼ teaspoon | Balances sweetness and enhances flavor |
| Unsalted butter (softened) | 16 tablespoons (1 cup) | Binds topping together and creates golden crispness |
🍏 Step-by-Step: How to Make the Best Apple Crisp Ever
There’s something deeply satisfying about making a dessert that feels homemade and nostalgic without needing to be fussy or fancy. Apple crisp fits that bill perfectly. It’s rustic, cozy, and honestly hard to mess up, especially with this step-by-step guide.
Whether you’re a baking newbie or a seasoned home chef, this apple crisp will quickly become one of your most-loved recipes.
🔪 Step 1: Preheat & Prep
First things first, get that oven going.
Preheat your oven to 375°F (190°C). This temperature is the sweet spot: hot enough to get that topping golden and crisp, but gentle enough to allow the apples underneath to soften and release their juices without turning to mush.
While the oven heats, generously butter a 13×9-inch casserole dish. You can use unsalted or salted butter here. It’s just to help prevent sticking and to give the edges that golden, caramelized touch.
💡 Tip: Don’t skip this buttering step even though apple crisp doesn’t have a bottom crust. Those bubbling juices can stick to the pan, and nobody wants to scrub that later.
🍏 Step 2: Peel, Core & Slice Your Apples
Let’s talk apples. You’ll need 4 pounds of them. That’s about 8 large apples or 10–12 medium ones, depending on the variety and size.
What kind of apples should you use?
You want apples that retain their shape when baked, with a nice balance of sweet and tart flavors. The best ones for this recipe include:
- Granny Smith (tart, crisp)
- Honeycrisp (sweet, slightly tart, juicy)
- Braeburn or Fuji (flavorful and firm)
If you’ve got one of those hand-crank apple peelers/slicers, this is your moment to shine. These gadgets peel, core, and slice in one smooth motion, saving you a significant amount of time. Seriously, you can be done in under 5 minutes flat.
But if not, no worries. You can do it by hand. Simply grab a vegetable peeler, core each apple, and slice them thinly, about ¼ inch thick.
🎯 Pro Tip: If you’re using a spiralizer, cut the spiraled apples in half so you get evenly sized slices instead of one long apple noodle.
🍋 Step 3: Toss with Lemon Juice
Once your apples are all peeled and sliced, it’s time to brighten them up with some lemon juice.
Squeeze 2 tablespoons of fresh lemon juice over the apples. This does two things:
- Prevents browning, which happens fast with peeled apples.
- Adds a layer of flavor and a little zing to balance the sweetness.
Toss the apples gently so every slice gets coated. You don’t need to overthink this, just give it a nice stir with your hands or a big spoon.
🍋 Bonus Tip: Always use fresh lemon juice if you can; it’s more vibrant and flavorful than bottled.
🧂 Step 4: Sweeten and Spice the Apples
This is where the magic truly begins to unfold. We’re adding just a few simple ingredients to bring out the flavor of the apples and give them that sweet, cozy feel.
In a small bowl, mix:
- ¾ cup granulated sugar (or 1 cup if your apples are super tart)
- 3 tablespoons all-purpose flour
- ½ teaspoon ground cinnamon
Sprinkle the mixture evenly over the apples, then toss until all slices are evenly coated. The flour helps thicken the juices as they release and bake, creating a silky, saucy base. The cinnamon gives it that classic fall aroma you’ll recognize instantly.
🥄 Tip: Want to spice it up even more? Add a pinch of nutmeg or allspice for an extra touch of flavor.
🥣 Step 5: Fill the Baking Dish
Now it’s time to assemble the base layer of your crisp.
Pour the coated apples into your buttered 13×9-inch casserole dish and spread them out into an even layer.
You don’t need to press them down or arrange them perfectly. Remember, this is a rustic dessert, not a layered cake. Let the apples fall as they may. The most important thing is to distribute them evenly so they bake uniformly.
🍎 Heads-up: It might look like a lot of apples right now, but they’ll shrink as they bake, releasing their juices and softening beautifully.
Set the dish aside. Next up? The star of the show: that crumbly, golden topping.
🧈 Step 6: Work in the Butter
This topping is what takes apple crisp from “tasty” to unforgettable. It’s a buttery, slightly sweet, crumbly dream that crisps up beautifully in the oven.
In a large mixing bowl, combine:
- 1¾ cups all-purpose flour
- 1 cup old-fashioned rolled oats
- ½ cup packed brown sugar
- ¼ cup granulated sugar
- ½ teaspoon cinnamon
- ¼ teaspoon salt
Give it all a quick mix to distribute the dry ingredients.
Now comes the best part: the butter. Add 16 tablespoons (1 cup) of unsalted butter, softened to room temperature.
If you forgot to take your butter out earlier, no stress. You can soften it quickly in the microwave using low heat or a softening setting (just don’t melt it entirely).
Use your fingertips to break the butter into the dry mixture, squeezing and pinching until you have a bowl of buttery crumbles. You’re aiming for a texture with pea-sized pieces of butter-coated flour.
✋ No mixer needed! Doing this by hand gives you better control. However, if you prefer not to deal with messy fingers, a stand mixer with a paddle attachment is also an option.
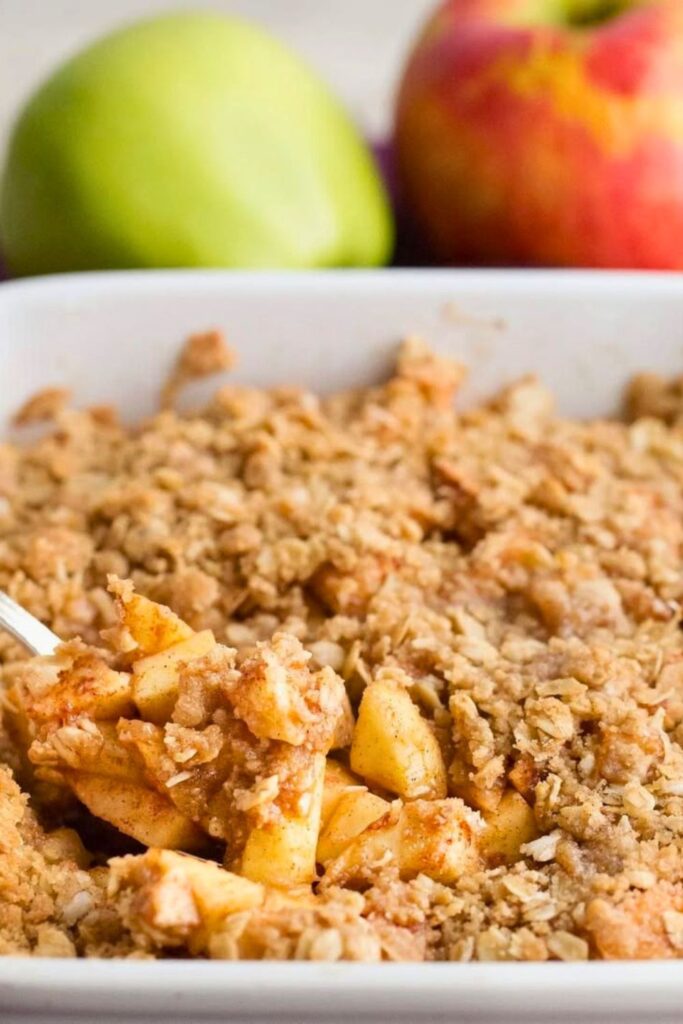
🧁 Step 7: Add Topping & Bake
Once you’ve got that gorgeous topping ready, it’s time to pile it high over your apples. Make sure it’s evenly spread, covering the entire surface.
You don’t want bald spots; every bite should have a balance of crunchy topping and juicy apple.
Now slide the dish into your preheated oven (375°F) and bake uncovered for 45–50 minutes.
Here’s what you’re looking for:
- Topping: Golden brown and crisp
- Edges: Bubbling with thick, juicy apple syrup
- Aroma: Your kitchen should smell like pure autumn bliss
🔔 Tip: If the topping starts to brown too quickly before the apples are done, cover it loosely with foil in the last 10–15 minutes.
❄️ Step 8: Let It Rest (Just a Bit)
This is the hardest part. You’ve waited almost an hour, your house smells like heaven, and your stomach is rumbling. But give it a little time to cool.
Let the crisp sit for 10 to 15 minutes before serving.
Why? Two reasons:
- It’s lava-hot under that crust. Trust me, your mouth will thank you for waiting.
- Letting it rest allows the juices to thicken slightly, giving you the perfect saucy-but-not-runny consistency.
During this time, grab your favorite vanilla ice cream (Tillamook Vanilla Bean is our go-to), and get ready.
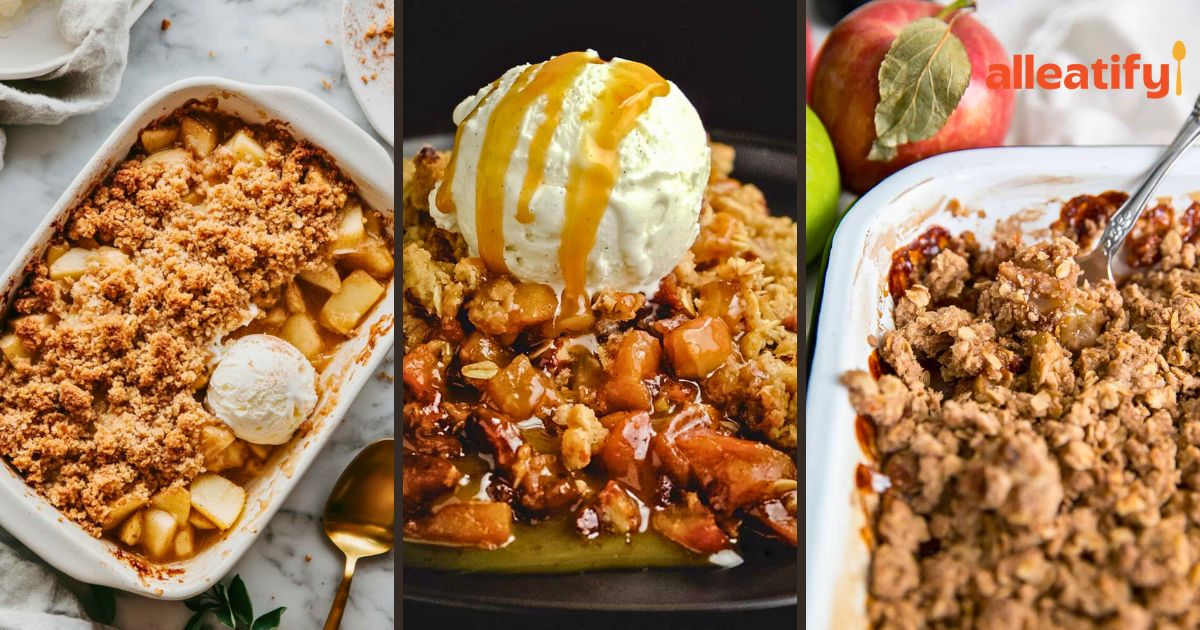
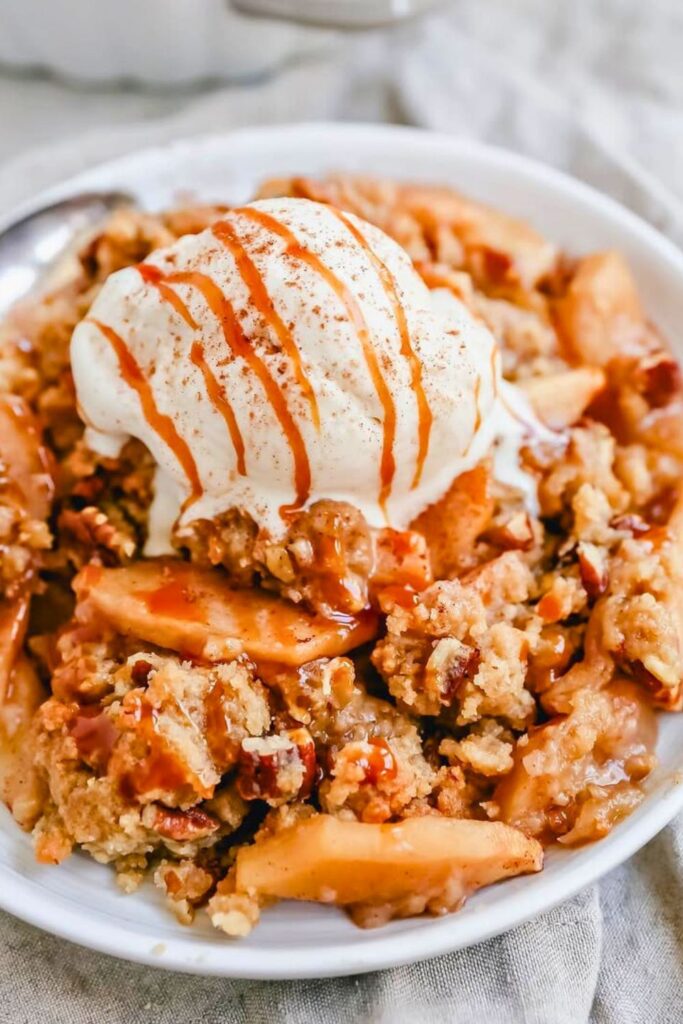
🍨 Serve It Up with Vanilla Ice Cream
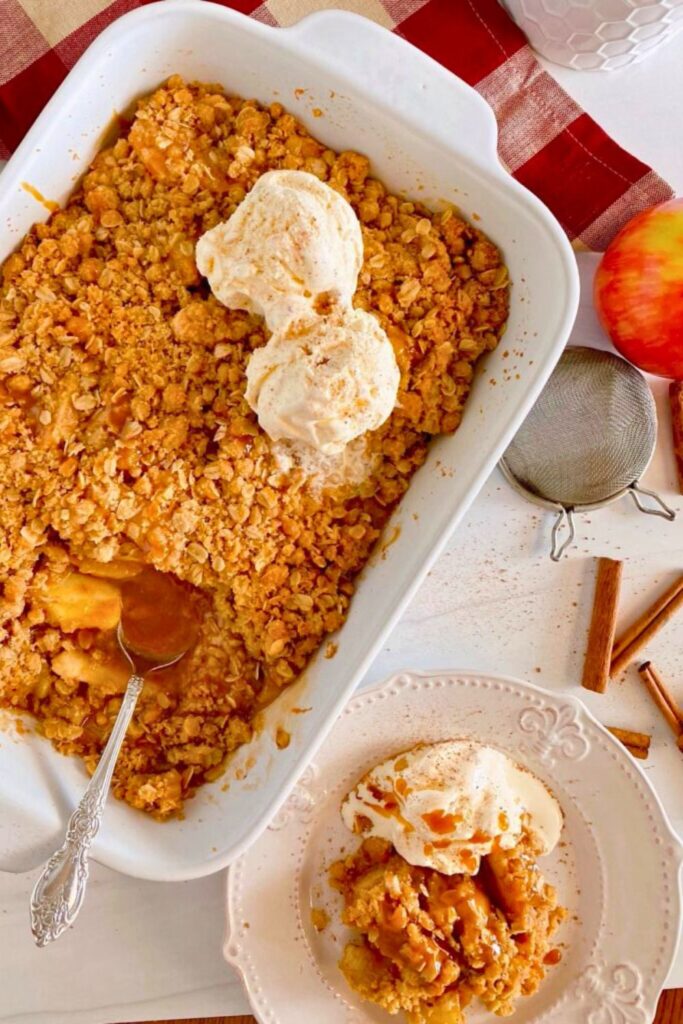
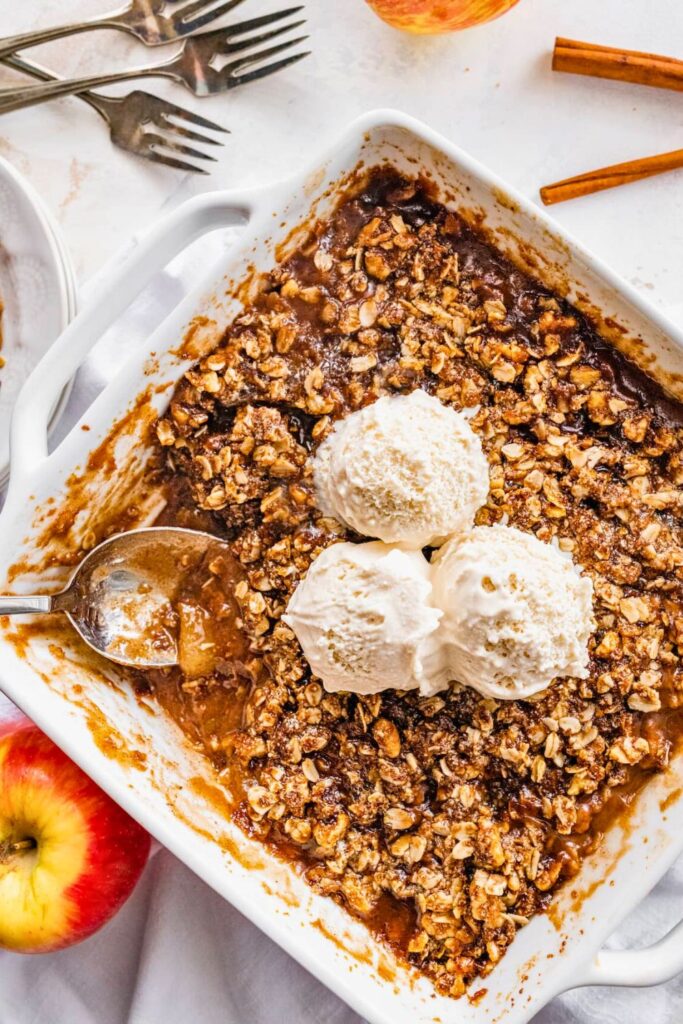
You’ve waited patiently while your apple crisp baked to golden perfection. The sweet scent of apples, cinnamon, and bubbling butter has filled the kitchen. Now it’s time for the real magic: serving it warm with a scoop of vanilla ice cream.
There’s just nothing like the contrast of hot and cold in this dessert:
- The warm, tender apples melt into soft sweetness.
- The crumbly oat topping adds that irresistible crunch.
- Then the cold vanilla ice cream starts to melt into every crevice, creating a creamy sauce that drips into the layers.
It’s dessert harmony.
🍦 Our Ice Cream Pick?
While any vanilla works, Tillamook Vanilla Bean Ice Cream gets a special shoutout in our kitchen. It’s creamy, rich, speckled with real vanilla, and not overly sweet, just the right partner for tangy-sweet apples.
You could even drizzle with a little caramel sauce or a dusting of cinnamon on top. But honestly? This dessert doesn’t require many extras. It’s already a showstopper.
🔄 Optional Add-Ins & Swaps
Want to add a twist or use what you already have in the pantry? Apple crisp is super flexible. Here are some fun, flavorful, and practical add-ins and swaps you can try:
| Add-In / Swap | Use It For | Why You’ll Love It |
|---|---|---|
| Chopped pecans or walnuts | Mix into topping or sprinkle on top | Adds toasty crunch and nutty depth |
| Dried cranberries or raisins | Mix with apple layer | Gives sweet-tart chewiness that pairs great with apples |
| Maple syrup (1–2 tbsp) | Add to apple mix or drizzle on top after baking | Adds warm, deep fall flavor |
| Pears | Replace up to half the apples | Brings soft texture and mild sweetness |
| Gluten-free flour blend | Replace regular flour 1:1 | Makes the crisp gluten-free (don’t forget GF oats!) |
| Pumpkin pie spice | Swap for cinnamon in filling or topping | Gives a holiday-spiced twist |
| Coconut flakes | Add to topping mix | Adds a tropical flavor and extra crunch |
| Caramel bits | Fold into apple layer | Melty caramel pockets—yes, please! |
👩🍳 Baker’s note: Just don’t go overboard—1 or 2 add-ins max. The apples should still be the star of the show.
✅ Tips for the Perfect Apple Crisp
Want to make sure your apple crisp is unforgettable every single time? These tips will take your dessert from “yum” to can’t-stop-thinking-about-it.
1. Use the Right Apples
Stick to firm apples that don’t break down into mush when baked. Granny Smith adds great tartness, while Honeycrisp or Braeburn adds juicy sweetness.
🍏 Try a mix! Combining apple types adds depth of flavor and a balanced texture to your crisp.
2. Slice Thin and Even
Ensure your apple slices are ¼-inch thick or less to cook evenly. If some are thick and some thin, you’ll end up with half-mushy, half-raw apples—not ideal.
3. Don’t Skip the Lemon Juice
That splash of lemon does more than prevent browning. It wakes up the whole dish, brightening the flavors and balancing the sweetness.
4. Crumb Texture Is Key
Use your fingertips to work softened butter into the topping until you get pea-sized crumbles. Don’t overwork it; it should stay crumbly, not pasty.
🧈 Shortcut? A stand mixer with a paddle attachment is also suitable for making crumb topping.
5. Bake Until Bubbling
You’ll know it’s done when:
- The top is golden and crisp
- The edges are bubbling with thick, juicy sauce.
If it’s browning too fast but the apples aren’t soft yet, loosely cover the top with foil for the final 10–15 minutes.
✨ Final Thoughts
This apple crisp is one of those desserts that’s so simple, it almost feels like cheating. Yet it delivers maximum comfort with minimal fuss. Whether it’s fall, winter, or you just have apples begging to be used, this recipe never disappoints.
With tender, cinnamon-kissed apples and a buttery oat topping, it’s everything cozy packed into one dish. And don’t forget the vanilla ice cream, that combo is pure dessert magic.So grab those apples and make this today. Your kitchen is about to smell amazing.
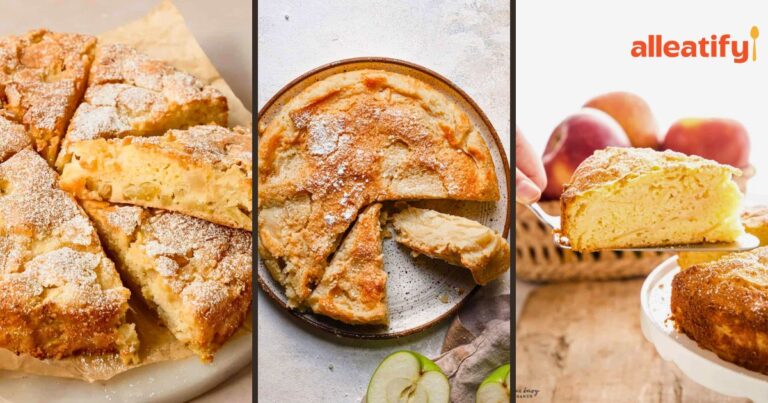
💚 More Recipes You’ll Love
Looking for other comforting treats and veggie-packed favorites? Try these next:
👉 Crispy Baked Zucchini Fries Recipe
A crunchy, guilt-free side or snack that even picky eaters will devour. Perfect for dipping and quick to make!
👉 No-Fail Banana Zucchini Bread in Under 25 Min
Moist, tender, and loaded with flavor. This quick bread recipe is a lifesaver for busy mornings or last-minute guests.
👉 Moist & Fudgy Chocolate Zucchini Bread Recipe
A chocoholic’s dream with a secret veggie twist. Rich, fudgy, and you’d never guess there’s zucchini inside.