The Best Apple Pie Recipe You’ll Ever Bake in 2026

Is there anything more comforting than the smell of a fresh apple pie baking in your oven? That buttery crust, the spiced apple filling, the golden lattice top. It’s the ultimate homemade dessert that screams fall is here.
Whether you’re preparing for a cozy Sunday dinner, a Thanksgiving celebration, or just craving something sweet and nostalgic, this classic apple pie recipe will be your new go-to.
This version is extra special because we’re starting with a warm cinnamon-butter sauce that transforms the apples into melt-in-your-mouth magic.
So if you’ve ever felt intimidated by pie-making, don’t worry, this blog post breaks everything down with step-by-step instructions that are approachable, practical, and fun.
Ready to bake the most irresistible apple pie ever? Let’s get into it.
🍎 Why You’ll Love This Apple Pie Recipe

There are numerous apple pie recipes available. So what makes this one a total must-bake? It’s all about the little details that come together to create a pie that’s both beautifully rustic and bakery-worthy.
This is the kind of dessert that earns compliments, requests for seconds, and a spot in your fall baking rotation.
Here’s why you’ll be smitten with this apple pie:
🔥 It Starts with a Secret Sauce
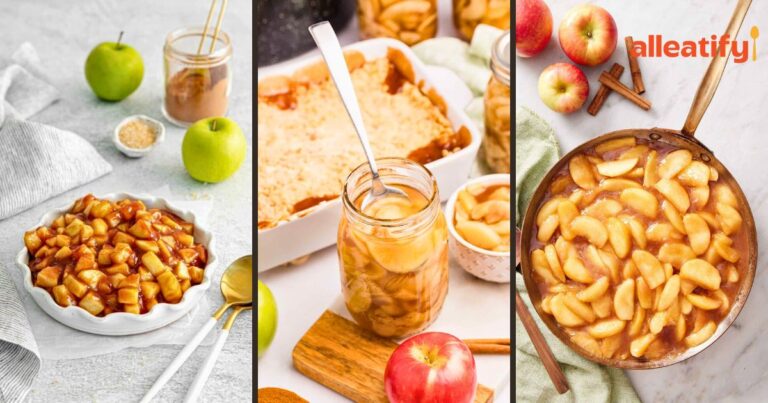
This isn’t your typical dump-and-bake filling. You start by making a quick stovetop sauce using butter, flour, sugar, and water. It only takes five minutes, but the result is transformational. Think of it as a light caramel glaze that wraps around every apple slice, adding flavor, richness, and just the right amount of gooey sweetness.
🍏 It’s Loaded with Crisp, Tart Apples
This pie is packed, and we mean that in the best way. We’re talking about over seven cups of thinly sliced apples, enough to create that perfectly domed center that gives your pie its signature shape. Granny Smith apples are the star here: they hold their texture while baking and balance beautifully with the sweetness of the sauce.
🥧 The Crust Is Flaky, Buttery, and Homemade
No store-bought crusts here! This recipe uses an easy all-butter crust that’s perfectly flaky and rich. The dough is chilled, rolled out with care, and used to create a stunning lattice top that makes your pie look straight out of a magazine, but it’s easier than it seems, promise!
🎨 The Lattice Top Is Easier Than You Think
If you’ve ever been intimidated by lattice crusts, this recipe will change your mind. The dough is rolled, sliced into strips with a pizza cutter, and simply woven over the top of the pie. You don’t need to be a pro to get it right, and the result is awe-inspiring.
⏱️ You Don’t Need to Be a Pro Baker
Even if you’re new to homemade pie, this recipe is thoroughly approachable. Every step is clearly explained, and the ingredients are simple pantry staples. No fancy gadgets required – just a rolling pin, a knife, and perhaps a little patience during the final cooling period.
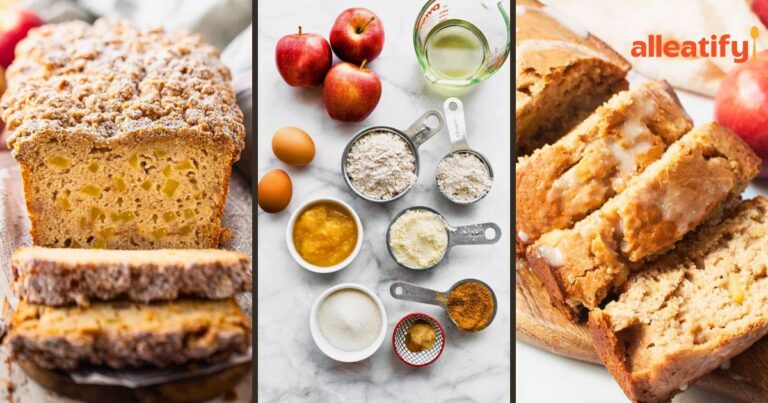
🧾 Ingredients for Apple Pie Success

Here’s your no-fuss shopping list. Each ingredient plays a key role in building layers of flavor and texture from the crisp apples to the buttery crust to that amazing caramel-like sauce.
| Category | Ingredient | Amount | Purpose/Notes |
|---|---|---|---|
| 🧈 Filling Sauce | Unsalted butter | 8 tablespoons (1 stick) | Rich base for caramel-style sauce |
| All-purpose flour | 3 tablespoons | Thickens the sauce for a silky texture | |
| Water | 1/4 cup | Loosens and balances the sauce | |
| Granulated sugar | 3/4 cup | Sweetens and caramelizes | |
| 🍏 Filling | Granny Smith apples (or other tart variety) | 6 to 7 apples (about 2¼ lbs) | Firm, tart, and perfect for baking |
| Ground cinnamon | 1½ teaspoons | Warm spice that enhances the apple flavor | |
| 🥧 Pie Crust | All-butter homemade pie crust (2 discs) | 1 batch, chilled | Rich, flaky, and essential for structure and taste |
| 🥚 Topping | Egg | 1 large | Used for egg wash to create a golden crust |
| Granulated sugar (optional) | 1 tablespoon | Adds sparkle and extra browning to the crust |
💡 Tip: Want your pie crust extra flaky? Make sure your butter and dough stay cold until you pop it in the oven.
🥧 Step-by-Step: How to Make the BEST Apple Pie

Ready to bake the most beautiful, buttery, homemade apple pie ever? This step-by-step guide walks you through the entire process from melting the butter to cutting that very first slice. Whether it’s your first time making pie or your fiftieth, these detailed steps will help you bake with confidence and serve up a show-stopping dessert.
🍯 Step 1: Make the Filling Sauce First
Let’s kick things off with the secret weapon of this recipe: the filling sauce.
Grab a medium saucepan and place it over medium heat. Add 8 tablespoons of unsalted butter (that’s one stick), and let it melt completely.
Once the butter is melted, stir in 3 tablespoons of all-purpose flour. Use a whisk and keep it moving constantly. Let it bubble gently for about a minute. This step thickens the sauce, giving it a gorgeous, smooth texture.
Now it’s time to add the liquid. Pour in 1/4 cup of water and whisk in 3/4 cup of granulated sugar. It may look thin at first, but don’t worry, it thickens quickly. Bring the mixture to a light boil, then reduce the heat to low and simmer for 3 minutes, stirring occasionally.
When you’re done, the sauce should look like light caramel. Golden, glossy, and just thick enough to coat a spoon. Remove it from the heat and let it cool slightly while you prepare your apples.
Why this sauce matters: It’s rich, buttery, and enhances every bite of the filling. Don’t skip it, it’s the step that takes your pie from homemade to bakery-level delicious.
🍏 Step 2: Prep the Apples
You can’t make apple pie without the stars of the show, the apples. For this recipe, you’ll need six to seven Granny Smith apples, or any other tart, crisp variety, such as Braeburn or Honeycrisp. Together, they should weigh about 2¼ pounds.
Start by peeling all the apples. A vegetable peeler works great here and makes quick work of the task. Once peeled, cut each apple in half and remove the core. You can do this with a paring knife, an apple corer, or even a melon baller (which makes scooping out the center super easy).
After the apples are peeled and cored, slice them thinly, aiming for slices that are about ⅛ inch thick. You want uniform thickness so they cook evenly.
You should end up with roughly 7 cups of sliced apples. Transfer them to a large mixing bowl.
Now, sprinkle the apples with 1½ teaspoons of ground cinnamon. Stir well to coat every piece. That warm spice scent should already be filling your kitchen.
Finally, pour your cooled sauce over the apples. Scrape every last drop out of the saucepan. This stuff is liquid gold! Mix everything until the apples are coated and glistening.
Pro tip: Mixing the cinnamon into the apples before adding the sauce helps distribute the spice more evenly. Don’t be afraid to get in there and gently toss with your hands if needed.
🧈 Step 3: Roll Out the Bottom Crust
Next, it’s time to roll out the bottom pie crust. If you made the all-butter pie dough ahead of time, it should be chilled and ready to roll.
Sprinkle your work surface generously with flour. Take one of the chilled dough discs and use a rolling pin to roll it into a 12-inch circle. Maintain even and gentle pressure as you work from the center outward.
If the dough sticks to your rolling pin, just sprinkle a little extra flour on top.
When the crust is the right size, gently wrap it around your rolling pin to lift it. Use a bench scraper or food scraper to help if it’s stuck to the surface.
Unroll it over a clean pie plate and let the dough gently settle into the corners. Don’t stretch it! Press it softly against the sides and bottom of the dish. You should have a little extra money left over. That’s precisely what you want.
🍎 Step 4: Add the Filling
Now comes the fun part, filling the pie.
Pour all of the apple mixture into your prepared pie shell. Use a spatula or spoon to mound the apples slightly in the center. That little hill in the middle helps the pie keep its classic domed shape.
Important tip: Try to avoid getting any of the filling on the edges of the crust. Sticky sauce on the edges can make it hard for the top crust to seal later.
Once all the filling is in, set the pie aside while you roll out the top crust.
🔪 Step 5: Make the Lattice Top
This pie uses a lattice crust, and if you’ve never done one before, don’t worry! It’s way easier than it looks, and it adds that wow factor your guests will love.
Take your second disc of dough and roll it out on a floured surface, just as you did before. This time, roll it into an 11-inch circle. A little smaller than the bottom crust is fine because you’ll be cutting it into strips.
If your edges are uneven, press them in gently with your hands before rolling. It’ll help you create a more even circle.
Use a pizza cutter (or a sharp knife) to cut 10 even strips. Try to keep the strips all the same width; about ¾ inch works well.
To create the lattice:
- Lay 5 strips horizontally across the pie, spacing them evenly.
- Fold back the 2nd and 4th strips, then lay a vertical strip down the center.
- Fold the strips back into place and lift the alternating ones to add another vertical strip.
- Repeat until your lattice is complete.
You can work from the center outward, alternating sides until the entire pie is covered in a gorgeous woven pattern.
🌀 Step 6: Tuck and Crimp the Edges
With the lattice in place, it’s time to seal up the edges.
Start by trimming any excess dough if it’s hanging too far over the pie plate. You want about ½ inch of overhang all the way around.
Then, tuck the edges of the dough inward, pressing them into the pie plate to seal them in place. This will keep the filling from bubbling out and help everything hold its shape.
Now it’s time to crimp or flute the edges. Here’s how to do it:
- Use your index finger on one hand to push the dough inward.
- With your thumb and index finger, pinch around it.
- Repeat around the pie.
This gives the crust a beautiful scalloped edge that looks professional, but is super easy to do.
Bonus tip: Gently pat the edges down to prevent them from browning too quickly during baking.
🖌️ Step 7: Brush and Bake
You’ve built your masterpiece. Now let’s make it golden and beautiful.
Crack one egg into a small bowl and beat it with 1 tablespoon of sugar. This is your egg wash, which gives the crust a glossy, golden finish.
Using a pastry brush, generously coat the entire lattice and outer edges with the egg wash. Be sure to get into all the nooks and crannies for an even color.
Now it’s time to bake!
- Place the pie in the center of a preheated oven at 425°F (218°C).
- Bake for 15 minutes.
- Without opening the oven door, reduce the temperature to 350°F (177°C).
- Continue baking for 45 minutes more.
You’ll know it’s ready when the apples are soft, the filling is bubbling through the lattice, and the crust is a deep golden brown.
⏳ The Hardest Part: Let It Rest
Your pie is out of the oven and smells like cinnamon-apple heaven.
But don’t slice it yet! I know, it’s tempting. But this step is crucial.
Let your pie rest at room temperature for at least one hour. This allows the juices inside to set and thicken. If you cut it too early, the filling will slide all over the plate, and you’ll likely burn your mouth on the molten apple center.
So make yourself a coffee, clean up your kitchen, and let the pie cool. Trust me, it’s worth the wait.
🍽️ The First Slice: Worth Every Second
Once your pie has cooled and is just barely warm, it’s showtime.
Cut yourself a generous slice and marvel at how perfectly it holds together. The filling is thick and glossy, the crust is crisp and flaky, and the apples are perfectly tender.
This is the apple pie. The one that makes you close your eyes and say, “Mmm.” The cinnamon adds just the right amount of warmth, and the buttery crust balances the sweet-tart apples perfectly.
Honestly? It’s perfection. And if you’re like me, you’ll probably love the crust just as much as the filling, maybe more.
✅ Tips for Apple Pie That Wows Every Time

If you want your apple pie to turn out like the one that made your kitchen smell like a dreamy fall bakery, here are some simple but powerful tips to help you nail it every time.
These aren’t fancy tricks. They’re just smart, practical moves based on real kitchen experience, and they can make all the difference.
🍏 1. Use Tart, Firm Apples
The best apple pies strike a perfect balance of sweet and tart. That’s why Granny Smith apples are the gold standard. They hold their shape beautifully while baking and add that bold apple flavor that doesn’t get lost in the sugar.
Want to get creative? Mix Granny Smith with Honeycrisp or Braeburn for more flavor complexity.
🍯 2. Don’t Skip the Sauce
Yes, making the stovetop sauce takes five extra minutes. But that buttery-sweet mixture infuses every slice of apple with deep flavor. It’s like wrapping your filling in a light caramel hug, and it’s a total game-changer.
If you’ve ever had a dry, bland apple pie, this sauce is the cure.
❄️ 3. Keep Everything Cold
Flaky pie crust depends on cold dough. Always chill your dough before rolling it out. If it warms up while you’re working with it (especially on a hot day), return it to the fridge for 10–15 minutes.
Warm butter turns your crust greasy instead of flaky. Cold butter creates magic.
🧹 4. Protect the Edges
No one wants burned pie edges. Check your pie around the 30-minute mark, and if the edges are browning too fast, cover them with foil or a pie crust shield. That way, the rest of the pie continues to bake without the crust getting too dark.
⏳ 5. Let the Pie Cool Completely
This might be the hardest tip to follow, but also one of the most important. Your pie needs to rest for at least one hour after baking. It allows the filling to set and thicken the juices so they don’t spill out when you slice.
Cutting into a hot pie is a fast track to soggy crust and lava-like filling. Let it chill (literally).
🌀 Apple Pie Variations to Try
Feeling creative or want to switch things up from the classic? These easy twists keep all the magic of traditional apple pie. But add a fresh spin that might just become your new favorite.
Here’s a quick-look table of apple pie variations based on simple ingredient swaps or additions:
| Variation | What to Do |
|---|---|
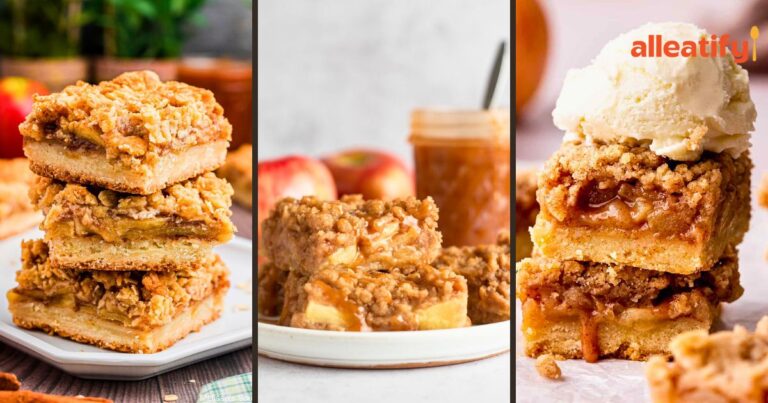
| Dutch Apple Pie | Skip the lattice top and sprinkle a buttery brown sugar oat streusel instead. |
| Caramel Apple Pie | Drizzle ¼ cup of caramel sauce over the apples before adding the top crust. |
| Apple Cranberry Pie | Add ½ cup dried cranberries to the apple mixture for a tart-sweet contrast. |
| Spiced Chai Apple Pie | Add ¼ tsp each of ground cardamom and ginger with the cinnamon. |
| Maple Bourbon Apple Pie | Replace half the sugar with maple syrup and add 1 tbsp of bourbon to filling. |
🍂 Each of these keeps the heart of the recipe the same, just with a little twist to suit your mood, your menu, or your adventurous side.
Final Thoughts: The Pie Everyone Will Love This Fall
This homemade apple pie recipe is everything you want in a dessert: warm, flaky, sweet, spiced, and loaded with love. It’s easier than you think, totally beginner-friendly, and seriously delicious.
From the rich caramel-style sauce to the golden lattice crust, every step is designed for success and a standing ovation at the dinner table. So go ahead, bookmark this page, save that pin, and make this pie a part of your fall baking tradition.
Want to make it even better? Don’t forget to serve with a scoop of vanilla ice cream or a drizzle of cream. Trust me, it’s what dreams are made of.
🍎 You Might Also Love:
- 👉 The Best Apple Cobbler Recipe for Fall Nights
Warm, bubbly, and topped with a golden biscuit crust—it’s apple pie’s cozier cousin. - 👉 Easy Apple Turnovers Recipe in Just 30 Minutes
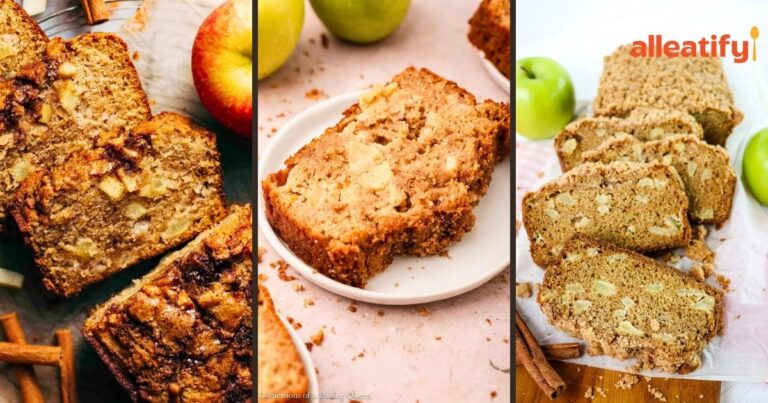
Crispy, buttery puff pastry filled with sweet apple cinnamon goodness. Perfect for a quick dessert. - 👉 15-Min Prep Apple Bread Recipe for Fall Vibes
Moist, cinnamon-spiced, and super easy—this one-bowl apple bread is a fall favorite for busy bakers.