Easy 20-Min Prep Apple Pie Bars Recipe for Fall 2026
Fall is the perfect excuse to bake up something cozy, cinnamon-y, and delicious, and nothing captures that seasonal magic quite like apple pie.
But what if you could take everything you love about apple pie and make it easier, quicker, and maybe even tastier? That’s where these apple pie bars come in.
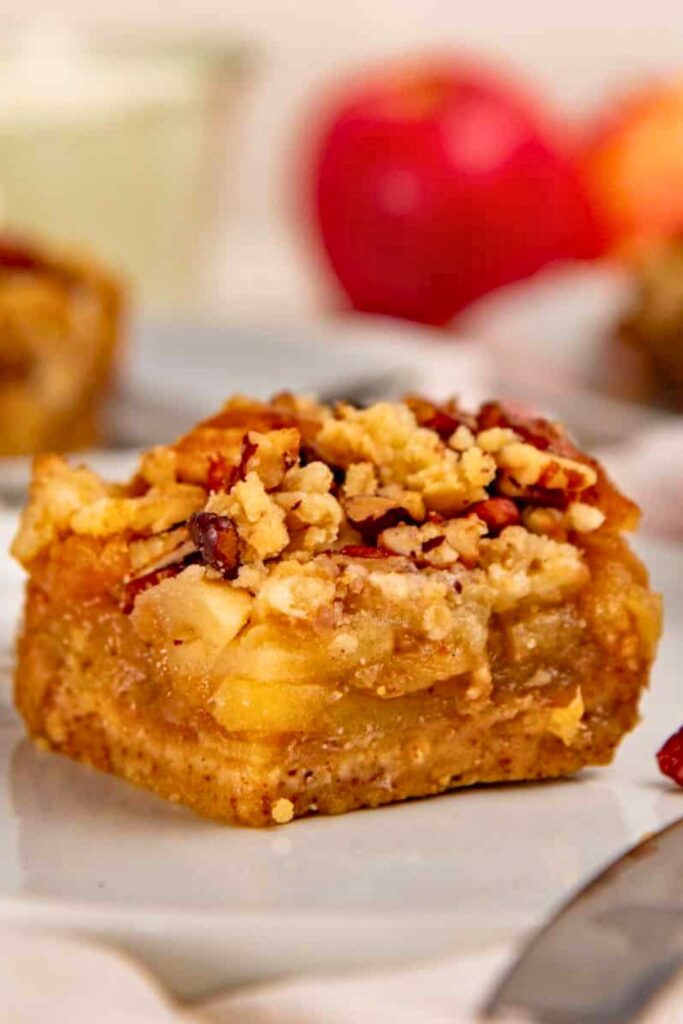
They’re buttery, crumbly, warmly spiced, and oh-so-satisfying just like classic pie, but in handheld form. These bars are made with a double-duty crust that becomes both the base and a streusel topping.
Paired with soft, perfectly seasoned apples, they’re the kind of dessert you’ll want to snack on all season long.
Let’s dig in and walk through how to make this simple yet incredibly delicious treat, step by step.
🍎 Why You’ll Love These Apple Pie Bars
If you love apple pie but dread the effort that goes into making a whole crust from scratch, apple pie bars are about to become your favorite fall dessert.
They offer all the cozy flavors of a traditional apple pie, think sweet cinnamon-spiced apples and buttery crust, but come together in a much simpler, more approachable way.
Here’s why these bars are a seasonal must-bake:
1. Two-in-One Crust and Topping
This recipe features a clever twist: the same dough is used for both the crust and the topping. It’s like a streusel and a crust had a delicious baby. You’ll mix one buttery, oaty base and use part of it as the foundation and the rest as the golden, crunchy topping.
2. Super Easy to Make
Unlike traditional pies that require rolling out dough and crimping edges, these bars have a press-in crust. No pastry skills needed! Just mix, press, and bake.
3. Perfect Texture
Thanks to rolled oats and brown sugar in the crust, you get a chewy, slightly crunchy base and a golden, crumbly streusel topping. The contrast with the tender, syrupy apples is just divine.
4. Full of Fall Flavor
Warm cinnamon, a hint of allspice, and just a touch of maple syrup turn this into a truly autumnal dessert. Every bite brings the essence of fall straight to your mouth.
5. No Peeling Required
That’s right! You don’t need to peel the apples. The skin softens beautifully during baking and adds both texture and nutrition. Less work, more goodness.
🛒 Ingredients You’ll Need
These apple pie bars are made with simple pantry staples and fresh apples. You likely already have most of these ingredients in your kitchen!
Here’s a breakdown:
| Category | Ingredient | Notes |
| Dry Ingredients | All-purpose flour | Used in both the streusel and the filling |
| Rolled oats (old-fashioned) | Adds chew and texture; do not substitute with quick oats | |
| Granulated white sugar | Sweetens both the crust and the filling | |
| Brown sugar (light or dark) | Adds moisture and a deep, molasses-like flavor | |
| Salt | Balances sweetness | |
| Ground cinnamon | Essential for that warm, cozy fall flavor | |
| Allspice | Optional, but adds nostalgic, apple-pie depth | |
| Fat | Cold butter (unsalted, cubed) | It must be cold for a proper crumbly streusel texture |
| Filling Sweeteners | Maple syrup | Adds natural sweetness and a subtle caramel note |
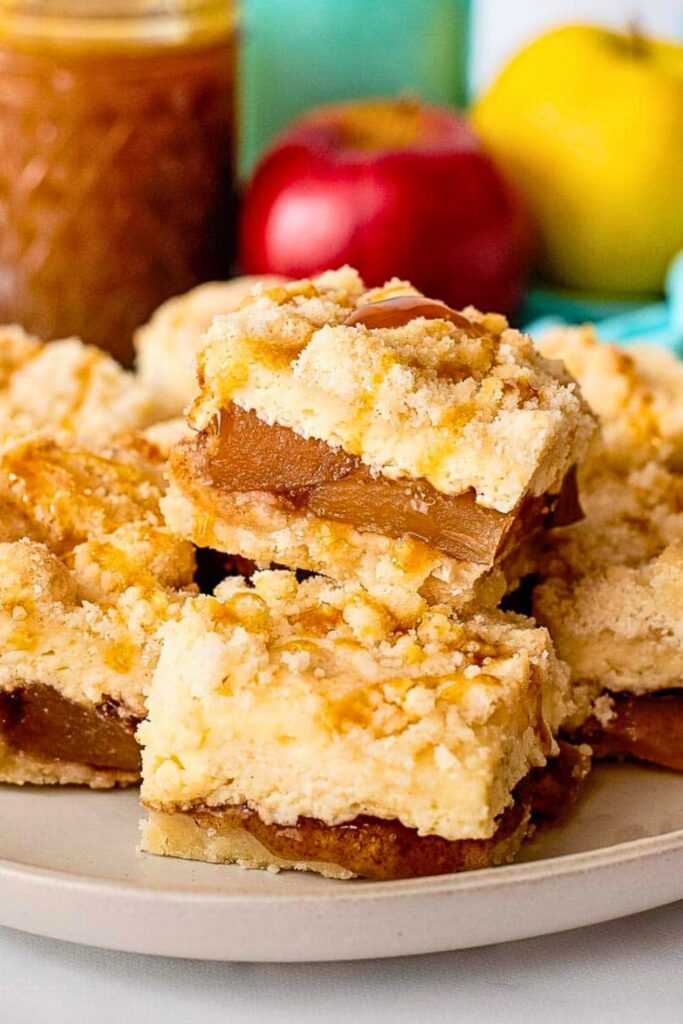
| Fruit | Fresh apples (Golden Delicious or Granny Smith) | Choose firm, tart apples that hold shape while baking |
💡 Tip: Golden Delicious was used in the original recipe because it offers the perfect balance of tartness and sweetness, and holds its shape well in the oven.
👩🍳 Step-by-Step Guide to Making Apple Pie Bars
Let’s roll up our sleeves and walk through every step of these magical apple pie bars. You’ll find that it’s not only easy but also fun, kind of like making pie’s cool, laid-back cousin.
1. Make the Streusel Crust (and Topping!)
We’re starting with a dough that pulls double duty, it becomes the crust on the bottom and the crumbly topping on top. Efficient and delicious? That’s our style.
🥣 Mix the Dry Ingredients
Grab a big bowl, because we’re mixing everything in one place. First, measure and combine:
- All-purpose flour – This forms the sturdy base of the crust.
- Old-fashioned rolled oats – Not quick oats! Rolled oats hold their shape better and offer a hearty, chewy texture.
- White granulated sugar – For that classic sweet bite.
- Brown sugar – Adds deeper flavor, thanks to the molasses content.
- Salt Balances all the sweetness.
- Cinnamon – Starts building that signature fall aroma.
Now here’s where the real baking begins: use your hands. Not only is it faster than a spoon, but it also helps you feel when things are evenly mixed. Break up any sugar clumps as you go. This is the base of everything; make it count.
🧈 Add the Butter
Your butter should be cold straight from the fridge. Cold butter is crucial here because, as it melts in the oven, it creates those dreamy crumbly textures we all love in a streusel.
- Cube the butter into small pieces. This makes it easier to mix in.
- Toss the butter cubes into the flour mixture.
- Now, just like making a pie crust, use your hands to rub and pinch the butter into the dry mix. You’re aiming for a clumpy, sandy texture. Think of wet sand at the beach.
Don’t overmix. The irregular pieces of butter are what give the streusel that perfect crumbly bite. Once the mixture starts to clump when squeezed, it’s ready.
🥄 Reserve Some for the Topping
Scoop out about 1 to 1 ½ cups of this mixture and set it aside for later. This reserved portion will be our golden, crunchy topping. Easy, right?
2. Press and Par-Bake the Crust
Now that your crust mixture is ready, it’s time to shape it.
- Lightly grease or line a 9×13-inch baking dish with parchment paper.
- Pour the remaining streusel mix into the dish.
- Gently press the mixture into an even layer. Use your fingers or the bottom of a glass.
You don’t need to press it down too hard, just enough to hold together without compacting it into cement. And no need to form sides or edges. This isn’t a pie!
🔥 Bake the Base
Pop the crust into a 350°F (175°C) preheated oven.
- Bake for about 15 minutes, or until the edges just begin to turn golden.
This step is essential; it sets the bottom crust so it doesn’t get soggy under the apple filling later. Think of it like giving the base a little head start.
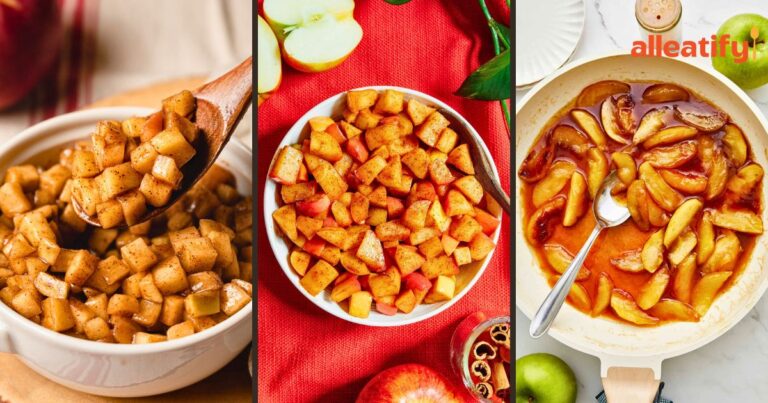
3. Prepare the Apple Filling
While the crust is baking, it’s apple time!
🍏 Choose the Right Apples
Use what you have, but Golden Delicious and Granny Smith apples are excellent options. They’re crisp and tart enough to stand up to baking without turning into mush.
- If you have homegrown apples, that’s even better. Just be aware they might have blemishes or need a bit more trimming.
✂️ Chop the Apples
Here’s the shortcut magic: you don’t have to peel the apples!
- The peel softens beautifully during baking.
- It adds fiber, color, and rustic charm.
- And honestly? It saves you a ton of time.
Chop the apples into bite-sized pieces. Quarter the apple, then quarter each piece again. You want pieces that are small enough to cook evenly but chunky enough to bite into.
🥄 Toss with Filling Ingredients
Now mix up a simple filling. In a large bowl, combine:
- 2 tablespoons of flour – Helps thicken the filling as the apples release moisture.
- ¼ cup of white sugar – Adds sweetness and balances tart apples.
- 2 tablespoons of maple syrup – Brings caramel-like depth and autumn warmth.
- ½ teaspoon cinnamon + ¼ teaspoon allspice – Optional but gives that nostalgic fall spice flavor.
Stir everything together until the apples are well-coated. You’ll notice the mixture becomes a bit sticky and saucy; that’s precisely what you want.
4. Assemble the Bars
Now comes the layering part, and it’s as easy as pie (actually, easier!).
- Take the crust out of the oven and let it cool slightly.
- Evenly distribute the apple filling over the warm crust.
Here’s a tip: scrape out every last bit of syrup and sugar from the bowl. That’s where the flavor lives. Use a spatula to make sure nothing’s left behind.
Spread the apple pieces into a smooth, even layer. A little overlap is fine, it doesn’t need to be perfect. The streusel will cover it up.
5. Add the Streusel Topping
Now, grab that reserved streusel mixture from earlier.
- Sprinkle it generously over the apple filling.
- Make sure to spread it out evenly so every bite has that crumbly, buttery topping.
If you’re like me and always go for the corner piece with the most topping, here’s your chance to make every piece just as good. No fighting over the best slice!
Bonus: The butter in the topping melts as it bakes, dripping into the apples and creating the most delicious, gooey center with a crispy top.
6. Bake to Golden Perfection
Now it all comes together.
- Slide the pan back into your 350°F oven.
- Bake for 35 to 40 minutes until:
- The topping is lightly golden and crisp.
- The apples are soft and fork-tender.
You won’t get that bubbling action like a pie (since there’s less liquid), but you can insert a knife to check the apples’ tenderness.
Your kitchen will smell like a fall candle: the cinnamon, the maple, the apples, chef’s kiss.
7. Let Them Cool (Yes, This Part Matters)
Now the hard part: waiting.
As much as you’ll want to dive in face-first, these bars need to cool so they can set. Right out of the oven, they’re too soft to cut and will fall apart.
Let the pan cool at room temperature for at least 1 hour. Longer is even better.
Once they’ve set, grab a sharp knife and cut them into squares or bars.
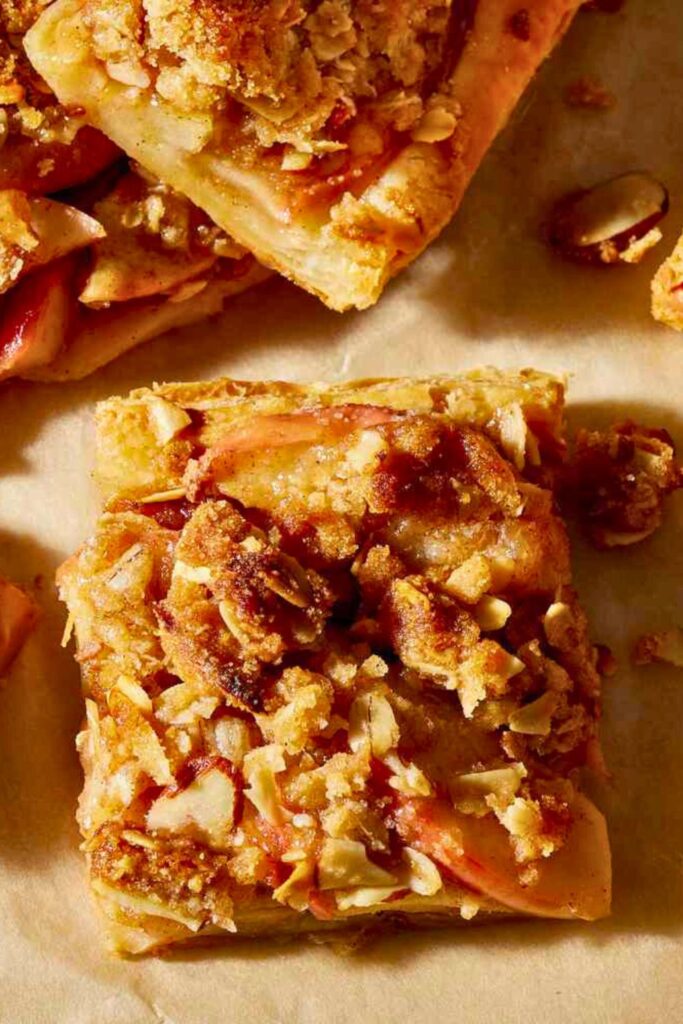
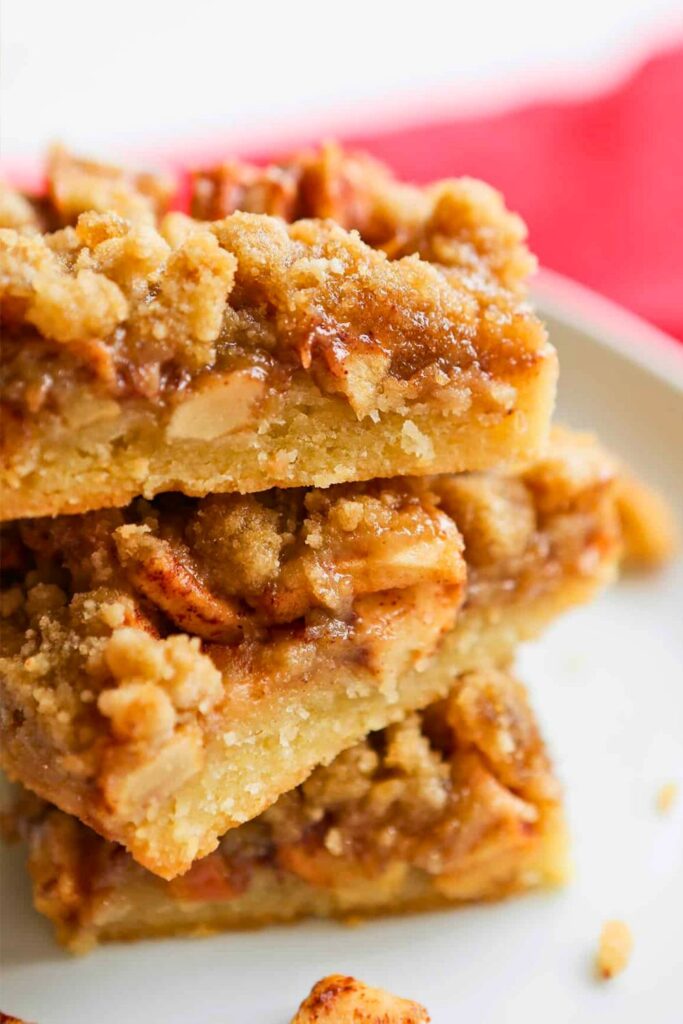
You’ll see:
- A crisp, toasty bottom that holds everything together
- A soft, spiced apple filling
- And a crumbly, buttery streusel on top that you’ll dream about
Serve them warm with ice cream, room temp for lunchboxes, or cold straight from the fridge (yes, they’re that good).
✅ Tips for the Best Apple Pie Bars
These apple pie bars are already super easy to make, but a few simple tips will take them from great to unforgettable. Whether you’re a beginner or a seasoned baker, these practical suggestions ensure your bars come out perfect every single time.
1. Use Cold Butter for That Signature Streusel Texture
Cold butter is non-negotiable in this recipe. When you rub cold cubes of butter into the flour mixture, you’re creating tiny layers that melt in the oven, resulting in a crumbly, slightly crispy topping and a buttery crust. If the butter is too soft, the topping turns greasy and flat. So keep it cold like, straight-from-the-fridge cold.
2. Choose Apples That Hold Their Shape
The best apples for baking are the ones that don’t turn to mush. Golden Delicious and Granny Smith apples are perfect. They’re firm, slightly tart, and bake beautifully. Homegrown apples are also wonderful if you’ve got them, but check for extra bruises or soft spots.
3. Skip the Peeler—Keep the Apple Skins On
Here’s a time-saving trick: don’t peel your apples. The skins soften during baking and add extra fiber and texture. It makes the recipe faster and a little more rustic, precisely what you want in a homey fall treat.
4. Cut the Apples into Bite-Sized Pieces
Instead of large wedges, cut your apples into small chunks or slices. Why? Smaller pieces bake faster and evenly, ensuring that every bite is soft and full of flavor.
5. Don’t Overpack the Crust When Pressing It In
When forming the crust, press it into the pan firmly but gently. You want it to hold together, but if you smash it too hard, it’ll turn dense instead of crumbly and tender. Think of it like pressing damp sand in a beach pail, solid, but still light.
🥧 Variations & Add-Ons
Want to switch things up or make the bars even more special? Here are some delicious variations and creative add-ons that complement the apple-cinnamon base. Whether you want crunch, creaminess, or a flavor twist, these ideas have you covered.
| Add-On or Variation | How to Use It |
|---|---|
| Chopped Walnuts or Pecans | Stir ½ cup into the streusel before baking for a crunchy topping. |
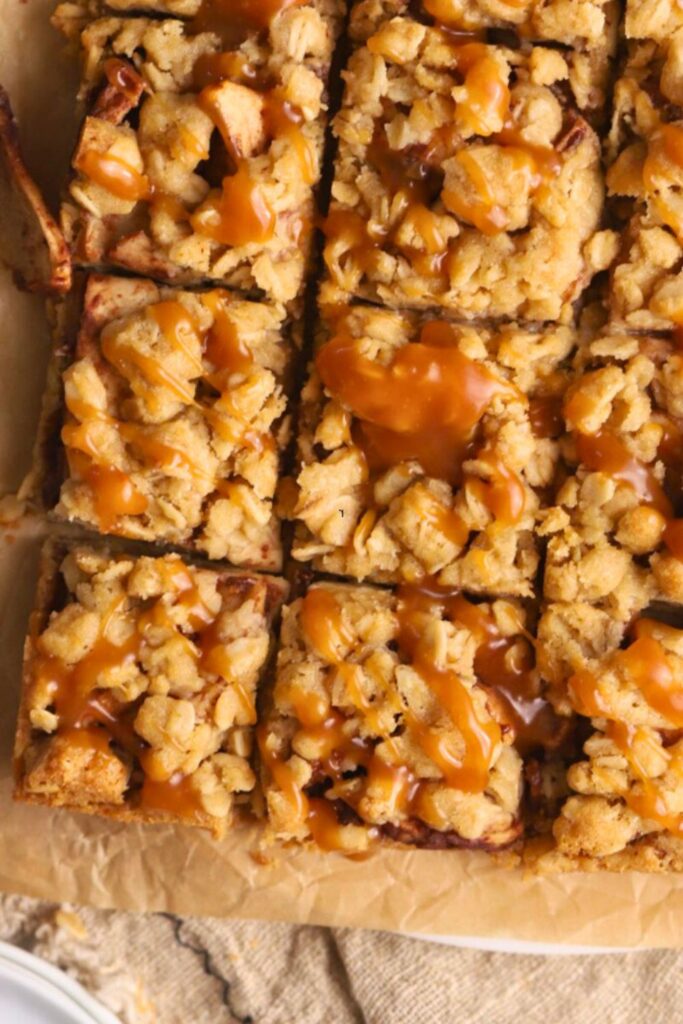
| Caramel Drizzle | Drizzle caramel sauce over the bars after baking and cooling. |
| Vanilla Ice Cream | Serve bars warm with a scoop of ice cream for the ultimate dessert experience. |
| Pear Swap | Replace apples with chopped pears for a softer, slightly floral variation. |
| Apple + Cranberry Combo | Mix ½ cup dried cranberries with the apples for a tart-sweet burst. |
| Add Nutmeg or Ginger | Replace or combine with cinnamon and allspice for a spicier profile. |
| Gluten-Free Version | Use a 1:1 gluten-free flour blend and certified GF oats. |
| Add Lemon Zest or Juice | Mix in 1 tsp lemon zest or 1 tbsp juice to brighten up the filling. |
| Cream Cheese Swirl | Drop dollops of sweetened cream cheese on the filling before adding the topping. |
| Coconut Streusel | Add ¼ cup shredded coconut to the topping for a tropical twist. |
✨ Feeling creative? Try combining two ideas like cream cheese and cranberry for a bakery-worthy bar.
🍂 Final Thoughts
These apple pie bars are proof that you don’t need to roll out a crust or peel a dozen apples to enjoy the comfort of a homemade fall dessert. They’re rustic, cozy, and packed with all the warm, spiced apple flavor you love, but in an easy, sliceable bar form.
Perfect for busy weeknights, casual gatherings, or a quiet afternoon treat, these bars are a true fall staple. Whether you’re topping them with ice cream, drizzling them with caramel, or simply enjoying them straight from the pan, they’ll quickly become a go-to recipe you’ll turn to again and again.
So the next time apples start falling from the tree (or showing up in your grocery cart), you’ll know exactly what to make. And trust me, everyone who tries them will ask for the recipe.
💡 You Might Also Love:
Looking for more cozy apple recipes to fill your fall days? Check out these reader favorites:
- 👉 Fluffy Apple Pancakes Recipe for Cozy Fall Mornings
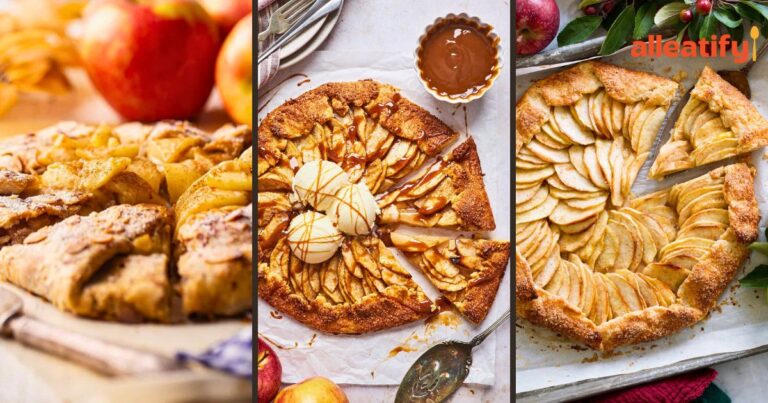
Start your autumn morning right with these cinnamon-kissed apple pancakes that are soft, fluffy, and full of fall flavor. - 👉 The Best Apple Strudel Recipe You Need
A flaky puff pastry wrapped around sweet, spiced apples, perfect for dessert or a sweet brunch treat. - 👉 Easy Apple Cheesecake Recipe for Beginners
Creamy, tangy, and topped with tender cinnamon apples, this no-fuss cheesecake is a must-try this season.