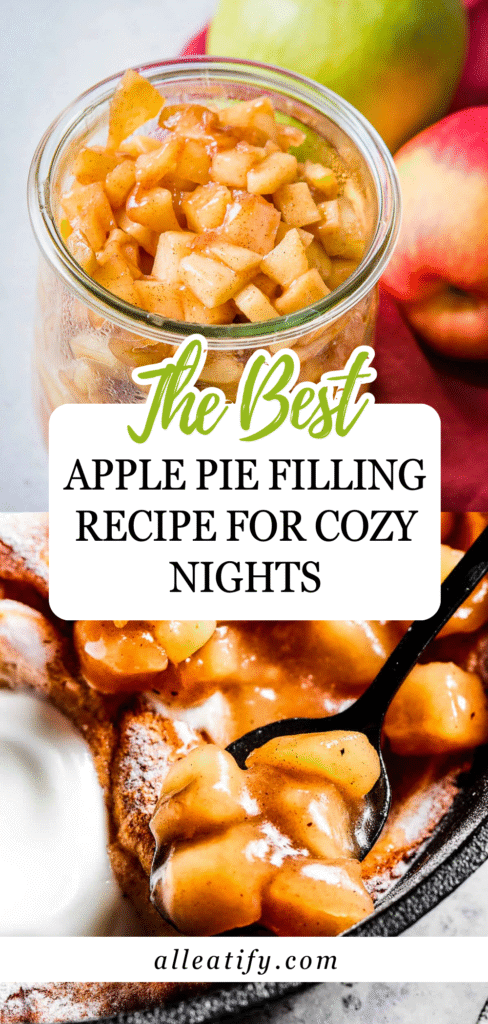
Quick & Cozy Apple Pie Filling Recipe in 2026
There’s something magical about the aroma of warm cinnamon-spiced apples wafting through the kitchen. Whether it’s for Thanksgiving, a casual family dessert, or simply because you love apples, this homemade apple pie filling will become your go-to.
It’s comforting, decadent, and strikes that perfect balance of sweetness, spice, and tender-crisp apples.
In this post, I’m going to walk you through the entire process of making the best apple pie filling from scratch.
It’s a tried-and-true recipe I’ve used for years in pies, tarts, strudels, and even over yogurt or ice cream. Let’s make your house smell like fall in a jar!
🍏 Why You’ll Love This Apple Pie Filling
Apple pie filling can make or break your entire dessert. A soggy, overly sweet, or mushy filling? That’s a no-go. But this apple pie filling recipe? It’s a total game-changer.
Here’s why:
- It’s just the right texture: The apples are cooked to that perfect “al dente” point. They’re soft enough to bite through easily, but firm enough to hold their shape. Think of it like the pasta of the dessert world, not mushy, not crunchy. Just right.
- The flavor is next-level: brown sugar and butter melt into a deep, rich caramel sauce with a hint of cinnamon. It’s warm, sweet, and cozy, exactly what you crave in a fall dessert.
- It’s wildly versatile: Sure, it’s made for apple pie. But it also transforms your oatmeal, yogurt, pancakes, or even ice cream into a five-star treat. Spoon it into strudels, tuck it into puff pastry, or layer it in parfaits. The possibilities are endless.
- Make it ahead with ease: Planning a dinner party? Thanksgiving feast? Do you want to get a head start on dessert? This filling keeps beautifully in the fridge for up to a week and freezes like a dream.
So if you’ve been hunting for a reliable, foolproof, and unbelievably delicious apple pie filling, this is it. Once you try it, you’ll never go back to the canned stuff again.
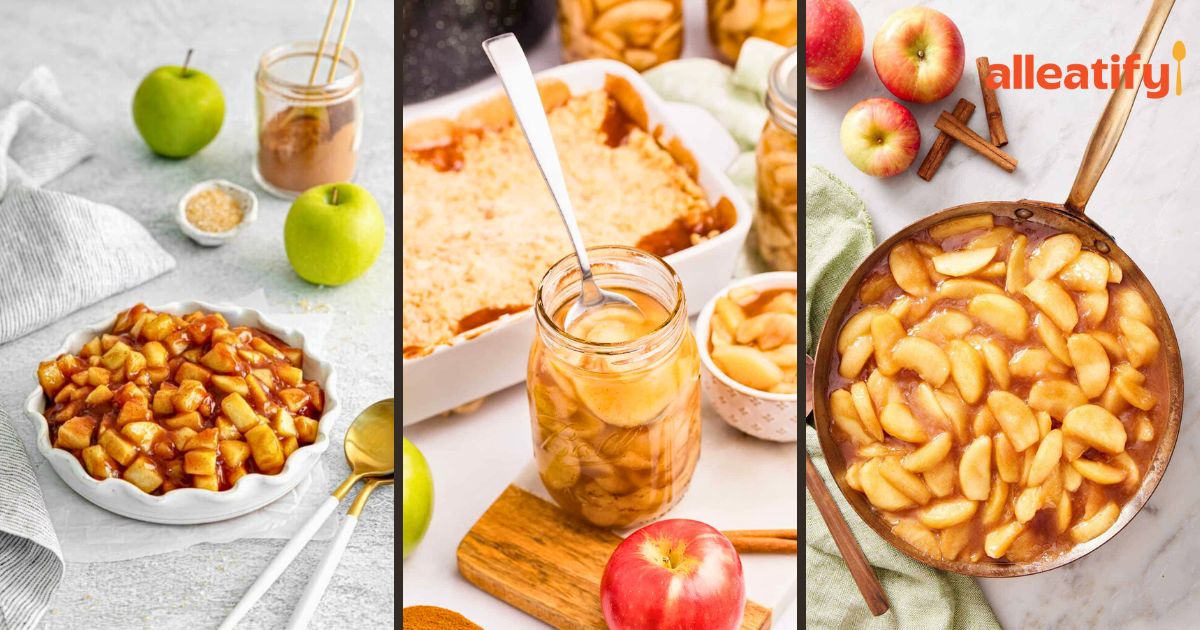
🛒 Ingredients You’ll Need
This recipe is all about building flavor and the right texture from a few simple, pantry-friendly ingredients. No fancy stuff, just honest, down-to-earth baking magic.
| Ingredient | Amount | What It Does |
| Gala Apples | 9–10 medium | Sweet, crisp, and perfect for holding shape when cooked |
| Unsalted Butter | 1 stick (½ cup) | Rich base for the caramel-like sauce |
| Light Brown Sugar | 1 cup | Adds deep, molasses-like sweetness |
| Granulated Sugar | ¾ cup | Balances the brown sugar for a rounded sweetness |
| Cornstarch | 4 ½ tablespoons | Thickens the sauce into that dreamy consistency |
| Ground Cinnamon | 1 heaping tablespoon | Adds warmth and spice (it’s fall in a spoon) |
| Salt | A generous pinch | Enhances all the other flavors and keeps things from tasting too flat |
| Heavy Cream | A splash (added last) | Makes the filling silky smooth and decadent |
🍎 Note: You can swap in other apple varieties like Granny Smith, Fuji, or Honeycrisp depending on your taste and what’s in season. A mix often adds more depth!
🥧 Step-by-Step Instructions: How to Make Apple Pie Filling
If you’ve ever been intimidated by the idea of making apple pie filling from scratch, don’t worry, you’re in the right place. This recipe is simple, stress-free, and incredibly rewarding.
Whether you’re prepping for Thanksgiving or just want a fall-flavored topping for your breakfast bowl, these steps will walk you through everything you need to know.
Let’s dive into the heart of this homemade apple pie filling recipe, one delicious step at a time.
🔥 Step 1: Prep the Apples
This is, hands down, the most time-consuming step, but it’s also the most important. Perfect apples = perfect filling.
🍎 What kind of apples?
We’re using Gala apples here. They’re sweet, crisp, and hold their shape like a champ. Not a fan of Gala? You can also go for Honeycrisp, Granny Smith, or Fuji, or even mix two kinds for a balanced sweet-tart flavor.
🧺 How to prep:
- Peel your apples. A handheld peeler works great, or opt for a classic paring knife.
- Core each apple. A melon baller, small spoon, or even a mini ice cream scooper helps here.
- Slice them. Go for ¼-inch thick slices—thin enough to soften, but thick enough to keep their shape.
💡 Tip: If you plan to make a lot of this filling throughout the season, consider investing in an apple peeler/corer. It’ll save you tons of time.
👩🍳 Quick Tips:
- Work one apple at a time so they don’t brown too quickly.
- Keep a bowl of lemon water nearby to toss your slices in if you’re prepping ahead.
Once you’ve peeled, cored, and sliced about 9 to 10 medium apples, you’re ready to move on to the magic: the sauce.
🧈 Step 2: Start the Sauce
Grab your largest, deepest skillet or saucepan; it’s time to build flavor.
Here’s what to do:
- Place the pan over medium-high heat.
- Add 1 stick (½ cup) of unsalted butter.
- Let it melt completely, swirling the pan occasionally.
Once the butter is melted and starts to sizzle slightly, you’ll know it’s time for the next step.
⚠️ Be careful, hot butter can splatter! Use a spatula to stir gently, being careful to avoid burns.
Now it’s time to introduce those beautifully sliced apples to the pan. Add them all at once, stirring gently to coat each piece in melted butter. Already smells amazing, right?
🥄 Step 3: Add Sugars and Spice
This is where the caramel-like magic happens.
Once your apples are in and gently sizzling in the butter, it’s time to add the flavor boosters:
- 1 cup of light brown sugar
- ¾ cup of granulated sugar
- 4½ tablespoons of cornstarch
- 1 heaping tablespoon of ground cinnamon
- A generous pinch of salt
Why both sugars?
Brown sugar gives that warm, toasty, molasses flavor, while granulated sugar provides that clean, sweet bite. It’s the best of both worlds.
About that cornstarch:
This is your thickener. It’ll transform the bubbling mixture into that glossy, luscious pie filling texture. Simply sprinkle it evenly and stir well to prevent clumping.
🧂 Salt might seem like a small thing, but it makes a huge difference. It balances sweetness and brings out the flavors of apple and cinnamon.
Give everything a good stir. Ensure that the apples are evenly coated and the cornstarch is completely dissolved.
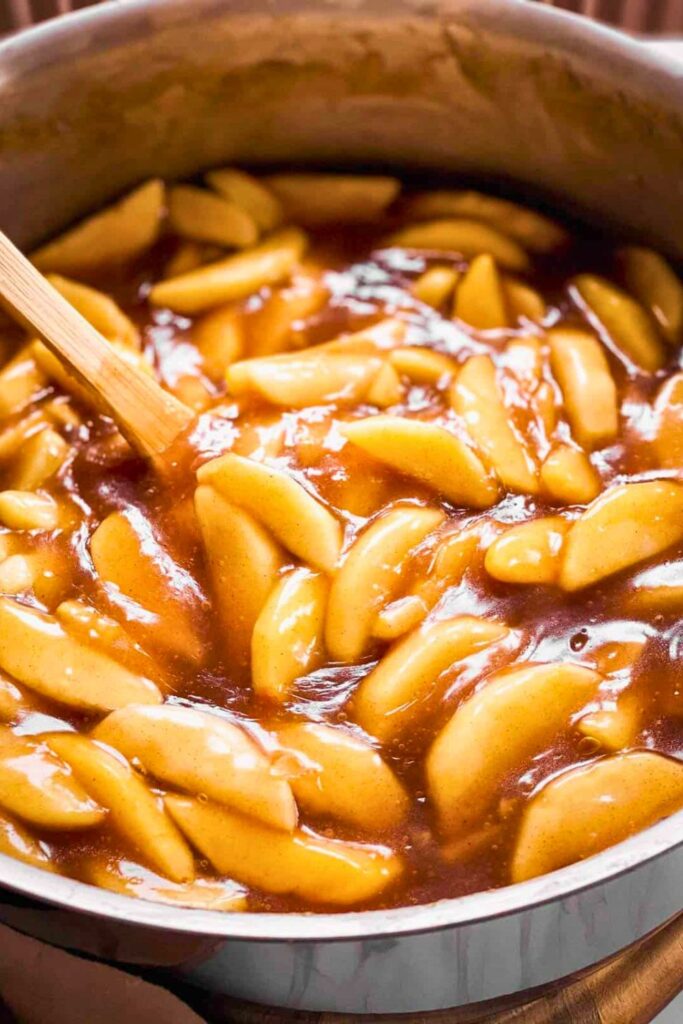
🍯 Step 4: Simmer and Thicken
Now comes the part where you need to stay close. Once everything is mixed, the apples will start releasing their natural juices, and that’s when the magic begins.
Here’s what to expect:
- Within a minute or two, the sauce will begin to bubble.
- Stir continuously to prevent burning or sticking.
- You’ll see the liquid begin to thicken and take on a rich, glossy finish.
This entire process typically takes around 2 to 3 minutes, so keep an eye on it.
🔥 Do not walk away! Once it sticks, it burns fast, and after peeling 10 apples, you don’t want to start over.
If the sauce isn’t thickening:
- Mix 1 tablespoon of cornstarch with 1 to 2 tablespoons of cold water.
- Slowly add it to the bubbling apples while stirring.
- Let it cook for another 30 seconds to 1 minute.
If the sauce thickens too much:
- Add a splash of water or cream to loosen it up. Don’t panic, this happens only if you’ve been a bit generous with the cornstarch.
Your goal is a rich, scoopable sauce that clings to the apples, not a pudding and not a syrup.
🥄 Step 5: Add the Cream
Once the sauce reaches that beautiful, thickened consistency, it’s time for the final flourish: heavy cream.
Why cream?
It gives the apple filling a rich, velvety texture that takes it to another level. Just a splash is enough.
- Stir in the cream gently.
- Let it blend thoroughly into the sauce.
- Turn off the heat immediately after mixing.
You’ll notice the sauce becomes slightly lighter in color and even glossier, chef’s kiss.
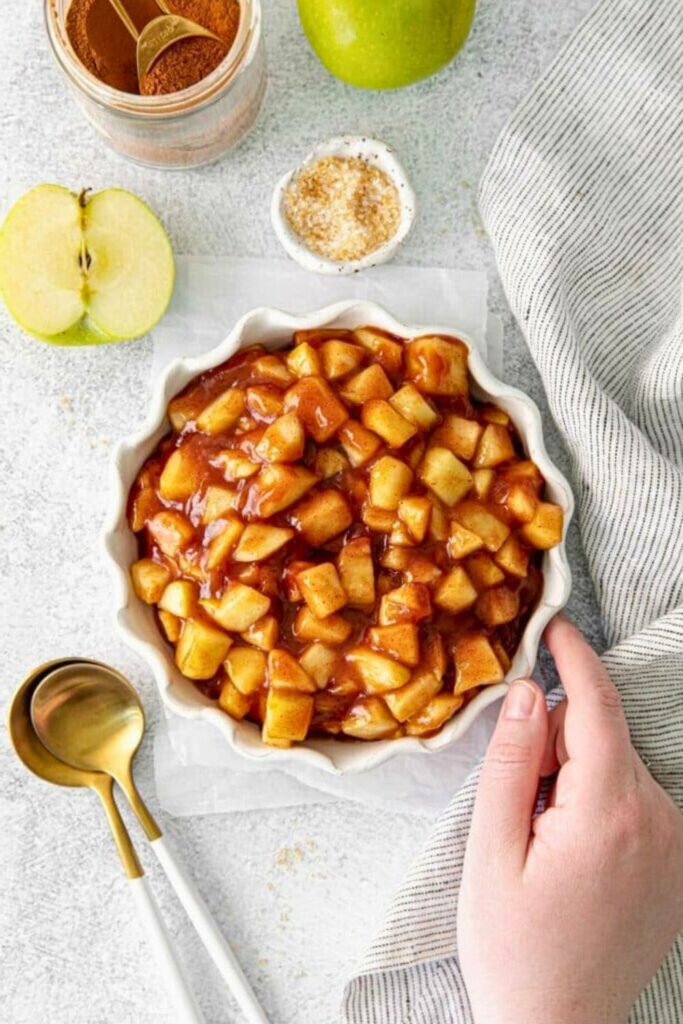
❄️ Step 6: Cool Completely
You’ve made it! But don’t rush to use your apple pie filling just yet.
Here’s why cooling matters:
- If you’re putting this into pie crust or puff pastry, hot filling will melt the dough and create a soggy mess.
- Cooling allows the sauce to thicken even more and the flavors to settle.
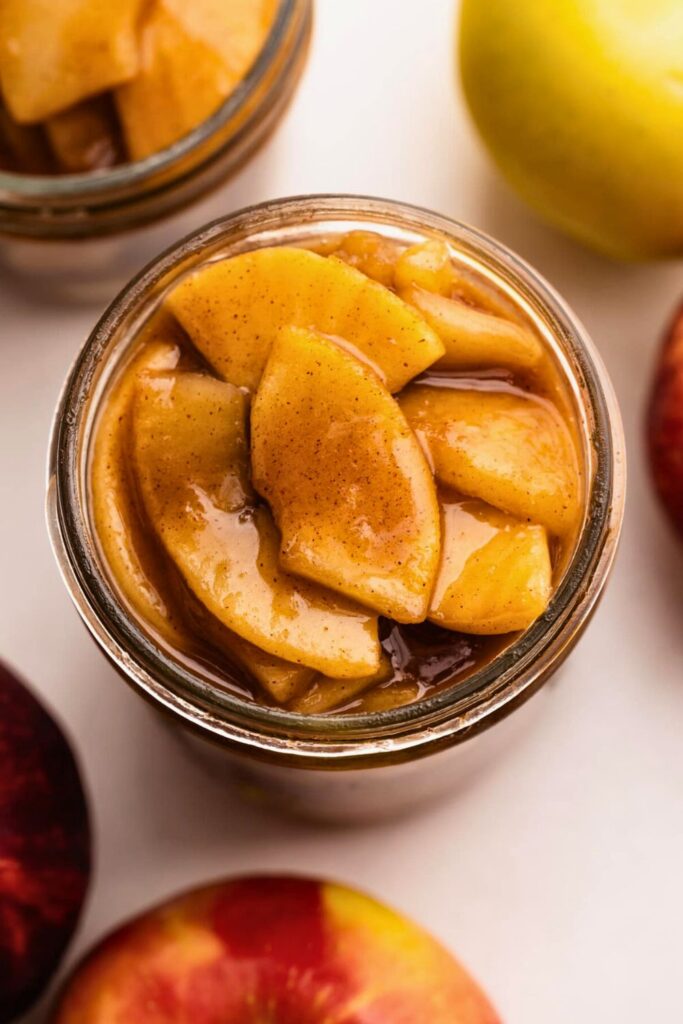
Let the filling cool to room temperature first. Then you can either:
- Use it immediately in pies, tarts, or strudels.
- Store it in the fridge (in an airtight container) for up to 7 days.
- Store it in the freezer for up to 3 months.
🧊 Pro tip: Cold filling is much easier to work with when spooning it into pie crusts or folding it into pastries.
If you’re not baking with it right away? Just grab a spoon and enjoy a warm bite straight from the pan or pour it over a scoop of vanilla ice cream. It’s indulgent, sweet, and spicy in the best possible way.
🍽️ How to Use This Apple Pie Filling
This homemade apple pie filling is more than just pie-perfect. Once you’ve made a batch, you’ll find yourself reaching for it again and again. It’s incredibly versatile, extremely delicious, and works with both simple breakfasts and fancy desserts.
Here are all the cozy and creative ways to put it to use:
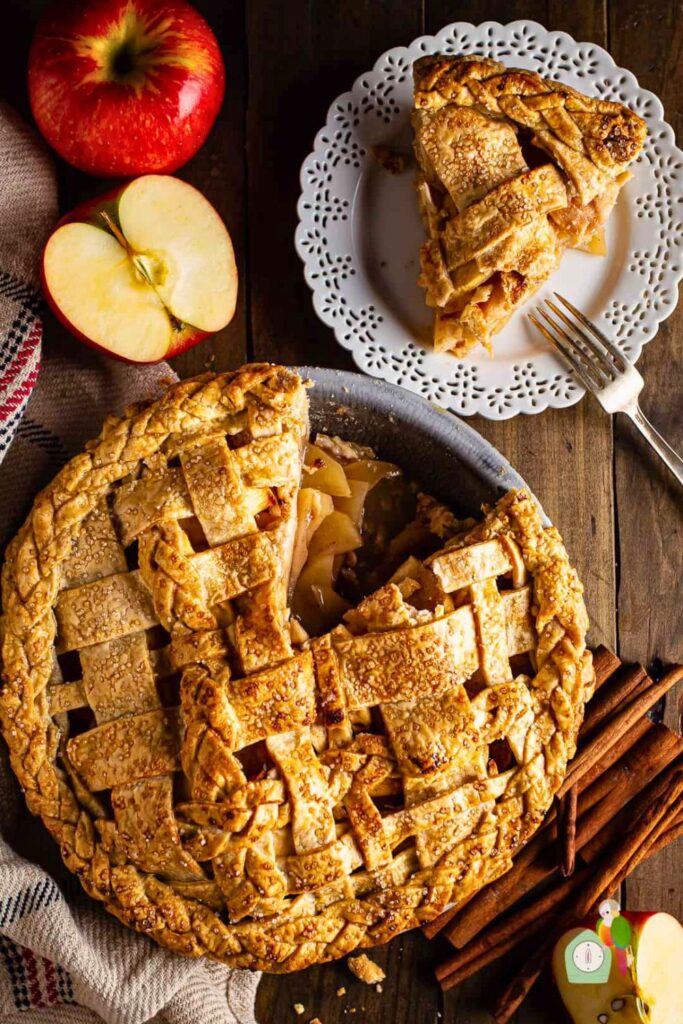
🥧 1. Classic Apple Pie
Of course, this is the number one use! Spoon the cooled filling into your favorite pie crust, add a lattice or top crust, and bake until golden brown. The filling holds up beautifully, no soggy bottoms or runny messes.
🍎 2. Apple Tarts & Galettes
Roll out store-bought puff pastry or homemade dough, spoon the filling in the center, fold the edges, and bake. It’s rustic, simple, and elegant.
🌀 3. Apple Strudel
Wrap this filling inside thin layers of phyllo dough, sprinkling with nuts or raisins. Roll it up, bake, and dust with powdered sugar for an irresistible European-style dessert.
🥣 4. Breakfast Boost
Want to turn bland oatmeal or pancakes into something special? Just warm up a scoop of filling and spoon it on top. It also works beautifully with Greek yogurt and granola.
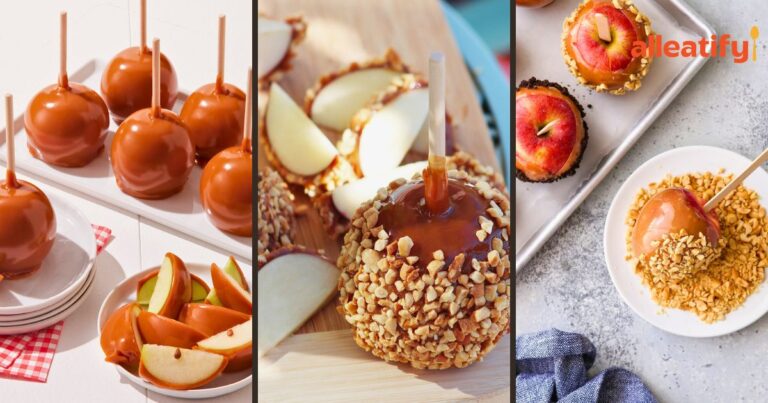
🍦 5. Ice Cream Topping
Heat it slightly and pour it over vanilla or cinnamon ice cream. That warm, spiced apple flavor with cold, creamy ice cream? Pure fall magic in every bite.
❄️ Make-Ahead and Storage Tips
Planning? You’re going to love how easy it is to store and reuse this apple pie filling. It’s a time-saving wonder, especially during the holiday rush.
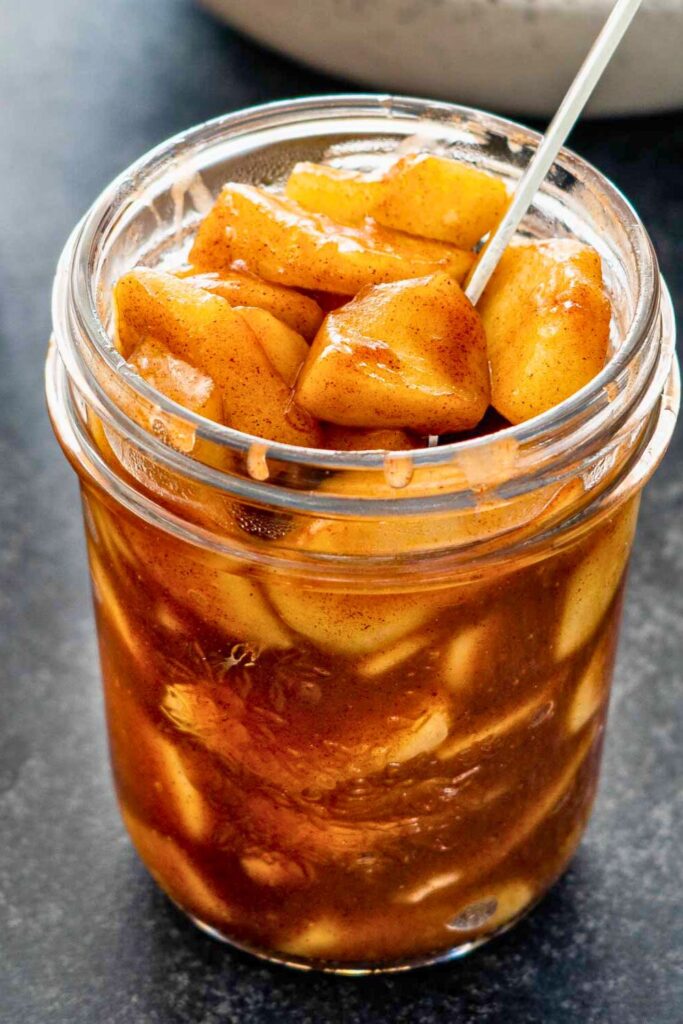
🧊 How to Store
- In the Fridge: Once the filling has cooled completely, transfer it to an airtight container. It will stay fresh for up to 7 days.
- In the Freezer: Want to make a bigger batch and store some for later? Freeze the filling in freezer-safe bags or containers for up to 3 months. Be sure to leave a little room at the top, liquids expand as they freeze!
🔁 How to Reheat
- For use in baked goods: No need to reheat if you’re baking it into a pie or tart. Just thaw in the fridge overnight if frozen.
- For toppings: Reheat gently in a saucepan over low heat or the microwave in 30-second bursts until warm and glossy.
✨ This filling gets better after chilling. The flavors deepen, the texture firms up, and it becomes even easier to work with.
🧃 Bonus Tip: Freeze in Portions
Portion the filling into 1 or 2-cup servings before freezing. That way, you can just grab what you need, without thawing a giant container when you only want a scoop for your oatmeal.
🧑🍳 5 Pro Tips for the Best Apple Pie Filling
Want to take your apple pie filling from good to can’t-stop-eating-it amazing? These expert tips will ensure you achieve flawless results every time.
1. Don’t Overcook the Apples
The goal is fork-tender, not mush. Think “al dente,” just like pasta. Overcooked apples turn mealy and lose their bite. Watch closely and remove them from the heat once the sauce has thickened and the slices are tender.
2. Stir Often (But Gently)
When your apples start simmering, keep them moving to avoid burning or sticking. But be gentle! Stirring too hard can break up the slices. A silicone spatula or wooden spoon is perfect.
3. Don’t Go Heavy on the Cornstarch at First
Start with the recommended amount. You can always add more if your sauce seems too thin. Overdoing it early can lead to a pasty, overly thick sauce that’s hard to fix.
4. Let It Cool Completely Before Using
Hot filling + cold pie dough = disaster. Always let your filling come to room temperature (or chill it) before adding to crusts or pastries. It helps keep the crust crisp and prevents leaks.
5. Try a Mix of Apples for Flavor Depth
Using only Gala apples works excellently, but mixing in a few Granny Smith or Honeycrisp adds tang and complexity. Sweet + tart = flavor gold.🍂 Follow these tips, and your apple pie filling will come out perfect, every single time.
❤️ Final Thoughts
This homemade apple pie filling recipe is everything you love about fall, comfort, and classic baking all in one saucepan. Once you try this, you’ll never go back to canned versions again.
Whether you’re making a dessert for a holiday feast or simply craving something cozy, this recipe has your back. It’s simple, foolproof, and guaranteed to impress.
Save this one, it’s a keeper!
🍎 More Cozy Fall Recipes You’ll Love
Here are three more fall favorites to pair with your apple pie filling or enjoy on their own:
🥧 The Best Apple Pie Recipe You’ll Ever Bake
Flaky crust, spiced apple filling, and that golden top, this pie is pure perfection. Use your freshly made filling and take your pie game to a whole new level.
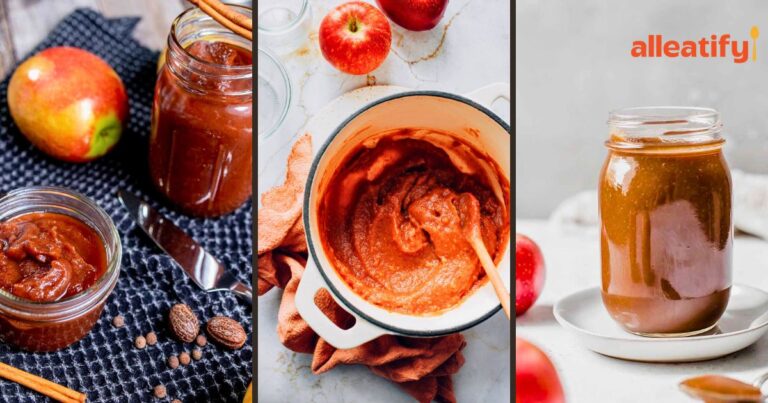
🍯 Easy Apple Butter Recipe for Cozy Fall Mornings
Slow-cooked apples, spices, and a buttery finish. Spread this on toast, swirl it into oatmeal, or eat it by the spoonful. A must-have in any autumn kitchen.
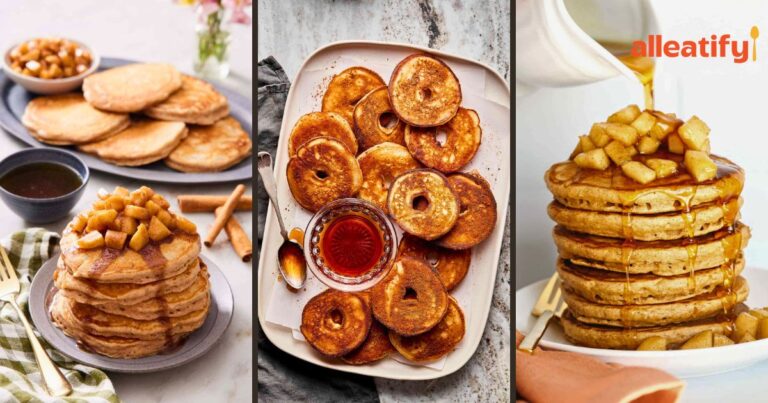
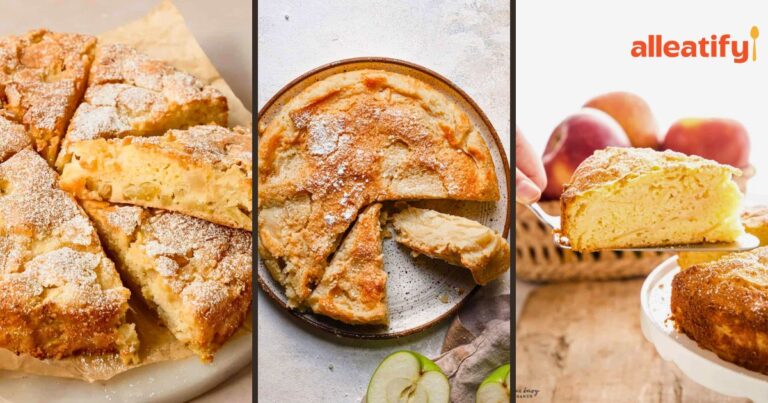
🧁 Fluffy & Moist Apple Muffins Recipe for Fall
Soft, cinnamon-scented, and packed with apple flavor. These muffins are ideal for breakfast, snacks, or lazy weekend baking with a cozy cup of tea.