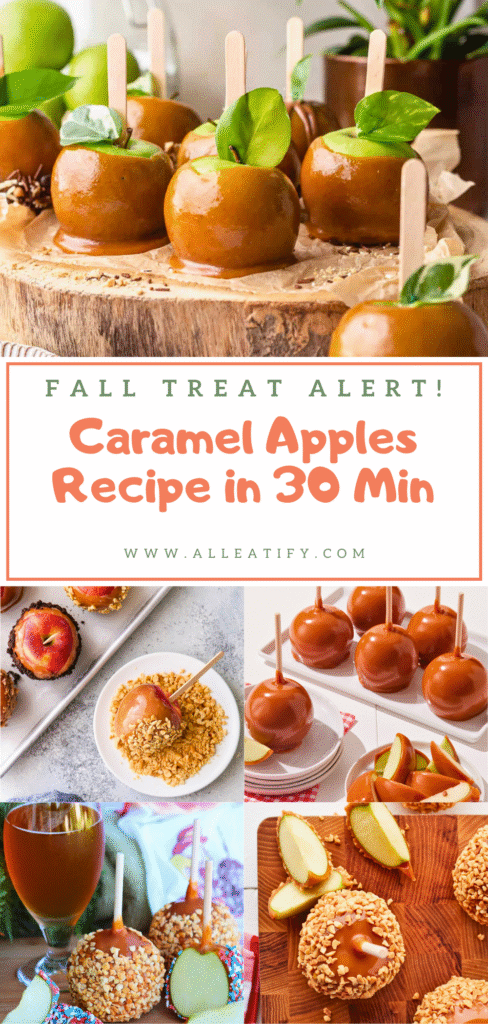
Best Ever 5-Step Caramel Apples Recipe for Fall (2026)
There’s something magical about fall: the crunch of leaves, the cozy sweaters, and most of all, the sweet treats. And when it comes to iconic fall desserts, homemade caramel apples top the list. They’re gooey, crisp, a little tart, and a lot of fun to make.
Whether you’re hosting a fall gathering, looking for a fun weekend project with your kids, or just craving something nostalgic, this caramel apple recipe is your ticket to cozy deliciousness.
In this post, you’ll learn everything you need to make perfectly coated caramel apples from prepping the apples to making smooth, sticky caramel and decorating with flair.
This guide is packed with tips, tricks, and step-by-step instructions to guarantee you’ll end up with apples that look just as amazing as they taste.
Let’s get started!
🍂 Why Caramel Apples Are the Perfect Fall Treat
There’s just something about fall that invites cozy traditions, and caramel apples are right at the heart of them. They’re a little nostalgic, a little messy, and a whole lot of fun. But beyond that, caramel apples are one of the easiest and most satisfying treats you can make at home, especially when apples are in season.
They strike a beautiful balance between tart and sweet. That bright, crisp bite of an apple layered with a thick coating of buttery caramel? It’s irresistible. The tartness of apples like Granny Smith pairs beautifully with the rich caramel, cutting through the sweetness and giving each bite that perfect zing.
They’re also kid-friendly, both to make and to eat. Kids can help wash and dry the apples, choose their toppings, and decorate them however they like. It becomes more than just dessert; it’s an experience. A memory-maker. A tradition in the kitchen.
And if you’re lucky enough to live somewhere with brisk, cool fall air and leaves changing colors (like New England, where this recipe comes from), making caramel apples feels like tapping directly into the spirit of the season. Whether you’re using store-bought apples or fresh ones picked straight from the orchard or farm, this recipe is the best way to showcase autumn’s favorite fruit.
🛒 Ingredients You’ll Need
Here’s a complete breakdown of everything you need to make the perfect batch of homemade caramel apples, based entirely on the subtitle recipe:
| Ingredient | Amount | Details / Notes |
| Apples | 6 medium apples | Granny Smith is preferred for tartness, but Honeycrisp or any firm apple works |
| Brown Sugar | 2 cups (400g) | Light, dark, or a mix of both adds depth and richness to the caramel |
| Heavy Cream | 1½ cups (350ml) | Gives the caramel its creamy, smooth texture |
| Unsalted Butter | 5 tablespoons (70g) | For richness, if using salted butter, reduce added salt by ¼ tsp |
| Salt | ½ teaspoon | Enhances flavor and balances the sweetness |
| Corn Syrup | ½ cup (approx. 120ml) | Key to sticky, clingy caramel that won’t slide off the apples |
| Vanilla Extract | 1 tablespoon (15ml) | Stirred in after cooking for a warm, comforting flavor boost |
| Wooden Sticks | 6 | Popsicle sticks or decorative candy apple sticks work well |
| Toppings (Optional) | As needed | Sprinkles, chopped peanuts, mini M&Ms, crushed pretzels, shredded coconut, etc. |
| Silicone Mat or Parchment Paper | 1 baking sheet liner | Prevents caramel apples from sticking after dipping |
These pantry staples come together to create a caramel that’s thick, buttery, and beautifully glossy, perfect for coating your crisp apples and holding on to all your favorite toppings.
Keep reading for a complete step-by-step walkthrough to turn these ingredients into stunning, sticky-sweet fall treats!
🍏 How to Make Homemade Caramel Apples (Step-by-Step Guide)
There’s nothing quite like a homemade caramel apple in the fall. Crisp, tart fruit meets gooey, buttery caramel. It’s a match made in autumn heaven. And making them at home? Surprisingly simple, incredibly fun, and endlessly customizable.
Here’s a detailed guide to help you master this classic treat in five foolproof steps.
🧽 Step 1: Prepare the Apples
Before you do anything else, it’s all about the prep. Getting your apples ready is essential; skipping this part could mean disaster when it’s time to dip.
🍏 Choose the Right Apples
The great thing is that any type of apple will work for this recipe. That said, certain varieties shine:
- Granny Smith: Crisp, tart, and a perfect match for sweet caramel
- Honeycrisp: Sweet, juicy, and ideal if you prefer a sweeter apple
- Fuji or Gala: Also great, but tend to be softer
In this recipe, the go-to is Granny Smith for its tartness, which cuts through the richness of caramel beautifully. Plus, the contrast in flavor makes each bite more dynamic.
🧼 Remove the Wax
Here’s a step that many skip and regret later. Most store-bought apples are coated in wax to preserve freshness and add shine. But caramel and wax? Not friends.
If you try to dip a waxy apple, the hot caramel will slide right off like it’s wearing a raincoat. That’s why it’s necessary to de-wax them.
How to do it:
- Heat a pot of scalding (almost boiling) water.
- Dip each apple into the hot water briefly, just a few seconds.
- Remove and use a clean kitchen towel to rub and polish vigorously.
- Continue rubbing until the apple is squeaky clean and no longer slick.
It’s a bit like buffing an apple to give your favorite teacher. Put some elbow grease into it! You’ll see the difference right away.
🍡 Add the Sticks
Once the apples are cleaned and dried:
- Remove the stems from the apples.
- Insert a wooden stick into the center of each apple, right where the stem was.
- Push straight down and try to keep it centered and upright for easier dipping later.
If you’re using decorative sticks, plastic or wooden, both work; just make sure they’re sturdy enough to hold the weight.
At this point, your apples are prepped and proud, ready for the chill!
🧊 Step 2: Chill the Apples
This step isn’t mandatory, but it’s a pro tip for caramel success.
Once the sticks are in, place your apples in the fridge while you make the caramel. Cold apples will:
- Help the caramel set faster
- Prevent dripping
- Create a thicker, more even coating.
Even just 20 minutes in the fridge can make a noticeable difference. It’s a simple trick that takes your apples from good to great.
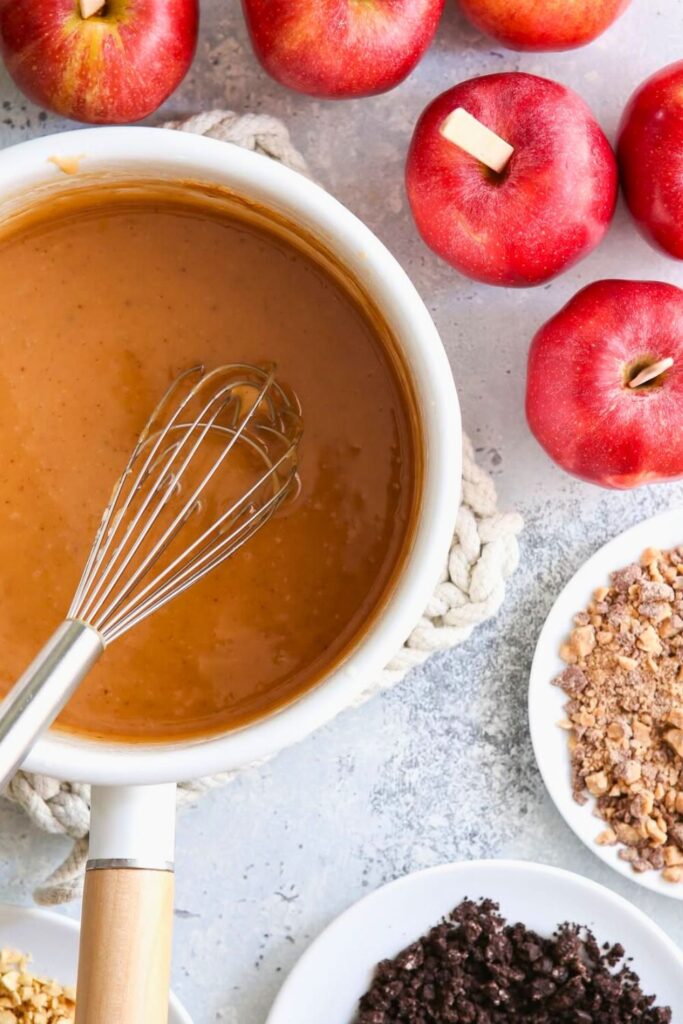
🍯 Step 3: Make the Homemade Caramel
Now, for the heart of the recipe, the homemade caramel. This step may sound intimidating, but it’s surprisingly straightforward if you’re prepared.
Let’s break it down:
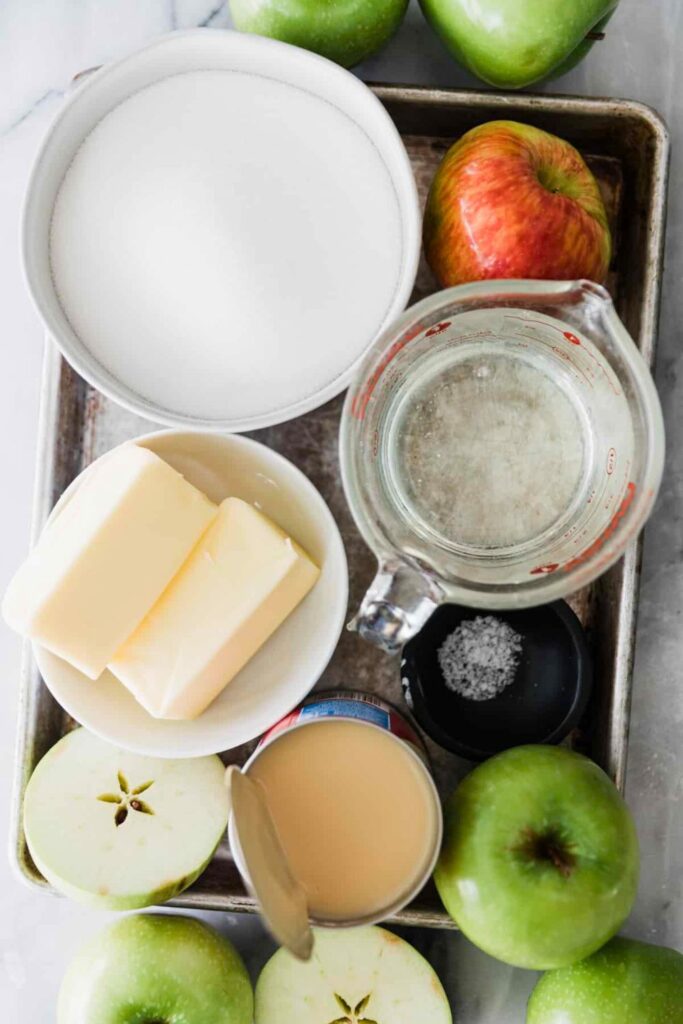
🧂 Ingredients to Combine in the Pot:
- 2 cups brown sugar (light, dark, or a mix)
- 1½ cups heavy cream
- 5 tablespoons unsalted butter
- ½ teaspoon salt
- ½ cup corn syrup
You’ll also need:
- A wooden spoon (ideal because it doesn’t conduct heat)
- A pastry brush and water (to prevent crystallization)
- A candy thermometer
- A heavy-bottomed pot with thick walls (thin pots can scorch caramel)
👨🍳 Cooking Instructions:
- Add all caramel ingredients into your pot.
- Set over medium-low heat and stir continuously until:
- The butter is completely melted.
- Everything looks homogeneous and smooth.
Once it’s fully combined, stop stirring.
🔥 Use Your Pastry Brush
Dip your brush in water and use it to wash down the sides of the pot. This is crucial. If sugar crystals stick to the sides, they can cause your entire batch of caramel to crystallize.
It’s like a quick little spa for your caramel, keeping it smooth and silky.
🌡️ Monitor the Temperature
Now, attach your candy thermometer and let the caramel come to a boil. You’re looking for it to reach the soft-ball stage, which is between 235°F and 240°F.
Pro tip: Do NOT use a small pot. Caramel bubbles up a lot, and using a small pot could result in a sticky overflow disaster. A thick-walled, medium-to-large saucepan is your friend here.
Once the caramel reaches 235°F, remove it from the heat.
🍦 Add the Final Touch
Stir in:
- 1 tablespoon vanilla extract
This adds warmth and enhances the flavor of the caramel. After mixing, your caramel will be thick and glossy, perfect for dipping.
⏳ Step 4: Cool the Caramel to Dipping Temperature
Here’s a critical step that can make or break your caramel apples.
Don’t dip right away.
Why? At 235°F, your caramel is still too hot. It’ll drip right off the apples or form a thin, uneven coating. Instead, let it cool for 5–10 minutes until it reaches about 190°F.
This is the ideal dipping temperature. The caramel is:
- Thick enough to coat
- Cool enough to cling
- Not so cool that it hardens mid-dip
You can pour the caramel into a heat-safe bowl to help it cool faster and make dipping easier.
While it’s cooling, this is a great time to set up your dipping station:
- Lay out your toppings in shallow bowls.
- Line a baking sheet with silicone mats or parchment paper.
- Get ready to dip!
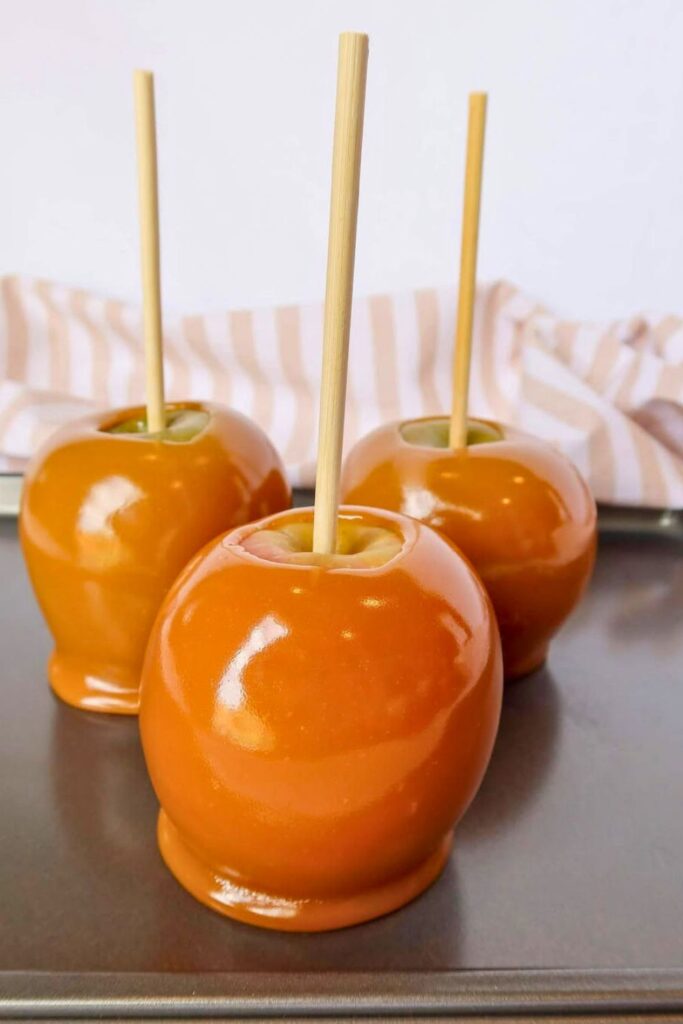
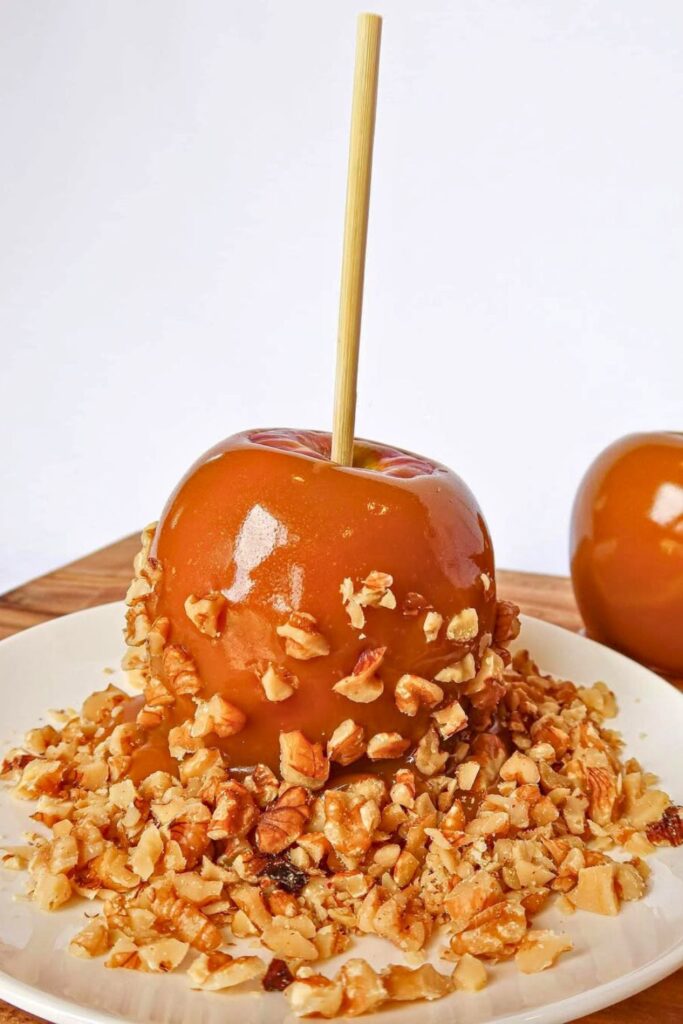
🍎 Step 5: Dip and Decorate
The moment you’ve been waiting for is time to dip your apples in that luscious, buttery caramel.
🍯 How to Dip:
- Grab one cold apple by the stem.
- Dip slowly into the bowl of caramel.
- Tilt and swirl to coat the apple completely.
- Let the excess drip off back into the bowl.
- Scrape the bottom lightly on the edge of the bowl to prevent pooling.
This process is surprisingly satisfying. Watch the caramel hug the apple like a cozy fall sweater.
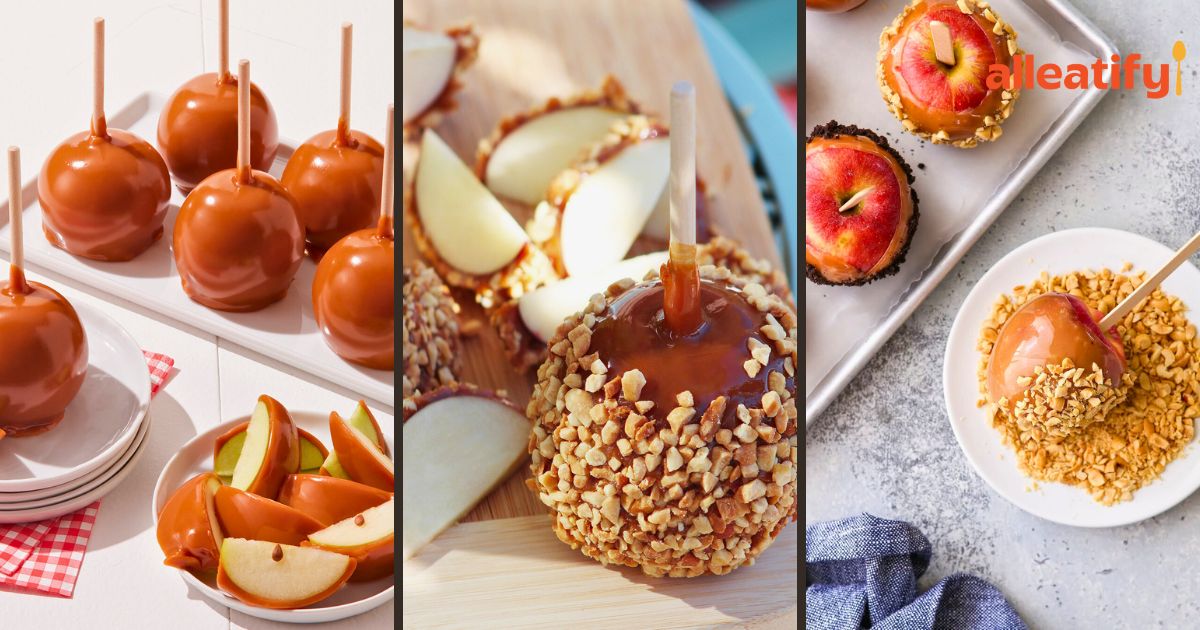
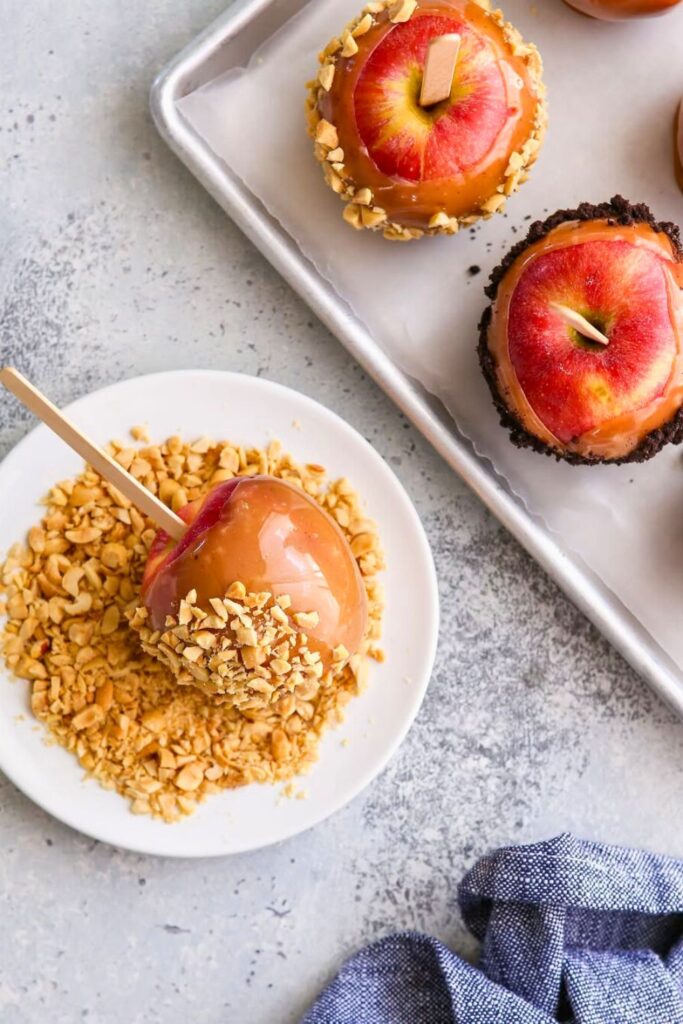
✨ Add Your Toppings
While the caramel is still tacky (but not runny), press on your toppings of choice:
- Mini M&Ms: For color and crunch
- Chopped peanuts: Classic and salty-sweet
- Sprinkles: Perfect for kids (and the kid in you)
- Crushed pretzels: For a salty twist
- Everything together: The “monster apple”!
Want a picture-perfect finish?
If you notice air bubbles in the caramel coating, blast the apple quickly with a hair dryer or heat gun. This pops the bubbles and gives the caramel a smooth, glossy look. It’s an optional step, but it makes your apples look extra polished.
🧁 Let Them Set
Place each decorated apple onto your lined baking sheet. Let them cool and set fully at room temperature or pop them in the fridge to speed things up.
Once set, they’re ready to eat or show off at your next fall party!
🔪 How to Slice and Serve Caramel Apples
You’ve dipped. You’ve decorated. You’ve let them sit. Now comes the most satisfying part—slicing and serving your homemade caramel apples.
But let’s be real: biting straight into a caramel apple is not always the easiest (or cleanest) thing to do. Sticky caramel, toppings flying, and apple juice dribbling down your chin, it’s a vibe, but not always a convenient one.
So, what’s the better way?
✂️ The Right Way to Slice a Caramel Apple:
- Chill first – If your caramel apples have been sitting at room temp, pop them in the fridge for 15–20 minutes. Slightly chilled caramel is easier to cut and won’t slide around.
- Use a sharp knife – Grab a chef’s knife or a large serrated knife. A dull blade will just push the caramel around.
- Place the apple stick-side up – Set the apple on a cutting board with the stick pointing upward. This helps keep things stable.
- Cut straight down around the core – Slice four sides off the apple, avoiding the tough center. You’ll get neat wedges that are perfect for serving or snacking.
- Slice into smaller pieces – If you’re serving a crowd or just want bite-sized treats, you can cut each wedge in half or thirds.
🍽️ Great Ways to Serve:
- On a platter with toothpicks for guests
- Drizzled with melted chocolate or extra caramel
- With a side of warm apple cider
- As a topping on ice cream or cake
Sliced caramel apples are also a great party treat. You get the wow factor of a full caramel apple, but in portions that are easier to eat (especially for kids).
🍏 Caramel Apple Flavor Ideas (Mix & Match Inspiration)

Once you’ve mastered the base caramel apple, the flavor possibilities are endless. Whether you’re going for classic, salty-sweet, or something totally creative, here are some fun combinations you can try:
| Apple Variety | Topping Combo | Flavor Theme |
| Granny Smith | Chopped peanuts + mini M&Ms | Classic carnival-style |
| Honeycrisp | White chocolate drizzle + crushed pretzels | Sweet & salty |
| Fuji | Crushed graham crackers + marshmallows | S’mores caramel apple |
| Pink Lady | Cinnamon sugar + crushed pecans | Apple pie caramel apple |
| Gala | Toasted coconut + dark chocolate chips | Tropical fall vibes |
| Braeburn | Crushed Oreos + chocolate drizzle | Cookies & cream |
| Red Delicious | Sprinkles + caramel popcorn bits | Birthday party apple |
| Jazz | Sea salt flakes + toffee bits | Salted caramel crunch |
💡 Pro Tip: Use a shallow bowl or plate when rolling your apples in toppings so you get an even, generous coating without the mess.
✅ 5 Tips for Caramel Apple Success
Making caramel apples may seem simple, but a few insider tricks will help you avoid common pitfalls and get beautiful, delicious results every time.
1. Scrub That Wax Off
This is the #1 reason caramel slides right off the apple. Whether you’re using Granny Smith or Honeycrisp, removing the wax coating is essential. A quick dip in hot water followed by a vigorous rub with a towel will do the trick. Think of it as prepping the canvas before you paint.
2. Cool the Caramel to the Right Temperature
Caramel that’s too hot (above 200°F) will be too runny and won’t stick well. If it’s too cool, it becomes too thick to dip. The sweet spot? Around 190°F. Use a candy thermometer to nail this every time.
3. Chill the Apples First
Cool apples = faster setting caramel. Not only does this help the caramel firm up quickly, but it also gives you a smooth finish. Just 20 minutes in the fridge before dipping makes a big difference.
4. Use a Silicone Baking Mat (or Parchment)
After dipping, you’ll need a non-stick surface to let your apples cool. Silicone baking mats are best, but parchment paper also works well. Avoid wax paper. It sticks to the caramel like glue and ruins your hard work.
5. Decorate While Caramel Is Still Tacky
Timing is everything! As soon as you dip the apple, it’s go-time for decorations. Sprinkle, roll, or press toppings immediately, or they won’t stick once the caramel begins to set.
🍁 Final Thoughts: Make Caramel Apples Your New Fall Tradition
Caramel apples are more than just a dessert, they’re a memory in the making. From washing apples to dipping and decorating, it’s an activity the whole family can enjoy together.
Whether you’re reliving your childhood or creating new moments with your own kids, this homemade caramel apple recipe brings all the fall feels.
So grab a basket of apples, fire up the stovetop, and let the sweet scent of caramel fill your kitchen. You’ll end up with treats that are fun to make, gorgeous to look at, and even better to eat.
🍏 More Cozy Fall Recipes You’ll Love:
Craving more autumn apple treats? Try these next:
- 👉 The Best Apple Galette Recipe You’ll Ever Try
Flaky crust, rustic charm, and perfectly spiced apple filling, it’s everything a fall dessert should be. - 👉 Delicious Apple Fritter Recipe for Gen Z Bakers
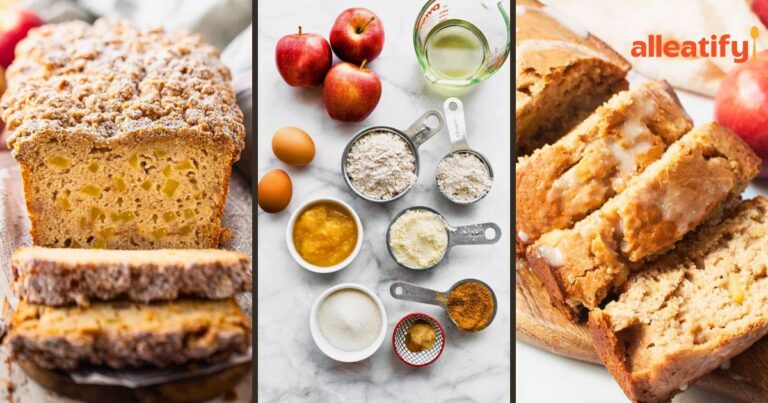
Crispy on the outside, fluffy on the inside, and coated in sweet glaze. These apple fritters are next-level. - 👉 Cozy 15-Min Prep Apple Cinnamon Bread Recipe
Warm, moist, and packed with cinnamon-spiced apples, this loaf is the ultimate fall comfort food.