Classic Gingerbread Cookies Recipe for the Holidays in 2026
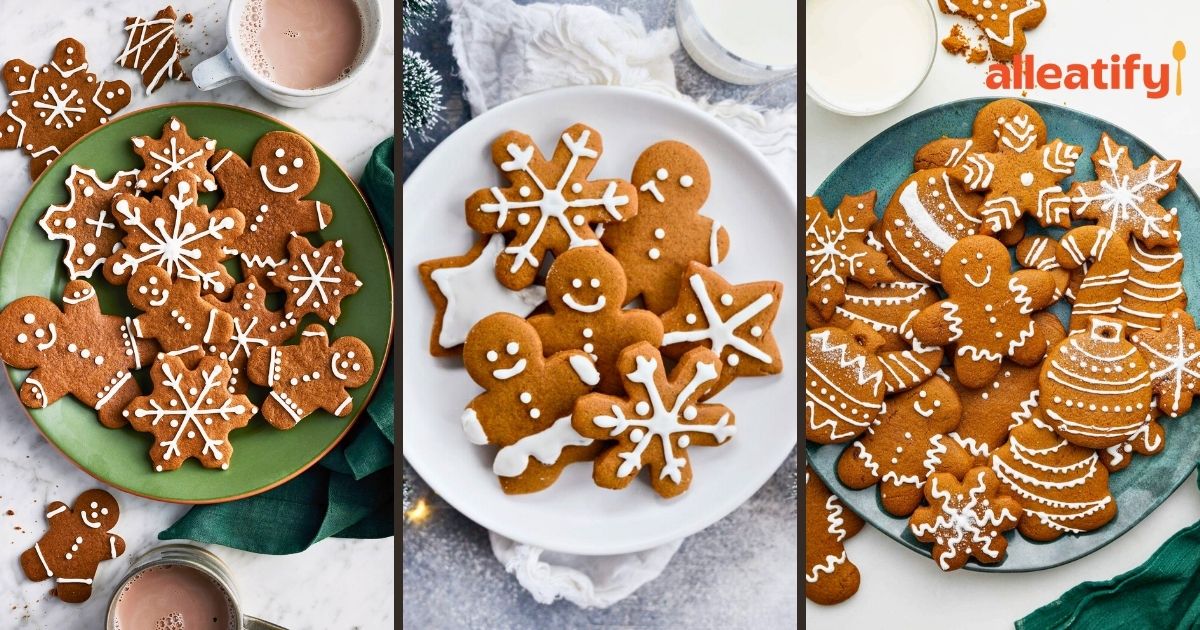
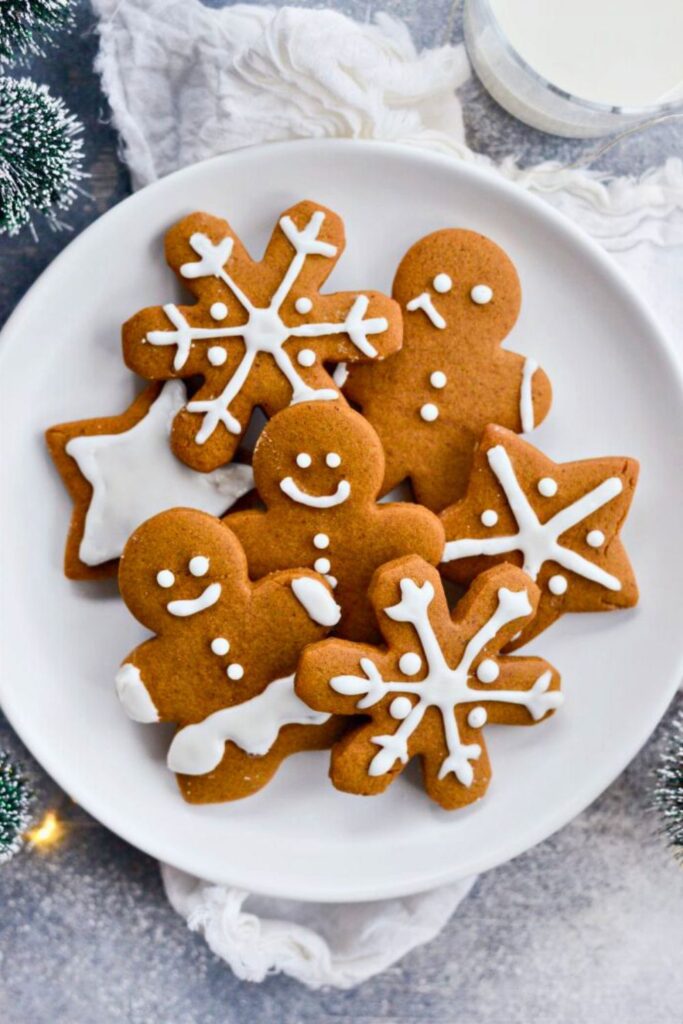
There’s something magical about the smell of freshly baked gingerbread cookies filling your kitchen. That cozy mix of molasses, cinnamon, and ginger instantly feels like Christmas morning.
Whether you bake them with your kids, gift them to friends, or decorate them for fun, these cookies never fail to bring joy.
This classic gingerbread cookies recipe is soft, chewy, and full of warm holiday flavor. It’s simple, foolproof, and the perfect base for endless decorating fun.
So grab your apron, let’s make some cookie magic!
Why You’ll Love This Gingerbread Cookie Recipe

There’s a reason this gingerbread cookie recipe becomes everyone’s holiday favorite year after year: it’s that perfect mix of nostalgic flavor, soft texture, and festive fun.
Every bite feels like a warm Christmas hug, and the aroma alone can make your home feel like the holidays have arrived.
These cookies are a dream for both beginners and seasoned bakers because they’re simple to make, easy to decorate, and turn out beautifully every time.
Here’s why you’ll absolutely love this recipe:
- Soft and chewy texture: Each cookie bakes with crisp edges and a tender, melt-in-your-mouth center.
- Perfect balance of spices: The blend of ginger, cinnamon, and cloves adds cozy warmth without overpowering sweetness.
- Simple and stress-free: The dough comes together quickly, rolls out smoothly, and holds its shape perfectly after baking.
- Kid-friendly and fun: Decorating these cookies is an activity the whole family will enjoy, especially kids who love creating gingerbread families.
- Versatile and make-ahead friendly: You can prepare the dough in advance or bake the cookies days before your gathering.
- Holiday-perfect presentation: Their golden-brown color and sweet icing designs look beautiful on any Christmas cookie platter.
From the rich molasses flavor to the creative decorating options, these cookies are pure holiday joy baked into every bite.
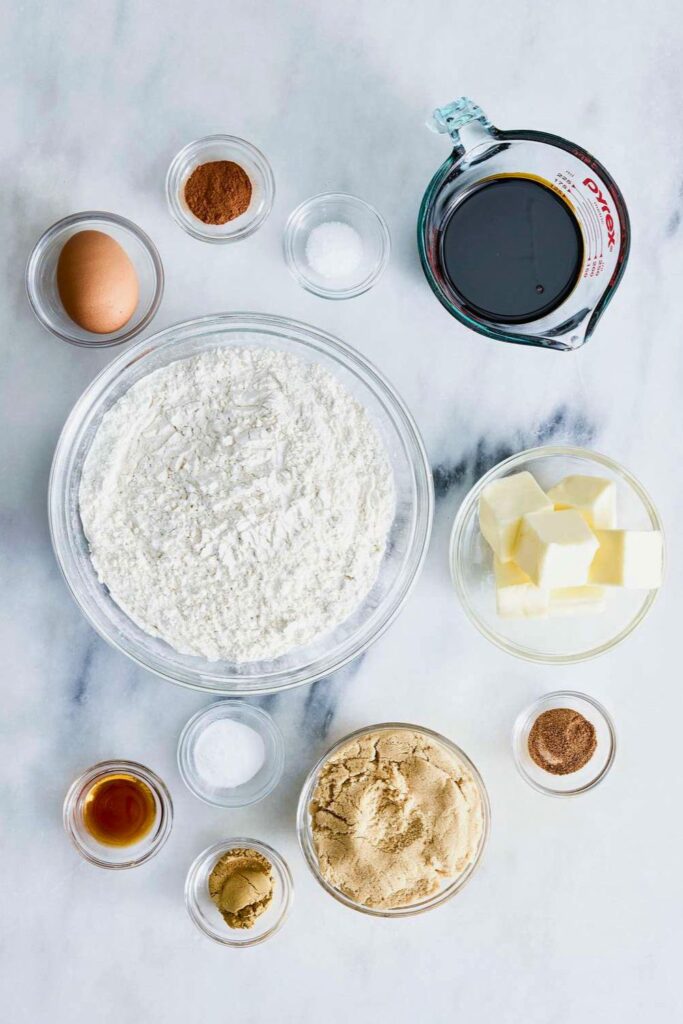
Ingredients You’ll Need
| Category | Ingredients | Details / Notes |
| Dry Ingredients | All-purpose flour | 3 cups, sifted for smooth dough |
| Ground ginger | 1 tablespoon gives the classic spicy warmth | |
| Ground cinnamon | 1 tablespoon adds depth and sweetness | |
| Ground cloves | ½ teaspoon enhances aroma and richness | |
| Baking soda | 1 teaspoon helps the cookies rise slightly | |
| Salt | ¼ teaspoon balances sweetness and spices | |
| Wet Ingredients | Unsalted butter | ¾ cup, softened to room temperature |
| Light brown sugar | ¾ cup, packed firmly for moisture and flavor | |
| Molasses | ⅔ cup, creates deep color and signature gingerbread flavor | |
| Egg | 1 large, room temperature for better mixing | |
| Icing Ingredients | Powdered sugar | 1 ½ cups, sifted to remove clumps |
| Milk | 2–3 tablespoons, to thin the icing to the desired consistency | |
| Vanilla extract | ½ teaspoon adds flavor and aroma |
These simple, pantry-friendly ingredients come together to make rich, festive cookies perfect for holiday baking.
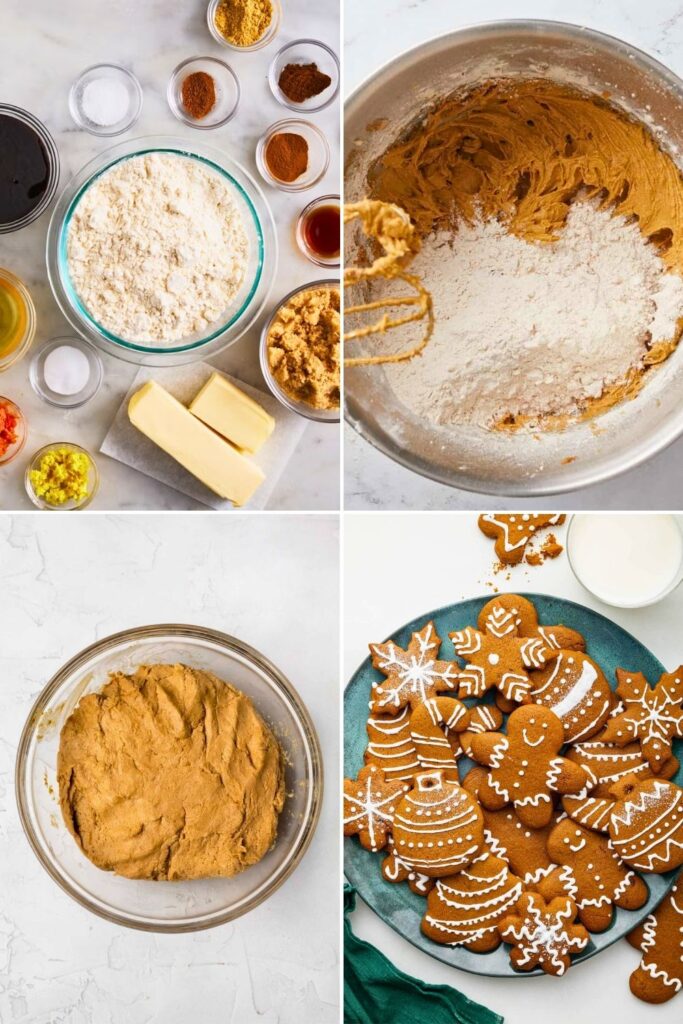
Step-by-Step Guide to Making Gingerbread Cookies
Baking gingerbread cookies isn’t just about following a recipe; it’s about creating something warm, cozy, and festive that brings people together.
From the scent of cinnamon in the air to the joy of decorating little gingerbread people, this process is pure holiday magic.
Let’s break down every step so you feel confident and excited as you bake your batch.
Step 1: Sift the Dry Ingredients
Let’s start where all great cookie recipes begin, with the dry ingredients.
Grab a large mixing bowl and sift together the flour, ground ginger, cinnamon, cloves, baking soda, and salt. Sifting isn’t just a fancy extra step; it actually makes a difference.
It helps break up clumps in the flour and spices, especially when working with baking soda or ginger, which tend to lump.
When your dry mix is smooth and evenly blended, set it aside. This spiced flour base will bring that classic gingerbread aroma to life once you mix it in with the wet ingredients.
Quick Tip: If you notice any stubborn clumps (especially from the baking soda or spices), use the back of a spoon or spatula to press them through the sieve.
Step 2: Cream the Butter and Sugar
In a separate large bowl, it’s time to make the rich, buttery dough base. Add the softened butter, make sure it’s at room temperature so it creams easily, and the packed brown sugar.
You’ll know your brown sugar is packed correctly when it holds the shape of the measuring cup after being turned out. That density ensures enough moisture and caramel flavor makes its way into your cookies.
Now, using a hand or stand mixer, beat the butter and sugar together on high speed for about three minutes. You’re looking for a light and fluffy texture, almost like whipped frosting.
This process incorporates air into the dough, helping your cookies puff just slightly in the oven.
Pro Tip: If the mixture looks gritty or separated, keep mixing; it’ll smooth out as the butter softens more.
Step 3: Add Molasses and Egg
Time for the star ingredient: molasses.
Molasses adds the rich, deep flavor that makes gingerbread cookies so unique. Pour it into the butter-sugar mixture and beat until it’s thoroughly combined. The color of the dough will darken into a rich caramel brown, and the smell? Absolutely heavenly.
Next, crack your room-temperature egg and mix again. This helps bind everything together and adds a bit more moisture, keeping your cookies soft.
Once thoroughly mixed, your wet batter should look glossy and thick. It may be tempting to taste it at this point, and honestly, we wouldn’t blame you.
Step 4: Combine Wet and Dry Mixtures
Now that your wet ingredients are beautifully blended, it’s time to add in that spiced flour mixture from earlier slowly.
Set your mixer to low speed (trust us, you don’t want a flour cloud in your kitchen), and gradually add the dry ingredients a little at a time.
The dough will start to come together and pull away from the sides of the bowl. You’ll know it’s ready when there are no dry flour patches left and everything is fully incorporated.
At this stage, your dough will be soft, slightly sticky, and fragrant with spice. Don’t worry if it seems a bit too soft to roll; that’s where the chilling comes in.
Baking Tip: If your dough feels too wet, you can add a tablespoon or two of flour. But don’t overdo it, or you’ll lose that perfect chewy texture.
Step 5: Chill the Dough
This step is essential. Soft dough needs to chill to firm up and hold its shape during rolling and baking.
Lightly dust your countertop with flour and turn out the dough. Sprinkle a little more flour over the top so it doesn’t stick to your hands. Then divide the dough into three equal portions.
Pat each one into a disc shape. This makes it easier to roll out later and wrap them tightly in plastic wrap.
Place the discs in the fridge and chill for at least one hour. If you’re prepping ahead, you can keep the dough in the refrigerator for up to 24 hours.
Why This Matters: Chilled dough is easier to work with, sticks less, and bakes into cookies that hold their shape with clean edges.
Step 6: Roll and Cut the Cookies
Once your dough is chilled and firm to the touch, you’re ready to roll.
Preheat your oven to 375°F (190°C). Then lightly flour your work surface and your rolling pin. Take out one disc of dough at a time (keep the others in the fridge) and roll it out to about ¼-inch thickness.
This thickness is the sweet spot; it gives you cookies that are soft in the middle and crisp around the edges. If you roll them too thin, they’ll overbake quickly and turn out crunchy. Too thick, and they might bake unevenly.
Now grab your favorite cookie cutters, gingerbread men, stars, snowflakes, or even Christmas trees and start cutting out shapes. Re-roll the scraps and cut more until you’ve used up all the dough.
Pro Tip: The dough is delicate, so keep dusting your surface with flour as needed. If it gets too soft, pop it back in the fridge for 10–15 minutes to firm it up.
Step 7: Arrange on Baking Sheets
Line your baking sheets with parchment paper for easy cleanup and to prevent sticking.
As you cut out cookies, transfer them gently onto the sheets. Space them about 1 inch apart. They won’t spread much, but a little breathing room helps them bake evenly.
Work with one tray at a time to ensure your cookies all bake at the same rate. While one batch bakes, you can roll and cut the next disc of dough.
Tip for Neat Bakers: If your cookies stick to the counter, use a thin spatula or bench scraper to lift them cleanly without stretching the shapes.
Step 8: Bake to Perfection
Place the tray in the preheated oven and bake for 9 to 10 minutes. Keep a close eye on them gingerbread cookies can go from soft to overbaked in no time.
You’ll know they’re done when the edges are set and just starting to turn golden brown. The centers might still look soft, and that’s okay! They’ll continue to firm up as they cool.
If you prefer a crispier cookie all the way through, leave them in for another minute or so. But for most people, that chewy center is the real treat.
Once baked, remove the cookies from the oven and let them cool on the sheet for about 2 minutes, then transfer them to a wire rack to cool completely before decorating.
Final Baking Tip: Don’t rush the cooling process. Warm cookies will melt the icing and lose their shape when handled too soon.
Step-by-Step: Easy 3-Ingredient Icing

Once your gingerbread cookies are baked and cooled, it’s time to bring them to life with a simple, sweet icing. This glaze is made with just three ingredients.
But it delivers the perfect texture for decorating, thick enough to outline and thin enough to flood. Best of all, it dries firm, so your cookies won’t stick together in storage.
Ingredients for the Icing:
- Powdered sugar – 1½ cups
- Milk – 2 to 3 tablespoons
- Vanilla extract – ½ teaspoon
Start by whisking the powdered sugar and milk together in a small bowl. Add the vanilla and continue mixing until you reach a thick ribbon-like consistency.
That means that when you lift your spoon, the icing should fall slowly, leaving a trail on the surface before blending in.
If it’s too thick and won’t move, add a drop or two more milk. If it’s too runny, sprinkle in more powdered sugar.
Once it’s just right, transfer the icing to a piping bag or a zip-top bag, then snip off a small corner. Keep the tip covered when not using it to prevent drying out.
You’re now ready to decorate your gingerbread people, snowflakes, or trees with snowy outlines, swirls, and sweet little smiles!
Decorating Your Gingerbread Cookies

Now comes the fun part, the decorating!
Start by outlining each cookie with the icing to define the edges. This helps keep your designs neat and prevents icing from spilling over.
From there, you can flood the center (fill in the shape) or add detailed designs like zigzags, buttons, scarves, or snowflake patterns.
While the icing is still wet, sprinkle on your favorite holiday toppings:
- Colorful sprinkles
- Mini candies
- Edible glitter
- Crushed peppermint
- Candy eyes for characters
If you’re decorating with family or hosting a cookie party, divide the icing into separate piping bags so everyone gets their own. You can even tint portions of the icing with gel food coloring to make vibrant reds, greens, or blues for festive flair.
Let the decorated cookies sit at room temperature for 1–2 hours until the icing is fully set. Then stack, store, or wrap them as gifts!
Decorating these cookies turns into an activity full of laughter, creativity, and holiday cheer. Plus, you get to eat your art. Win-win.
Pro Tips for Perfect Gingerbread Cookies
Want bakery-style results every time? Follow these tried-and-true tips to take your cookies from good to unforgettable:
1. Chill Your Dough
Soft dough = messy cookies. Refrigerate the dough for at least 1 hour before rolling. Chilled dough rolls more easily and holds its shape beautifully during baking.
2. Roll Evenly
Stick to a ¼-inch thickness when rolling your dough. Thinner dough bakes faster and can get too crunchy, while thicker dough may stay raw in the center.
3. Keep Your Surface Well-Floured
This dough is naturally soft and sticky. Generously dust your rolling surface, rolling pin, and even the dough itself. If it gets sticky, chill it again briefly.
4. Watch Your Bake Time
Every oven runs a little differently. Start checking at the 9-minute mark. The cookies are done when the edges turn golden and the centers are still soft.
5. Let the Icing Set Fully
After decorating, let the icing dry for 1–2 hours before stacking or packaging. This prevents smudges and keeps your designs picture-perfect.
These small steps make a big difference and help your cookies look as amazing as they taste!
Fun Flavor Variations to Try

Want to put your own twist on the classic gingerbread flavor? Try these fun, simple add-ins or swaps to change things up without losing that festive charm:
| Variation Name | What to Add | Flavor Impact |
| Citrus Gingerbread | 1 tablespoon orange or lemon zest | Adds brightness and a subtle tangy twist |
| Spiced Heat | Pinch of cayenne or black pepper | Warms up the flavor with a gentle kick |
| Chocolate Swirl | 2 tablespoons unsweetened cocoa powder | Gives a more profound, brownie-like richness |
| Maple Molasses | Substitute maple syrup for ⅓ of the molasses | Sweetens and smooths out the spice |
| Nutty Delight | ½ cup finely chopped pecans or walnuts | Adds texture and toasty, earthy flavor |
| Espresso Boost | 1 teaspoon instant espresso powder | Deepens the spice notes with a coffee twist |
These creative spins are perfect if you’re baking multiple batches and want to offer a variety. You can even create themed trays like “Spiced” or “Citrus Winter Wonderland”!
Final Thoughts
Gingerbread cookies aren’t just baked goods; they’re edible happiness. The warm spices, buttery texture, and the fun of decorating make them the heart of every Christmas kitchen.
Once you try this recipe, you’ll find yourself baking them year after year. Whether you’re making them for Santa, your kids, or yourself, these cookies bring comfort, laughter, and that unmistakable holiday magic.
So roll up your sleeves, preheat your oven, and let the scent of gingerbread fill your home. Merry baking!
More Cozy Recipes to Try Next
If you loved these classic gingerbread cookies, you’ll adore these comforting, cozy soup recipes perfect for pairing with your holiday bakes or warming up chilly nights:
- 🥔 Creamy 30-Min Potato Leek Soup Recipe You’ll Love
Silky, rich, and ready in just half an hour, this soup is comfort in a bowl. - 🥣 Hearty White Bean Soup Recipe for Busy Nights
A protein-packed one-pot wonder that’s perfect for meal prep or quick dinners. - 🥕 Healthy Roasted Carrot Soup Recipe You’ll Crave
Naturally sweet, creamy, and full of flavor, a must-try for fall and winter.
Each of these dishes pairs perfectly with your favorite holiday treats for a cozy, satisfying meal that warms you from the inside out.