Classic Pavlova Recipe for Christmas Nights in 2026
Making a dessert for guests can feel stressful, especially when you want something impressive but not complicated. Pavlova solves that problem in the best way.
It looks elegant, tastes incredible, and comes together with simple ingredients you already know.
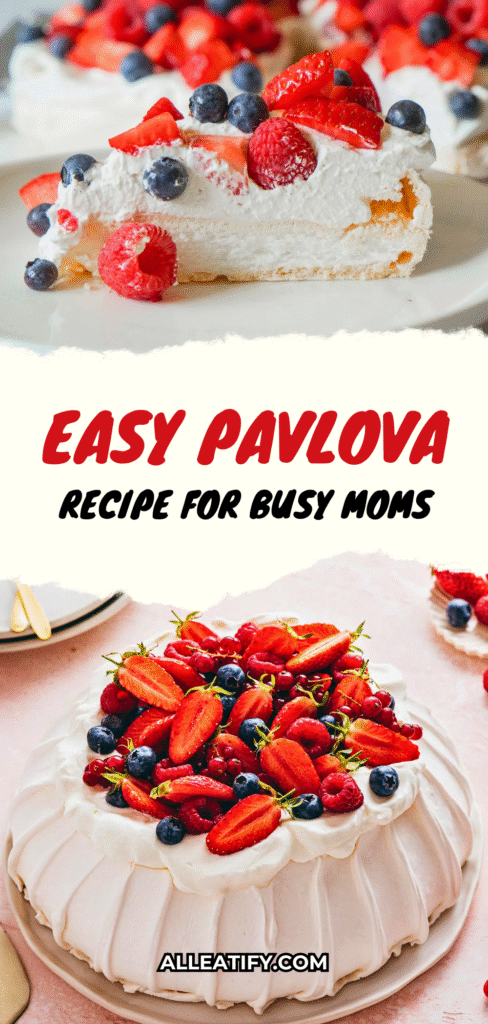
This dessert is all about contrast. The outside is crisp and light, while the centre stays soft and marshmallow-like. Add a pile of whipped cream and fresh fruit on top, and you get a dessert that feels fancy without the effort.
You don’t need special tools or pro-level skills here. You only need to understand a few small steps, like how to whip the egg whites or cool the meringue slowly.
Once you get those basics down, pavlova becomes an easy go-to for holidays, warm-weather dinners, or any night you want something sweet.
Ready to make a showstopping pavlova at home? Let’s begin.
What Is a Pavlova, Anyway?
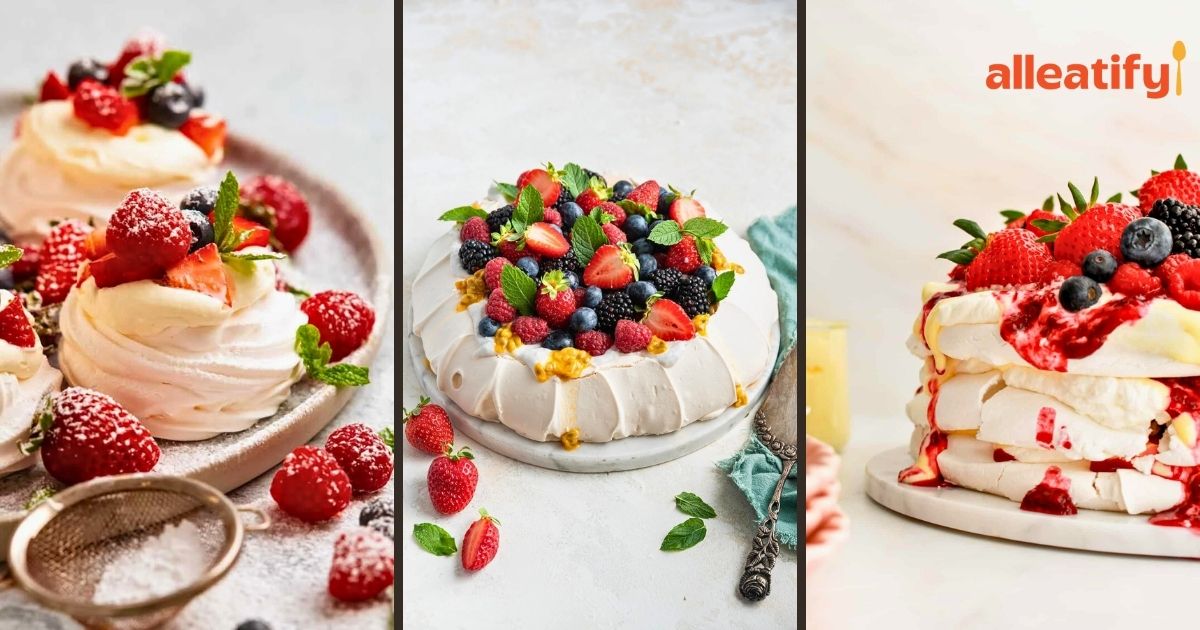
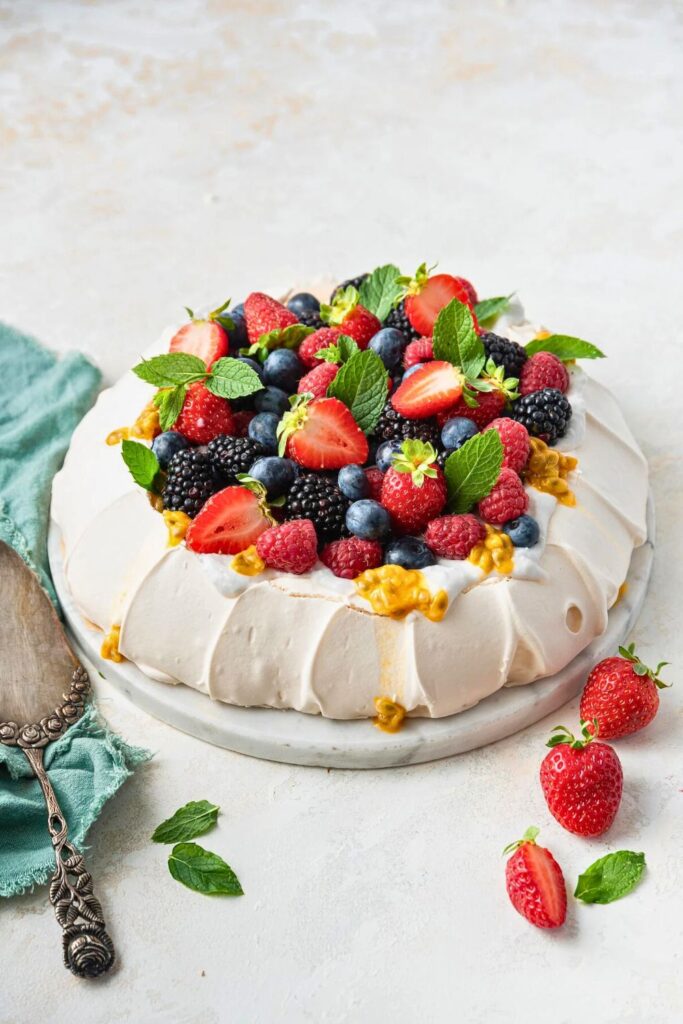
A Pavlova is one of those magical desserts that feels fancy yet comforting at the same time. At its core, it’s a large baked meringue that has a crisp, crackly outer shell and a soft, marshmallow-like interior that almost melts on your tongue.
When you slice into it, the outside gives a light crunch, while the inside stays pillowy and creamy, almost like a vanilla-infused cloud. It’s the perfect balance of textures, which is why Pavlova often becomes the star of any dessert table.
What makes Pavlova special isn’t just its taste, but also how it transforms a few simple ingredients, egg whites, sugar, and a touch of acid, into something spectacular.
The slow baking and even slower cooling help it dry out on the outside while keeping that iconic marshmallow centre intact.
Once fully cooled, it’s topped with freshly whipped cream and soft, juicy fruits that brighten the flavor and add a refreshing contrast.
People love Pavlova for many reasons:
- It’s naturally gluten-free.
- It uses basic pantry ingredients but delivers a showstopping finish.
- It’s easy to customize with different toppings.
- It’s crisp, creamy, fruity, and light all in one bite.
That’s why this dessert feels like a cloud wearing a crown of berries. Pure magic.
Pavlova Ingredients
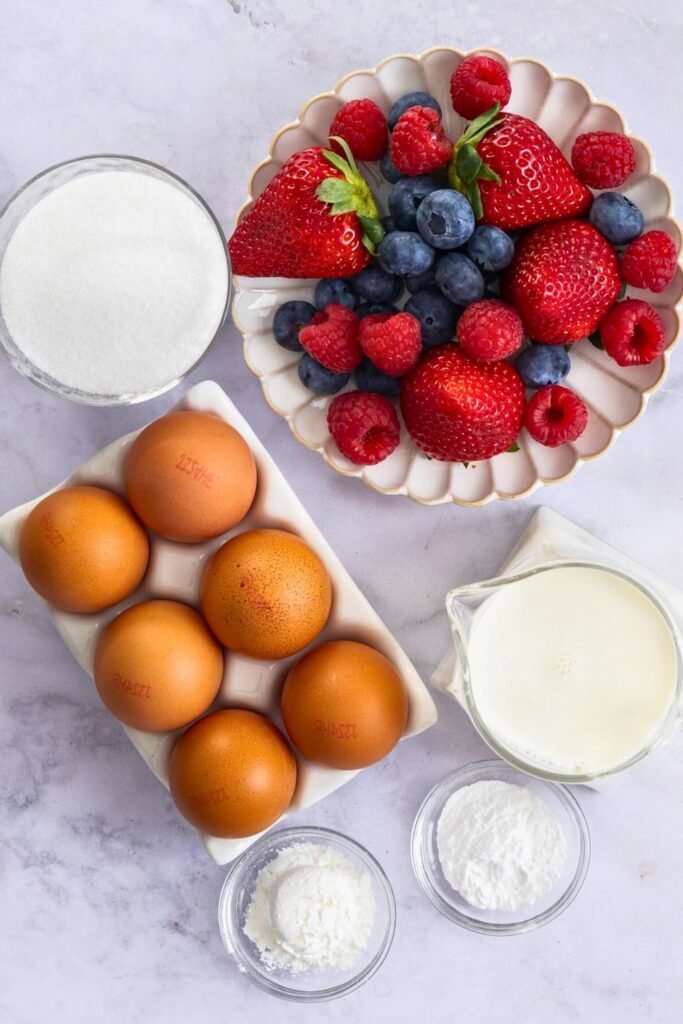
Here is a clean, organized ingredient table directly based on the subtitle content:
| Category | Ingredient | Notes / Purpose |
| Meringue Base | 4 large egg whites | Room temperature for best whipping; no yolk allowed. |
| Pinch of salt | Adds contrast and enhances flavor. | |
| ½ tsp cream of tartar | Stabilizes the meringue; substitute with ¼ tsp lemon juice or vinegar. | |
| 1 cup superfine sugar | Dissolves faster; prevents weeping. You can blitz granulated sugar if needed. | |
| 1 tsp vanilla extract | Adds depth of flavor. | |
| 1½ tsp cornstarch | Creates a marshmallow center; reduces moisture and prevents leaking. | |
| Whipped Cream Topping | 1½–2 cups cold heavy cream | Cold cream whips faster and smoothly. |
| ¼ cup powdered sugar | Adjust for sweetness preference. | |
| 1 tbsp vanilla extract | Enhances cream flavor. | |
| Fruit Topping | ~3 cups mixed fruit | Strawberries, blueberries, raspberries, blackberries, kiwi, passion fruit—soft fruits work best. |
Step-by-Step: How to Make a Perfect Pavlova
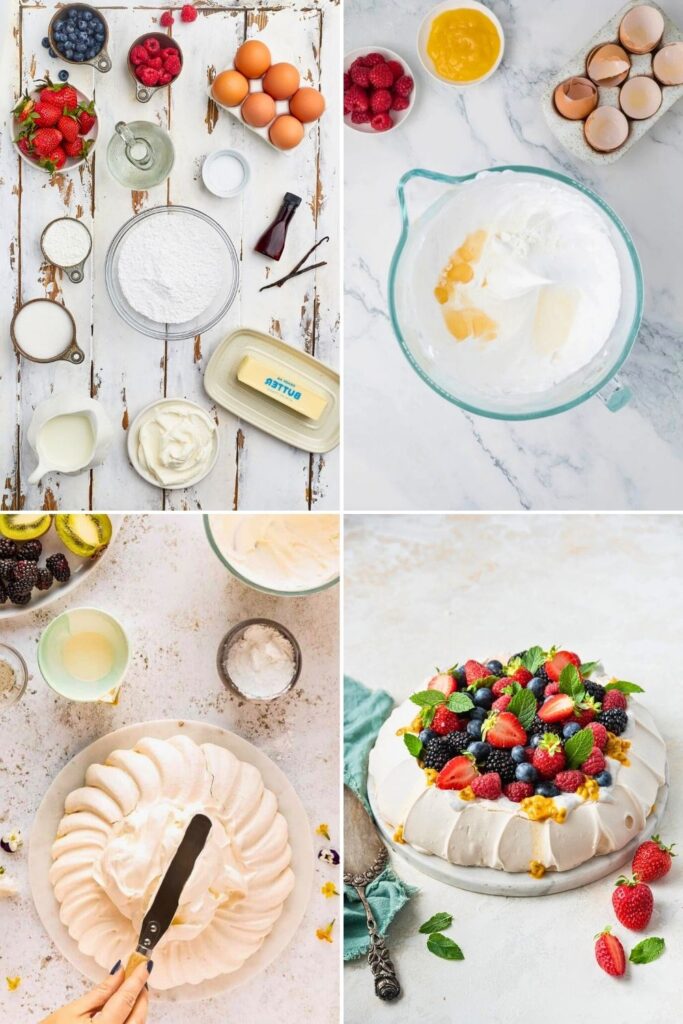
Step 1: Preheat the Oven and Separate Your Eggs
Start by preheating your oven to 300°F (150°C). This initial high temperature will help give your Pavlova a little rise before we drop the heat and bake it gently. A slow bake is key to achieving that perfect crisp shell without burning the delicate meringue.
While the oven heats, grab 4 large eggs and begin separating the whites from the yolks. This part is crucial. Even the tiniest speck of yolk can prevent your egg whites from whipping properly.
Use whichever method works for you: crack-and-pour, shell-to-shell, or your clean hands (honestly, hands give the most control).
💡 Pro Tip: Eggs separate more easily when cold, but whip better at room temperature. So go ahead and separate them cold, then let the whites sit out while you prep the rest.
Step 2: Stabilize and Froth the Egg Whites
Pour the egg whites into a large, clean mixing bowl. If you’re unsure whether your bowl is perfectly clean (and grease-free), give it a quick wipe-down with vinegar or lemon juice. Any grease or residue can sabotage your meringue.
Add a pinch of salt to enhance the flavor and ½ teaspoon of cream of tartar to stabilize the meringue. If you don’t have cream of tartar, use ¼ teaspoon of lemon juice or white vinegar instead. This acidity helps the egg whites whip up taller and hold their shape.
Now, using a stand mixer or hand mixer, beat the egg whites on medium-low speed for 1 to 2 minutes until they begin to froth and look like bubbly sea foam.
You’re not going for volume just yet; this is about creating a solid foundation for your meringue.
Step 3: Slowly Add Sugar
Once your egg whites are nice and frothy, it’s time to add the sugar, but very slowly.
Use 1 cup of superfine sugar, which dissolves more easily and helps create a smoother meringue. If you don’t have superfine sugar, you can make your own by blitzing regular granulated sugar in a food processor for 1 to 2 minutes. You want it finer than granulated but not quite powdered.
Keeping your mixer on medium-low, sprinkle in the sugar one spoonful at a time. This is not the moment to rush. Slowly incorporating the sugar allows it to dissolve fully and prevents the meringue from “weeping” (releasing liquid) during or after baking.
If sugar granules remain undissolved, you’ll end up with a gritty texture or sticky puddles at the base of your Pavlova. And no one wants that.
This French meringue method (as opposed to Swiss or Italian) is simple and elegant, just go slow and let the sugar disappear into the egg whites like magic.
Step 4: Whip Until You Hit Those Glorious Stiff Peaks
Now that all the sugar is in and the mixture looks glossy but loose, it’s time to crank things up.
Turn your mixer to medium-high speed and let it go for 5 to 8 minutes. This is where the real volume comes in.
You’re aiming for stiff, glossy peaks, the kind that hold their shape even when the beater is lifted. Scrape down the bowl halfway through to ensure no sugar or egg whites are hiding out at the bottom.
Test the meringue by rubbing a small bit between your fingers. If it feels smooth, it’s ready. If you still feel grit, keep mixing.
This step is all about building structure. You’re literally whipping air into those egg whites to create a thick, fluffy base that will puff beautifully in the oven.
Step 5: Add Vanilla and Cornstarch
Once your peaks are glossy and stiff, add 1 teaspoon of vanilla extract. Mix briefly to combine just enough to blend it in.
Then, sift in 1½ teaspoons of cornstarch over the meringue. Cornstarch may seem like a small detail, but it makes a big difference:
- It gives the interior that signature marshmallowy softness
- It helps absorb extra moisture, preventing leaks or soggy bottoms
- It adds a touch more structure, helping the Pavlova keep its shape
Gently fold the cornstarch in with a spatula, think of it like folding in air bubbles. You don’t want to deflate all that beautiful volume you just whipped.
Step 6: Shape the Pavlova
Now comes the fun part: sculpting your meringue.
Take a sheet of parchment paper and trace an 8–9 inch circle using a plate. Flip the paper over so you don’t transfer any ink or graphite into the food, and place it on a baking sheet.
Before adding the meringue, dab a little bit in each corner to “glue” the parchment down. This prevents annoying sliding when you shape.
Scoop the meringue into the center of your traced circle. Use a spatula to spread it out into a thick disc gently. Then create a shallow well or nest in the middle so your whipped cream and fruit have a cozy spot to sit.
Feeling dramatic? Use your spatula to create swoopy peaks up the sides. This not only looks beautiful, but adds texture that catches the golden hue during baking.
Step 7: Bake Low and Slow
Pop your Pavlova into the preheated 300°F oven, and immediately reduce the temperature to 250°F (120°C).
Bake for 1 hour to 1 hour and 15 minutes, or until:
- The outside is dry to the touch
- It’s a light cream color
- It sounds hollow when gently tapped
Here’s the important part: Do not open the oven door when baking finishes. Just turn the oven off and leave the Pavlova inside for at least 3 hours. This slow cool-down prevents sudden temperature shocks that cause cracks.
💡 Want to speed things up? After one hour of cooling, crack the oven door and prop it open with a wooden spoon. Let it cool for another hour.
Bonus: You can also let the Pavlova cool in the oven overnight, especially if your kitchen is humid.
Step 8: Make Your Whipped Cream
While your Pavlova cools down, it’s the perfect time to whip your cream.
In a clean, cold bowl, add:
- 1½–2 cups cold heavy cream
- ¼ cup powdered sugar (adjust for desired sweetness)
- 1 tablespoon vanilla extract
Start mixing on low speed, then gradually increase. Whip until you reach soft peaks, where the cream holds shape but still has a gentle flow.
Stop there! Finish whisking by hand to avoid overbeating. Overwhipped cream can turn into butter in seconds, and we’re aiming for a silky, luscious, cloud-like topping.
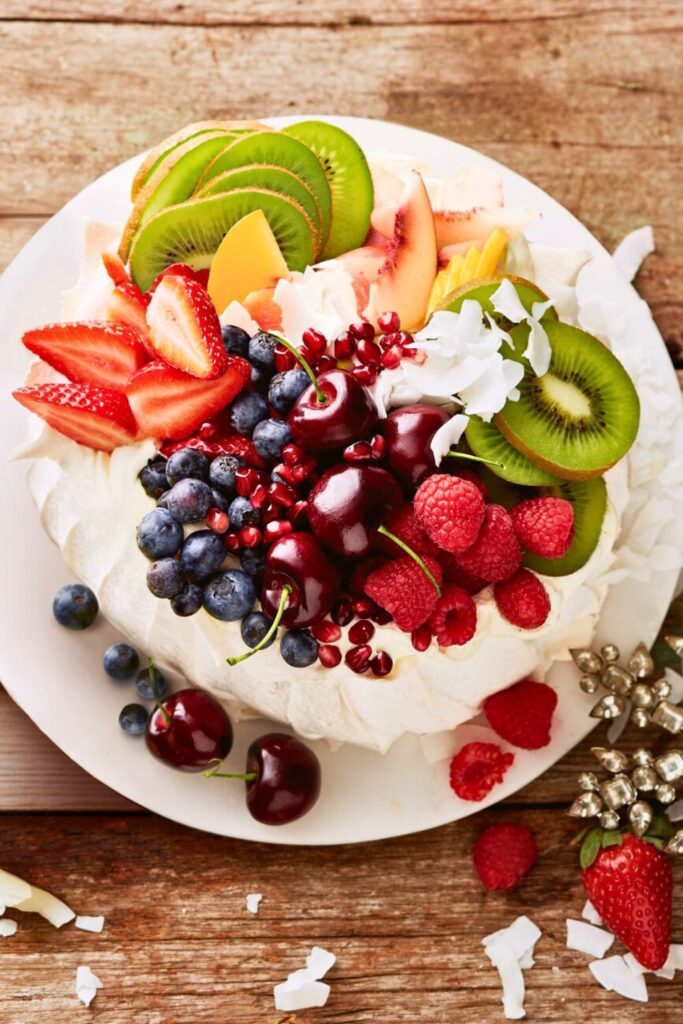
Step 9: Prep the Fruit
Next, wash and slice your fruit. You’ll want about 3 cups of fruit total, and the more colorful, the better!
Stick to soft, juicy fruits for the best contrast with the crispy meringue:
- Strawberries (quartered or sliced)
- Blueberries
- Raspberries
- Blackberries
- Kiwi (peeled and sliced)
- Passion fruit (for drizzle and tang)
Avoid hard fruits like apples or pears. They don’t blend as well with the airy texture.
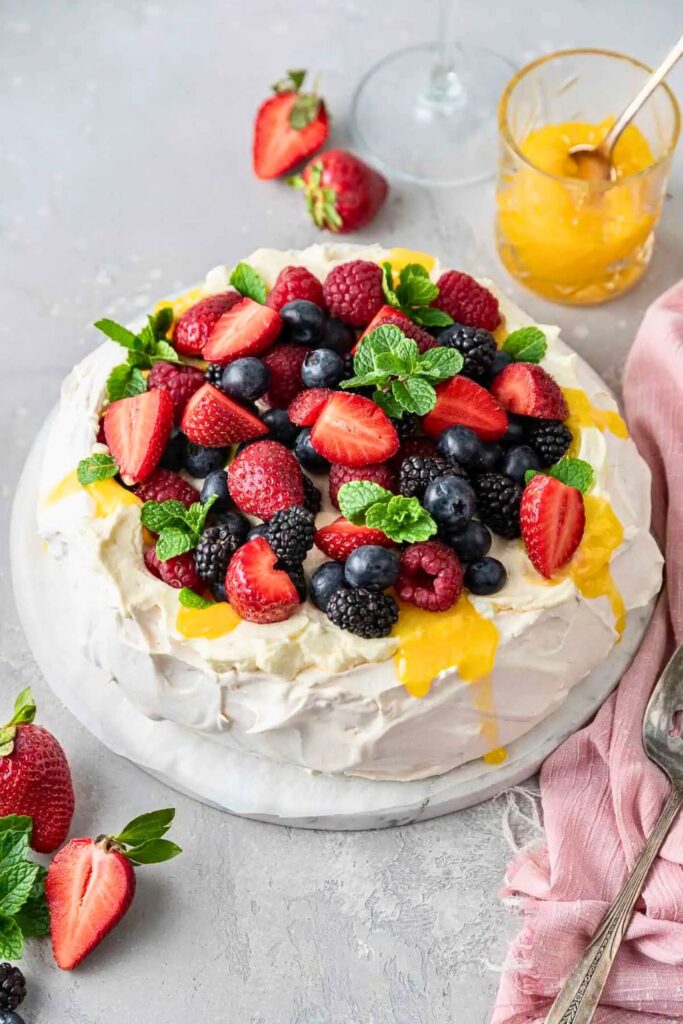
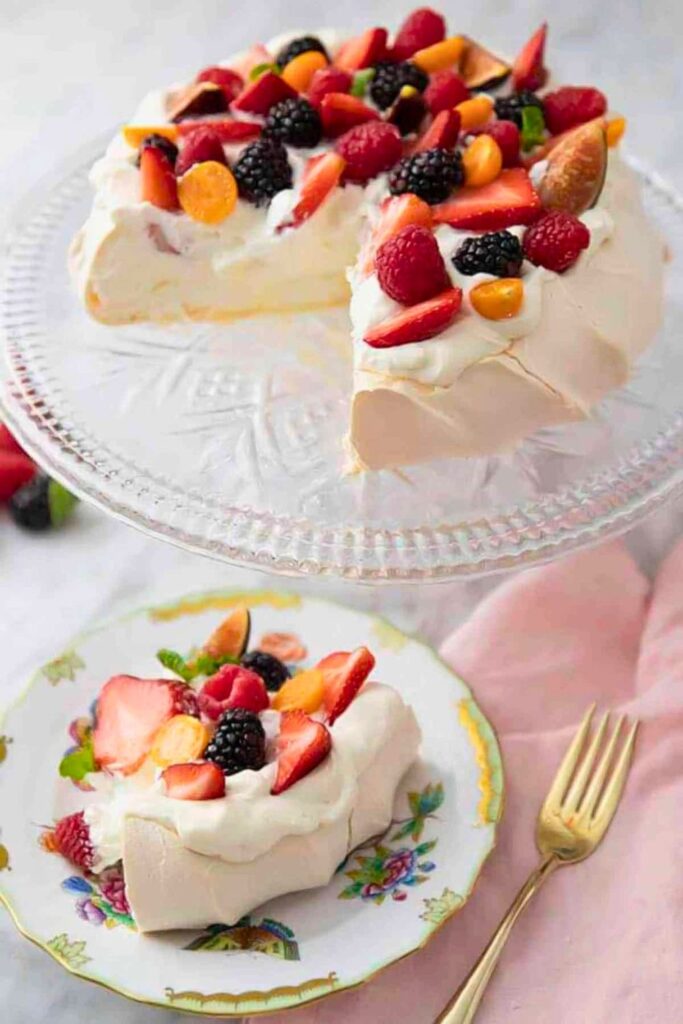
Step 10: Assemble the Masterpiece
Once your Pavlova is completely cooled, gently transfer it to a serving plate or cake stand. If it cracks a little, don’t panic! Cracks are totally normal and easy to cover.
Now, pile on the whipped cream. Spread it generously across the top, filling the dip you created earlier. Make it as thick or thin as you like; there are no rules here.
Scatter your prepared fruit over the whipped cream. Be creative, go for a rainbow look, a swirl pattern, or an artistic mess. Pavlova is rustic and beautiful just as it is.
And that’s it, your Pavlova is ready to slice, serve, and enjoy. The contrast between the crispy shell, pillowy center, airy cream, and juicy fruit is a dessert lover’s dream.
Serving Tips for Pavlova
You’ve followed all the steps, your Pavlova is beautifully baked, and your toppings are ready. Now what? Serving this dessert the right way ensures that the texture, flavor, and presentation shine at their best.
Here are some practical tips to make serving Pavlova a breeze:
- Wait until it’s completely cool before adding whipped cream and fruit. Even slight warmth can melt the cream or make the meringue collapse.
- Assemble just before serving. Meringue starts to absorb moisture from the cream and fruit pretty quickly, so build your Pavlova right before it hits the table.
- Use a serrated knife for clean slices. A sharp bread knife will help you gently saw through the crisp shell without squishing the marshmallow center.
- Serve on a cake stand or flat plate. The base is delicate, so something sturdy (with no edge to trap the meringue) works best.
- Don’t panic if it cracks seriously. Pavlova is a rustic dessert. Cracks add charm and character, not mistakes.
Bonus Tips for Pavlova Perfection
Even though Pavlova looks fancy, it’s more forgiving than you might think. Still, a few extra tips can take your meringue from great to absolutely unforgettable.
1. Humidity Is the Hidden Enemy
Making Pavlova on a humid day? Good luck! Meringue loves dry air. Moisture in the environment can soften that crisp shell or make the whole thing weep. If your climate is damp, let it cool overnight in the oven, where it’s dry and sealed.
2. Superfine Sugar Makes a Superfine Pavlova
Don’t skip this! Granulated sugar is too coarse and slow to dissolve, which can leave your meringue grainy and sticky. A quick blitz in the food processor creates the fine texture you need for a glossy finish.
3. Slow and Steady Wins the Bake
Always start at 300°F, then immediately drop to 250°F once the Pavlova is in. This shock of heat helps it puff, while the gentle bake keeps it from browning or cracking too much.
4. Cool Slowly, Then Assemble Fresh
Don’t open the oven! Cooling too quickly makes the meringue collapse or crack. Leave it in the turned-off oven for at least 3 hours or even overnight.
5. Use a Little Meringue as Glue
Parchment paper slipping around? Dab a bit of meringue under each corner of the parchment to “stick” it to your pan. No more sliding while shaping.
These tiny tweaks are the difference between good and gorgeous.
Why This Pavlova Recipe Works
This Pavlova recipe delivers incredible results for one simple reason: it respects the science of meringue while keeping things practical and approachable.
You’re not just following instructions, you’re creating chemistry:
- Room temperature egg whites whip better and hold more air.
- Acid (cream of tartar or lemon juice) stabilizes the proteins so your foam doesn’t deflate.
- Superfine sugar dissolves easily and creates that shiny, smooth texture.
- Slow sugar addition ensures stability and prevents a weepy base.
- Cornstarch gives the center its trademark soft, marshmallowy feel while reducing excess moisture.
- A low, slow bake prevents browning and keeps the Pavlova light, crisp, and elegant.
- Gradual cooling keeps it from cracking under pressure, literally.
And best of all? This recipe is incredibly flexible. You can change the toppings, shape it how you like, or make mini versions, and it still works beautifully.
It’s not just about dessert. It’s about creating something gorgeous, delicious, and rewarding with only a few pantry staples and a little technique.
Final Thoughts
Pavlova isn’t just a recipe, it’s an experience. From the moment you crack those eggs to the final swirl of whipped cream and fruit, this dessert feels like a little celebration in every step.
It’s light, it’s luscious, and it’s got that wow factor that makes it perfect for dinner parties, birthdays, or lazy Sundays with the people you love.
With just a few simple ingredients, a little patience, and the tips you’ve now mastered, you can bring a bakery-style showstopper to life right in your own kitchen.
Whether you go classic with berries or add your own twist with lemon curd or tropical fruit, this is one recipe you’ll come back to again and again.
Go on, whip it up and let your sweet tooth dance a little.
More Sweet Ideas You’ll Absolutely Love
Looking for more dreamy, elegant, and easy desserts? Here are a few reader favorites to keep the inspiration going:
- 👉 The Cutest 30-Min Brownie Cookies Recipe for Girls: Soft, chewy, chocolate-packed cookies with that irresistible brownie crackle ready in under 30 minutes!
- 👉 Quick 25-Min Tiramisu Recipe for Busy Nights: The creamy, coffee-kissed classic made simple, perfect for those nights when you want gourmet without the hassle.
- 👉 The Best Red Velvet Cake Recipe for Parties: A moist, rich, and perfectly frosted red velvet cake that always steals the spotlight at birthdays and holidays.