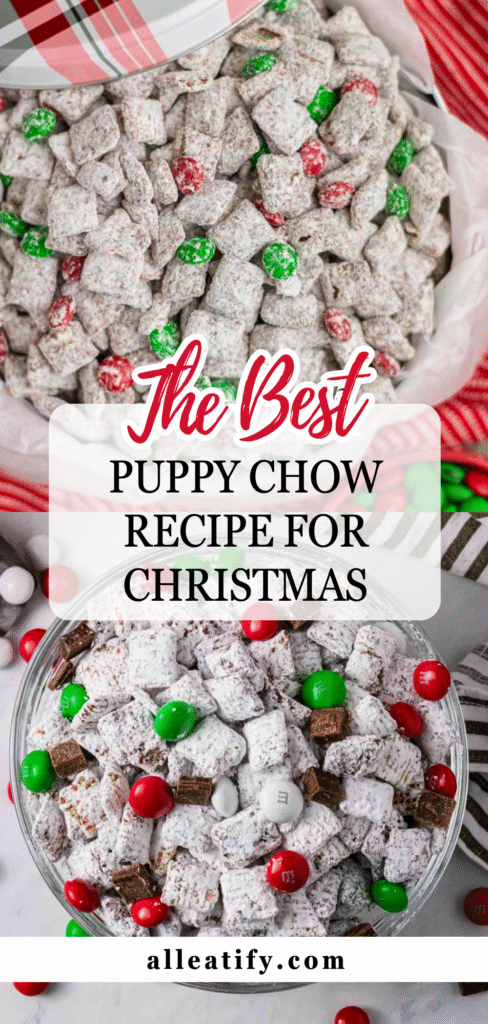
Cozy 25-Min Puppy Chow Recipe for Christmas in 2026
Some holiday recipes come and go. Others become a tradition that your family asks for every year. Christmas Puppy Chow is one of those treats. It’s crunchy, sweet, chocolatey, and impossible to stop eating. Kids love it. Adults sneak handfuls all day. It disappears fast.
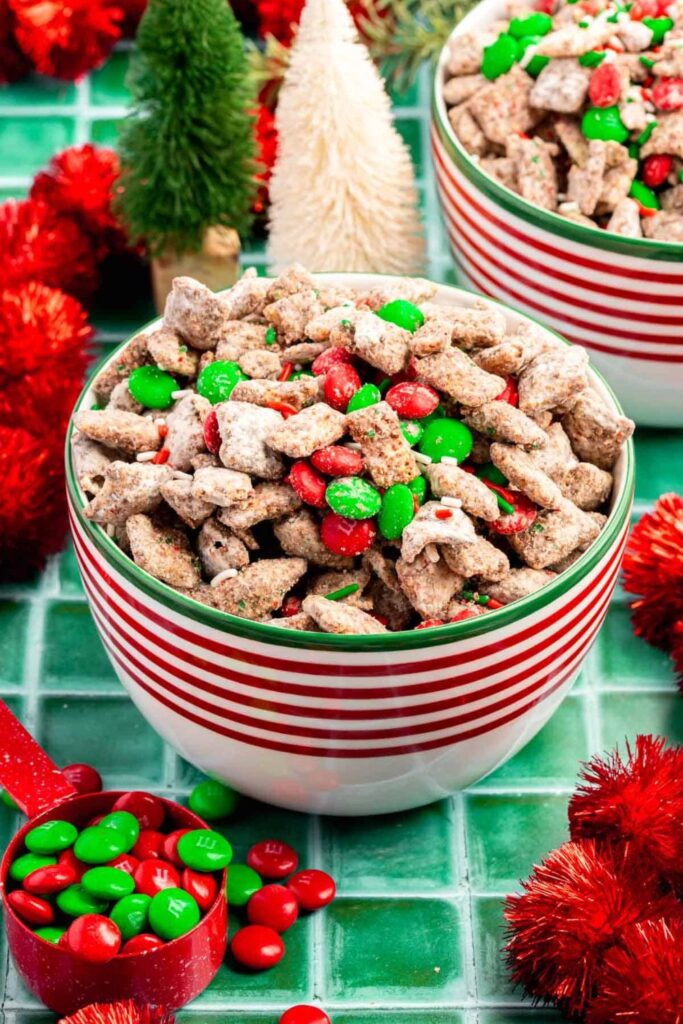
This Christmas version feels extra fun. The red and green melts add a bright, festive touch. Every bowl looks cheerful and colorful. The whole snack gives warm holiday vibes without any effort.
And the best part? It’s incredibly easy. You melt, mix, shake, and you’re done. No baking. No stress. Just a simple treat that feels like instant Christmas magic.
Make it for parties, gift bags, family nights, or a cozy movie evening. Once you try it, this Puppy Chow will become a yearly tradition in your home, too.
Ready to make a bowl of pure holiday happiness?
Let’s begin.
What is Puppy Chow, and Why Does It Scream “Christmas”?
Puppy Chow, also affectionately called Muddy Buddies, is one of those treats that instantly brings a smile to your face.
It’s a sweet, crunchy snack made with Chex cereal coated in a luscious mixture of melted chocolate and peanut butter. Then, toss in powdered sugar until every piece is perfectly dusted.
At its core, it’s simple. But during the holidays, it transforms into something magical.
Every year around Christmas, families like mine reach for this nostalgic recipe. Why? Because it’s fun, fast, and totally festive.
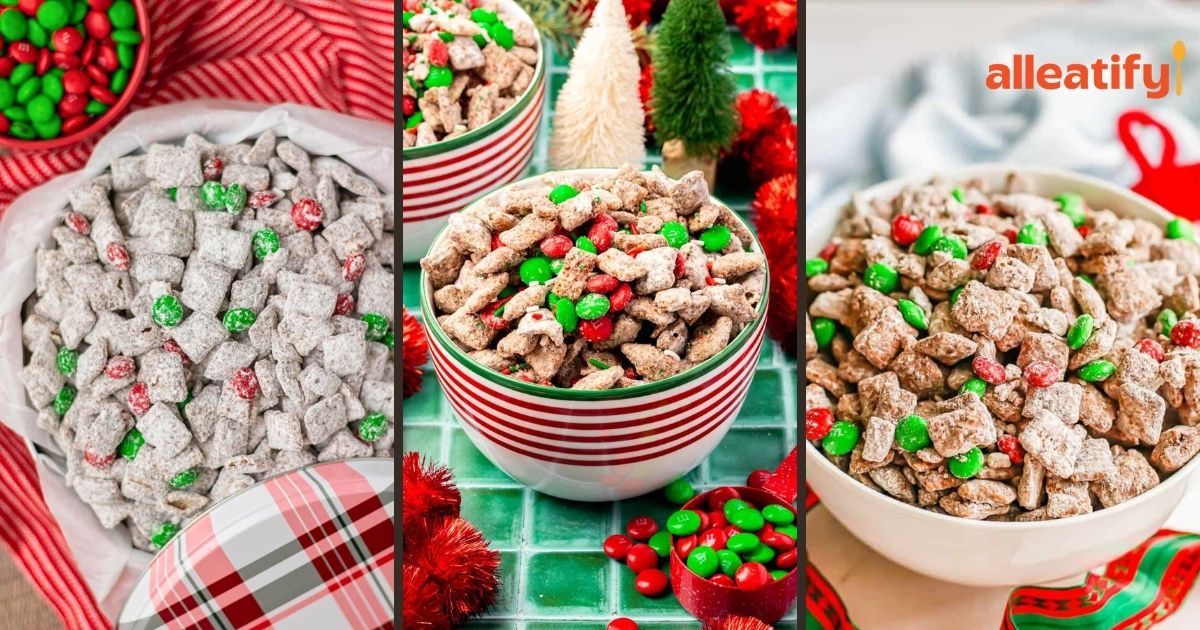
The classic chocolate and peanut butter combo gets a merry makeover with red and green candy melts. Turning it into a cheerful mix that fits right in with holiday lights, cozy sweaters, and twinkling trees.
Here’s why it’s the ultimate Christmas treat:
- Customizable colors: Red and green candy melts instantly scream holiday spirit
- Kid-friendly: Easy enough for little hands to help with (and snack on!)
- Perfect for gifts: Scoop into treat bags or jars for quick, affordable neighbor gifts
- Quick to make: Done in under 20 minutes, with no baking needed
- Totally addictive: Sweet, crunchy, and festive, what more could you want?
It’s not just a snack. It’s a holiday tradition wrapped in powdered sugar.
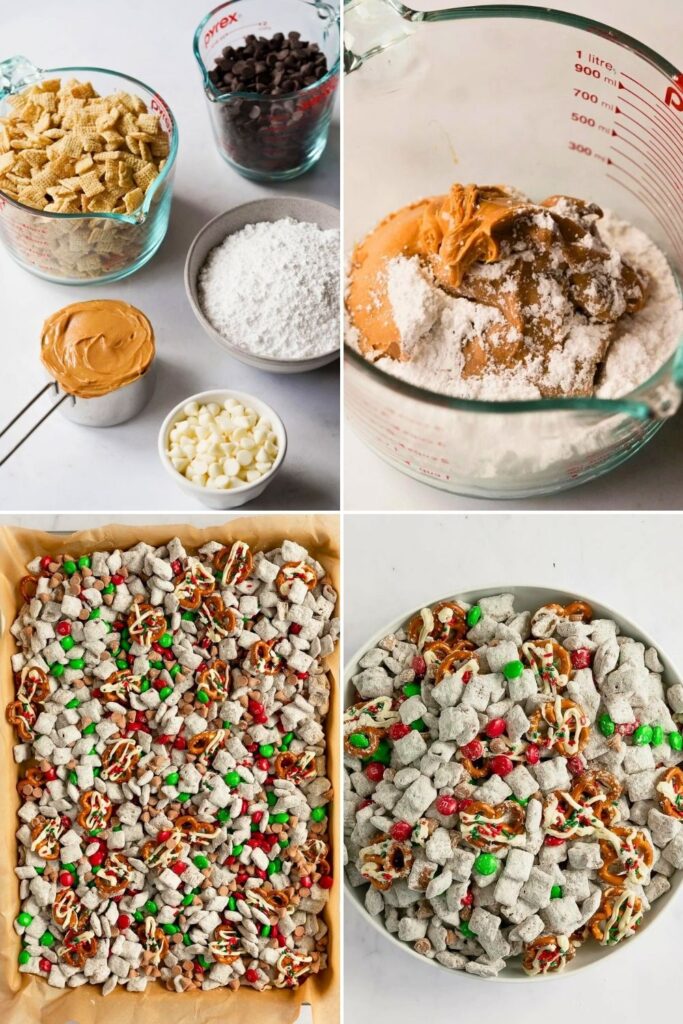
Puppy Chow Ingredients You’ll Need

Here’s a breakdown of what you need to make a classic Christmas Puppy Chow batch:
| Ingredient | Amount | Notes |
| Chex Cereal | 4 cups | Rice or corn Chex works best for a light crunch |
| Creamy Peanut Butter | 1/4 cup | Stick with creamy for smooth mixing—chunky can clump |
| Candy Melts (Red/Green) | 1 cup | Swap with chocolate chips if needed; melt separately for each color |
| Powdered Sugar | 1 cup | For coating, it adds that classic snowy look |
| Christmas M&Ms | 1 ½ cups | Optional, but adds color and festive crunch |
| Optional Mix-ins | As desired | Crushed candy canes, pretzels, mini marshmallows, sprinkles |
| Gallon-Size Freezer Bags | 1-2 bags | For shaking and coating the cereal evenly |
| Large Mixing Bowl | 1 | Use separate bowls for each color batch |
| Microwave or Double Boiler | As needed | To melt chocolate and peanut butter safely |
With these simple pantry staples, you’ll be on your way to creating the most irresistible holiday snack ever.
Step-by-Step: How to Make Christmas Puppy Chow
Making Christmas Puppy Chow is one of those cozy kitchen moments that feels like a holiday memory in the making.
It’s quick, low-mess, and perfect for getting the kids (or the whole family) involved. From start to finish, this treat is designed to be fun, festive, and fail-proof.
Let’s break it down into simple, practical steps with tips, tricks, and insights to make your batch absolutely perfect.
Step 1: Melt the Peanut Butter & Chocolate
Let’s start with the creamy, melty goodness that brings it all together.
Grab a microwave-safe bowl and toss in:
- 1/4 cup of creamy peanut butter
- 1 cup of red or green candy melts (or chocolate chips)
Now here’s where the magic starts, but also where it can go wrong if you’re not careful. Microwave the mixture in 30-second intervals, stirring well in between each one.
Why is the stirring part so important?
Because microwaves heat from the outside in, the edges of your bowl will be hot while the center is still cold. If you skip the stirring and just nuke it for a full minute, you’ll probably burn the chocolate and ruin the entire batch. Trust me, I’ve been there.
🔥 Pro Tip: Even if it looks like nothing’s melting after 30 seconds, stir it. The warmth will start to loosen everything up.
After one or two rounds of melting and stirring, you should have a smooth, glossy mixture that smells heavenly. This will act as the sweet glue for your Chex cereal in the next step.
👩🍳 No Microwave? No Problem!
Use the stovetop on low heat or a double boiler. Just make sure to stir constantly so the chocolate doesn’t scorch at the bottom.
Step 2: Add the Chex Cereal
With your peanut butter-chocolate mixture melted to perfection, it’s time to add the crunch.
Measure out 4 cups of Chex cereal. You can use rice, corn, or even wheat if that’s what you have on hand. Rice Chex tends to be the lightest and crispiest, which makes it a fan favorite.
Slowly pour the cereal into the bowl with the melted chocolate.
Then, using a silicone spatula or wooden spoon, gently fold the cereal into the mixture.
🥄 Be gentle. You want to coat each piece without crushing them into crumbs.
Think of folding like turning the cereal over slowly, making sure every little square gets a nice coating of that peanut butter chocolate mixture. You’re aiming for full coverage here. No dry spots allowed!
And yes, it’s totally acceptable (required, even!) to sneak a taste once everything’s coated.
Step 3: Shake It Up with Powdered Sugar
Now we add that signature snowy finish.
Take a gallon-size freezer bag and pour in 1 cup of powdered sugar. This is going to stick to the warm chocolate coating and turn your puppy chow into that classic white-dusted snack.
Place your coated cereal into the bag of powdered sugar.
Here’s the trick that makes all the difference: Don’t squeeze all the air out of the bag. You actually want to leave some air inside. It’s the opposite of vacuum-sealing. The trapped air helps the cereal move freely, so every piece gets evenly coated.
Seal the bag tightly, and now… shake, shake, shake!
🎉 This is where the kids get excited. Let them jump in and do the shake dance while the powdered sugar works its magic.
Give it a good shake for about 30–45 seconds. Then peek inside. If you still see some wet spots, throw in a little more powdered sugar and shake again.
The goal is to have every Chex square coated in a fluffy layer of sweet, powdery snow.
Step 4: Repeat with a Second Color (Optional but Fun)
This step is totally optional, but if you want that festive red-and-green holiday punch, it’s worth the extra 10 minutes.
Just repeat Steps 1 to 3 using the second color of candy melts. If you started with red, now go with green. Follow the same process:
- Melt peanut butter and green melts.
- Stir in Chex cereal and coat gently.
- Add to a new bag of powdered sugar.
- Leave air in the bag and shake it up!
By the end, you’ll have two separate batches, one red, one green. You could serve them separately, but combining them in the next step brings the Christmas spirit full circle.
Step 5: Mix It All
Now for the fun finale time to combine both colors and add some holiday sparkle.
Grab a large baking sheet or a big mixing bowl. Pour out the red and green puppy chow batches, spreading them evenly across the surface.
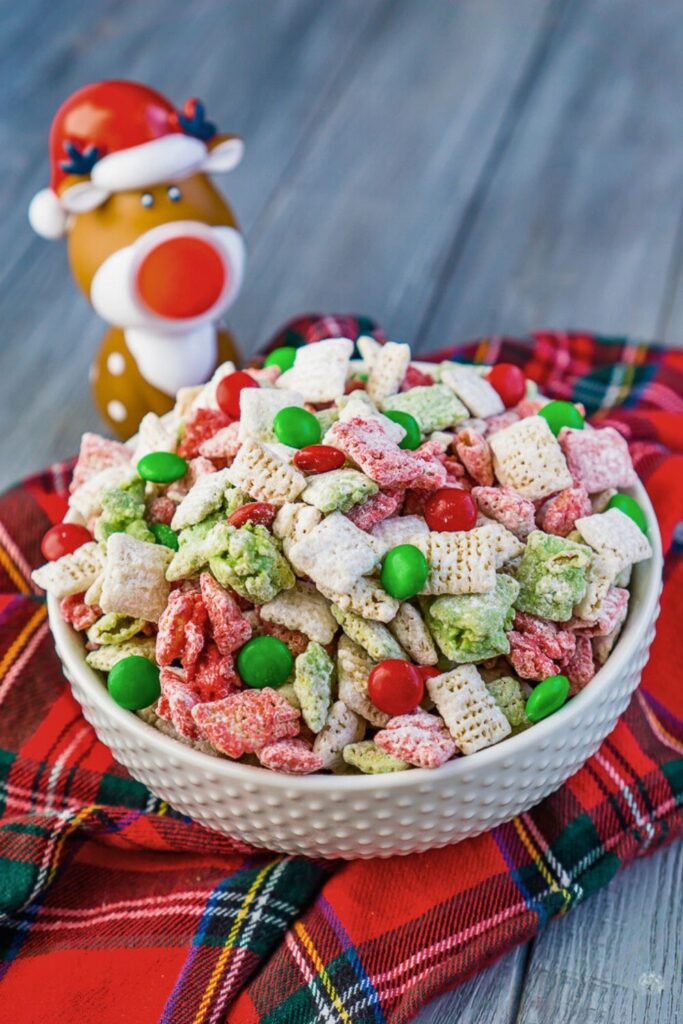
Now it’s time to toss in the fun extras:
- 1 ½ cups of red and green M&Ms
- Optional: sprinkles, mini pretzels, candy cane pieces, or mini marshmallows
Using your hands or a large spoon, gently mix everything. You don’t want to crush the cereal or melt the M&Ms. Just give it a good stir to blend the colors and textures evenly.
❤️ This is when it all comes together. You’re not just making a snack, you’re making holiday magic.
Once everything’s mixed, let it cool completely before storing (this prevents condensation and sogginess). Then transfer your puppy chow into airtight containers, treat bags, or even glass jars with ribbons for gifts.
Pro Tips for the Best Puppy Chow Ever
Every great holiday recipe has a few insider secrets, and Puppy Chow is no different. These tips, straight from real kitchen experience, will save you from burnt chocolate, soggy cereal, and uneven coating. If you want your Christmas Puppy Chow to shine, keep these in mind.
1. Always Stir Between Microwaving
When melting peanut butter and chocolate, microwaving in 30-second rounds is key. But the real trick is stirring in between. Microwaves heat from the outside in, so the edges melt first. Without stirring, the edges burn while the center stays solid. A few quick stirs save the batch.
2. Use Creamy Peanut Butter Only
Chunky peanut butter doesn’t melt as smoothly and creates clumps that don’t mix well with Chex cereal. Creamy peanut butter gives that silky coating that sticks perfectly to every piece.
3. Fold Gently, Don’t Mix Roughly
Chex cereal breaks easily. When combining the cereal with the chocolate mixture, fold everything slowly and carefully. This keeps the cereal intact and ensures each square gets fully coated.
4. Leave Air in the Bag When Shaking
This step comes straight from experience: never squeeze the bag flat before shaking. The air inside acts like a buffer, helping the cereal tumble and coat evenly with powdered sugar. No air = clumps.
5. Add the Cereal While the Chocolate Is Still Warm
If the melted mixture cools too much, it starts to firm up and won’t stick to the cereal. Pour the Chex in right away and mix before it begins to harden. Timing matters more than you think.
Fun Variations to Try Next Time
Here’s a table of creative twists inspired by real kitchen experiments and holiday-flavored fun:
| Variation Name | What to Change | Why You’ll Love It |
| Grinch Puppy Chow | Use all green melts + red heart candies | Perfect for themed movie nights or kids’ parties |
| Cookies & Cream | White melts + crushed Oreo cookies | Creamy, crunchy, and rich, an instant crowd-pleaser |
| Peppermint Crunch | White chocolate + crushed candy canes | Refreshing, festive, and great with cocoa |
| Mocha Holiday Mix | Add espresso powder to chocolate melts | Gives a coffee-flavored twist adults adore |
| Salted Pretzel Blend | Add mini pretzels + drizzle extra chocolate | Adds salty crunch to balance the sweetness |
| S’mores Puppy Chow | Add mini marshmallows + graham cracker pieces | Bring cozy campfire vibes into your holiday treats |
| Red Velvet Version | Red melts + powdered sugar mixed with cocoa | Vibrant color and soft chocolate notes |
| Nutty Buddy Mix | Add chopped peanuts + butterscotch chips | For those who love a sweet-and-salty nutty blend |
Mix and match ingredients to create your own Christmas tradition.
How to Gift This Treat (With Love)
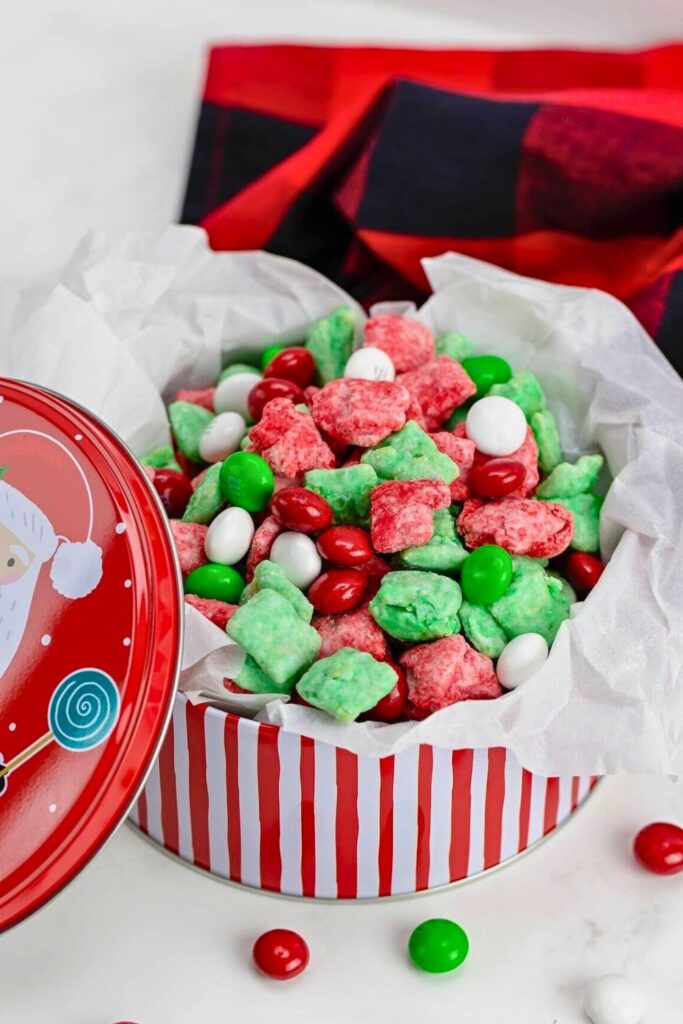
Sharing Puppy Chow during the holidays isn’t just thoughtful, it’s effortless and meaningful. This treat stores beautifully and looks adorable in simple packaging, making it perfect for neighbors, teachers, coworkers, or holiday party hosts.
Start by letting the Puppy Chow cool completely so the powdered sugar stays crisp. Then scoop it into clear treat bags, mason jars, or holiday tins.
Add a festive ribbon, a handwritten tag, or even a tiny ornament tied to the top. If you want to make it extra special, pair the gift with a mini hot cocoa packet or a small candy cane.
You can also portion it into individual snack bags for school events, office parties, or stocking stuffers. The bright red and green colors make every bag look instantly cheerful.
What makes this gift truly wonderful is the personal touch; it feels homemade, cozy, and full of holiday spirit. And since this recipe makes a generous batch, you can prepare multiple gifts at once without spending much time or money.
A sweet, crunchy treat wrapped with love… that’s the heart of Christmas giving.
Final Thoughts
There you have it, your ultimate guide to making Christmas Puppy Chow that’s festive, fun, and absolutely delicious. With just a handful of simple ingredients, some stirring, shaking, and love, you’ll whip up a treat that becomes a must for every holiday season.
Whether you’re making it for family night, gifting it to friends, or bringing it to a party, this is one snack that hits all the right notes.
Why settle for ordinary when you can make something exceptional? Jump into the process, have fun, involve the kids (or your inner kid), and let this recipe become a holiday tradition you look forward to every year.
More Holiday Recipes You’ll Love
If you enjoyed this Christmas Puppy Chow, you’ll fall in love with these festive favorites too:
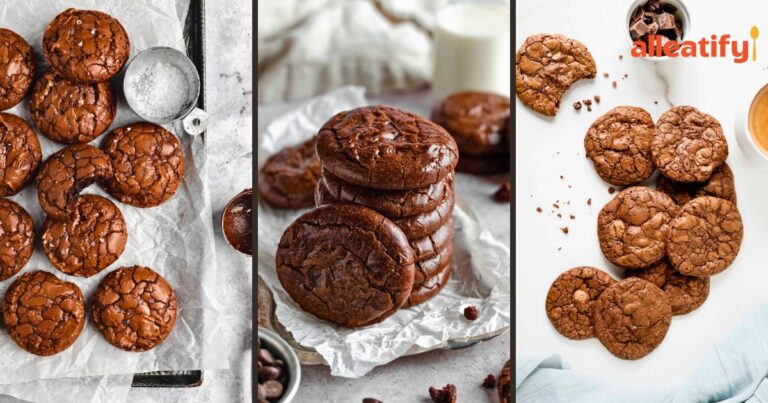
- 🍰 Quick 25-Min Tiramisu Recipe for Busy Nights: A creamy, coffee-kissed dessert that’s perfect for last-minute cravings.
- 🎂 The Best Red Velvet Cake Recipe for Parties: Soft, velvety, and topped with smooth cream cheese frosting.
- 🍓 Classic Pavlova Recipe for Christmas Nights: A chewy, berry-topped meringue that feels as magical as the holidays.
Each recipe brings something special to your dessert table, ideal for Christmas gatherings, cozy winter nights, or sweet weekend treats at home.