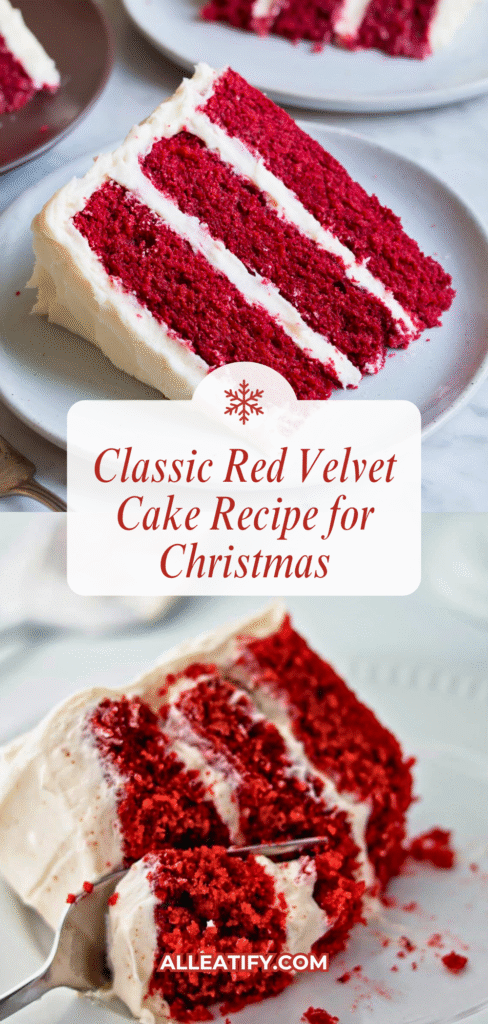
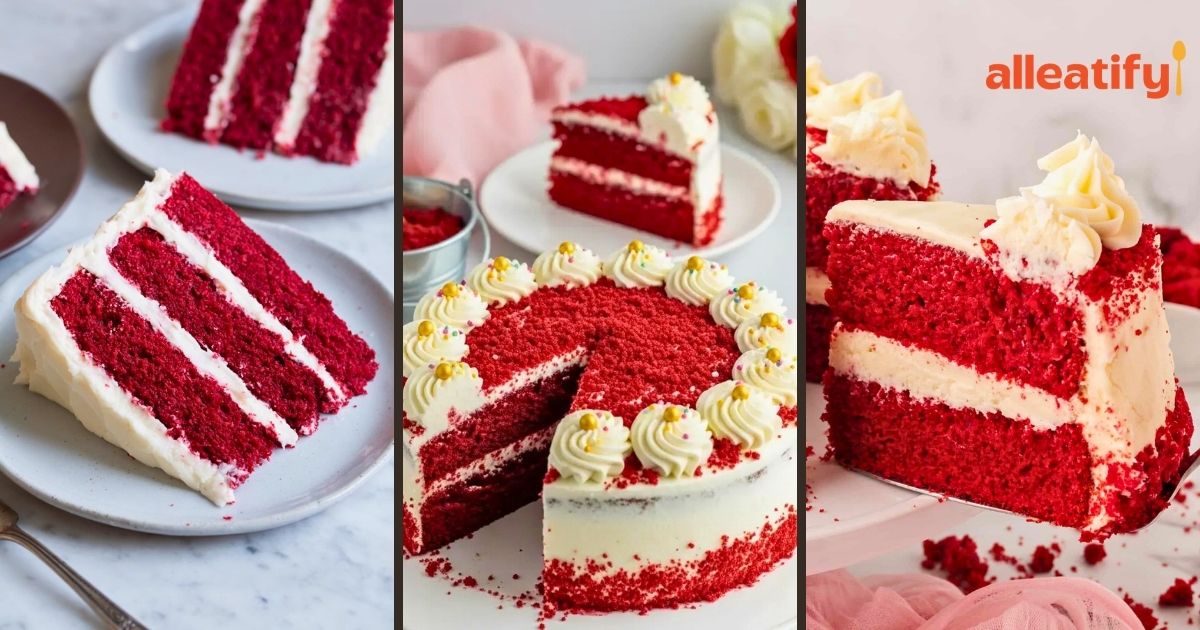
The Best Red Velvet Cake Recipe for Parties in 2026
Every time I bake this red velvet cake, something strange happens. People take one bite, their eyes widen, and they immediately ask, “How did you make this?” It’s the kind of reaction you usually get from a fancy bakery dessert, not a simple homemade cake.
But here’s the twist: this recipe is straightforward.
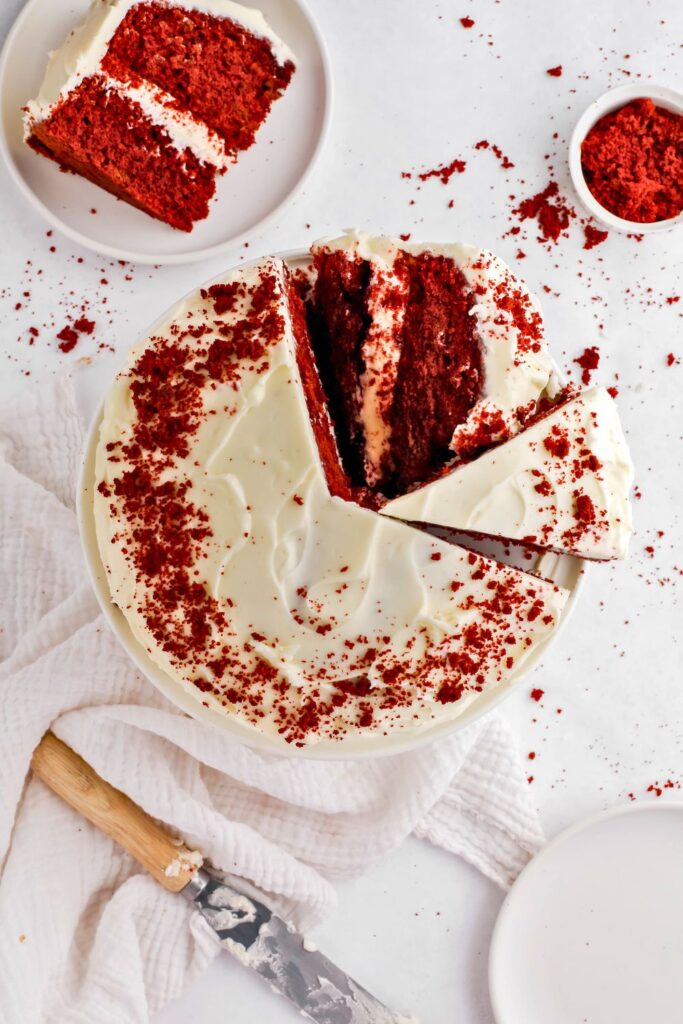
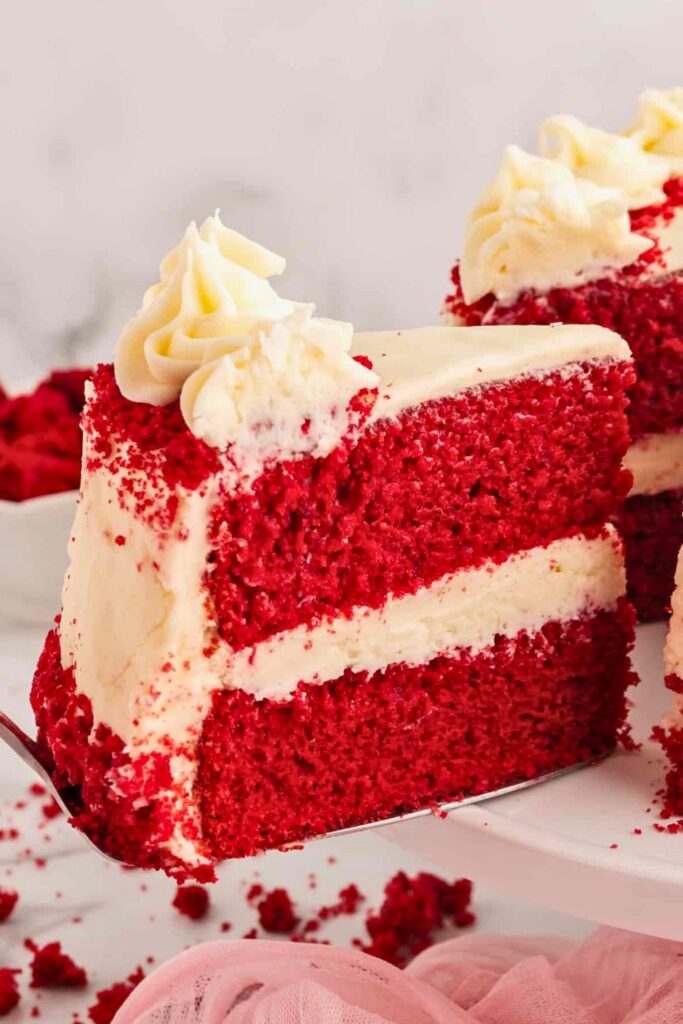
The cake comes out soft, moist, and perfectly velvety. The hint of cocoa adds depth without overpowering the flavor. And the cream cheese frosting? Thick, smooth, and so irresistible you’ll want to lick the bowl clean.
You don’t need special tools or expert skills: just a few key steps, simple ingredients, and a little mixing magic.
Whether you’re baking for a holiday, a birthday, or a quiet night at home, this red velvet cake delivers pure joy in every slice.
Ready to uncover what makes it so good? Let’s dive in.
Why This Red Velvet Cake is a Must-Bake
There are a million cake recipes out there, so why choose this one?
Because it’s:
- Soft and moist with just the right hint of cocoa
- Balanced in sweetness, you won’t need a glass of water after each bite
- Topped with a thick layer of creamy, tangy cream cheese frosting
- Perfect for celebrations, whether it’s Christmas, Valentine’s Day, or Tuesday night
Let’s get started and make a red velvet cake that tastes as good as it looks.
Getting Ready: Red Velvet Cake Ingredients
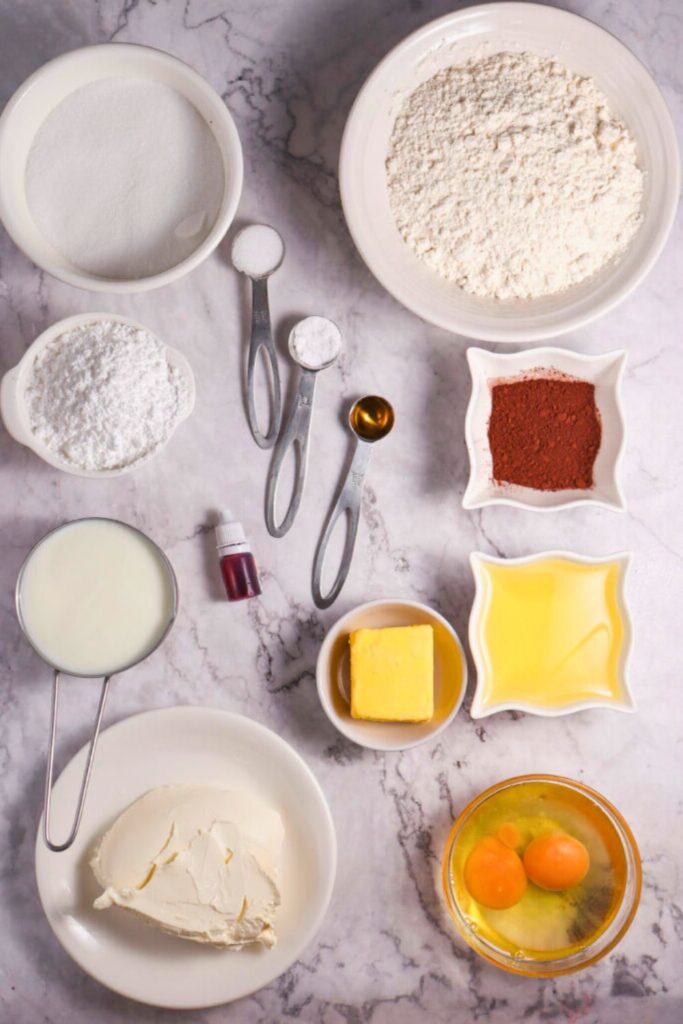
Here’s a clear and organized ingredient list to help you gather everything you need before baking:
| Category | Ingredient | Amount | Notes |
| Dry Ingredients | All-purpose flour | 2½ cups | Sifted for light texture |
| Unsweetened cocoa powder | 2 tbsp | Adds subtle chocolate flavor | |
| Baking soda | 1 tsp | Reacts with vinegar for lift | |
| Salt | ½ tsp | Enhances flavor | |
| Wet Ingredients | Unsalted butter (softened) | ½ cup (1 stick) | For creaming with sugar |
| Granulated sugar | 1½ cups | Sweetens and adds structure | |
| Eggs (room temperature) | 2 large | Adds richness and structure | |
| Vanilla extract | 2 tsp | Use homemade or store-bought | |
| Vegetable oil | ¾ cup | Keeps cake moist | |
| Buttermilk (room temperature) | 1 cup | Mixed with vinegar for tang and texture | |
| White vinegar | 1 tsp | Reacts with baking soda | |
| Red gel food coloring | ½ tsp | Adds vibrant red color with less quantity | |
| Frosting Ingredients | Unsalted butter (softened) | 1½ cups (¾ lb) | Slightly cool to the touch |
| Cream cheese (block-style) | 2 blocks (16 oz total) | Must be softened but not too warm | |
| Vanilla extract | 1 tbsp | Flavor enhancer | |
| Salt | ⅛ tsp | Just a pinch to balance the sweetness | |
| Powdered sugar | 4 cups (1 lb) | Add gradually to avoid clumps |
This table ensures you’re prepped and ready to bake without having to scramble for missing ingredients mid-recipe!
How to Make Red Velvet Cake (Step-by-Step)
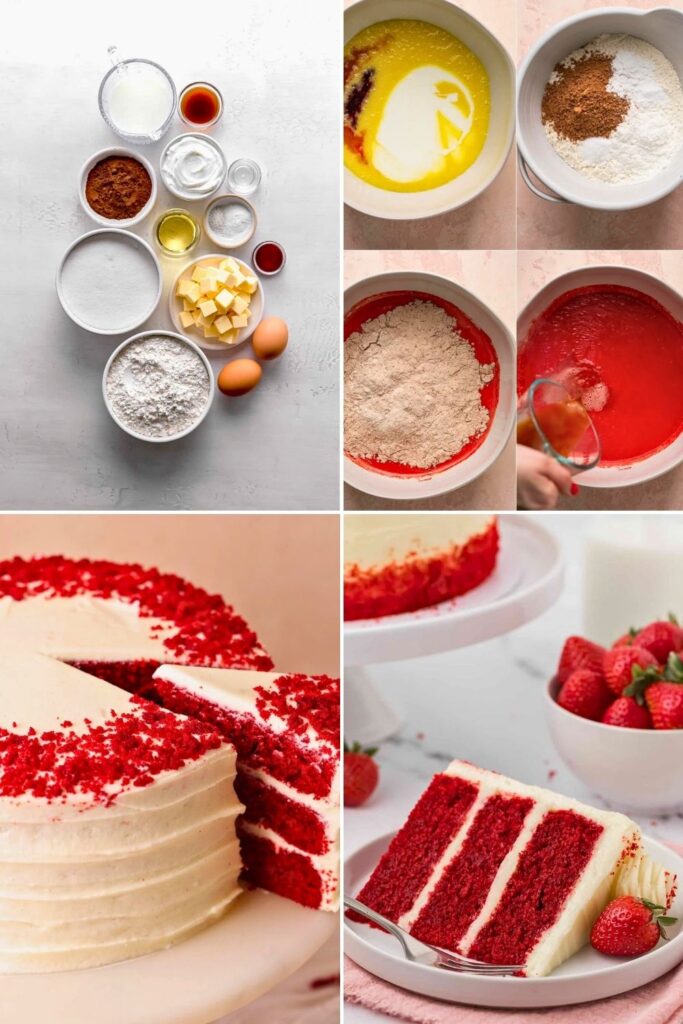
So, you’re ready to bake a red velvet cake from scratch – moist, rich, and topped with heavenly cream cheese frosting. Whether you’re making it for a special occasion or simply because you need a pick-me-up dessert, this guide will help you master every step like a pro.
Let’s roll up our sleeves and get baking.
Step 1: Prep the Cake Pans and Oven
Before you touch any flour or butter, let’s prepare the baking setup.
- Preheat your oven to 350°F (175°C).
- Grab two 9-inch round cake pans and generously grease them with softened butter. Don’t skip this; you want your cake layers to release easily.
- After buttering, lightly dust the pans with flour. Shake the pans gently to cover the base and sides, then tap out the excess flour into the sink.
- Set the pans aside while you prep the batter.
Why it matters: This simple step ensures the cake doesn’t stick or crumble when you remove it from the pan after baking.
Step 2: Mix the Dry Ingredients
In a medium-sized bowl, whisk together:
- 2½ cups all-purpose flour
- 2 tablespoons unsweetened cocoa powder
- 1 teaspoon baking soda
- ½ teaspoon salt
Then, sift the mixture using a fine-mesh sieve or sifter. Don’t rush this part—sifting not only removes lumps but also aerates the flour, which gives the cake that soft, velvety crumb red velvet is famous for.
Once sifted, set the dry ingredients aside.
Step 3: Cream the Butter and Sugar
In a large mixing bowl, add:
- ½ cup unsalted butter (softened)
- 1½ cups granulated sugar
Use an electric mixer to cream them together. It’ll take about 1 to 2 minutes. You’re looking for a pale, fluffy texture with a slightly powdery feel. At this point, the sugar should be coated in fat, and the mixture will resemble soft snow.
This creaming step creates air pockets in the batter, which is critical for achieving a light and fluffy cake texture.
Step 4: Add the Eggs and Vanilla
Once the butter and sugar are thoroughly combined, crack in:
- 2 large eggs (room temperature)
Add them one at a time, mixing well after each. You want the eggs to fully emulsify into the batter, which helps bind the ingredients and contributes to that tender structure.
Then add:
- 2 teaspoons of vanilla extract
Give it a quick blend to distribute that sweet vanilla aroma throughout.
Step 5: Blend in the Oil
With the mixer still running, gradually pour in:
- ¾ cup vegetable oil (or light olive oil)
This ingredient adds rich moisture, making the cake tender and soft, perfect for that signature melt-in-your-mouth bite.
Step 6: Make Buttermilk Magic
Here’s the secret to that perfect crumb:
In a measuring cup, stir together:
- 1 cup low-fat buttermilk (room temperature)
- 1 teaspoon white vinegar
Let that sit for a minute. The slight acidity of this combo activates the baking soda in your dry mix, helping the cake rise properly.
Now, slowly add the buttermilk-vinegar mixture into your batter and mix until it’s fully incorporated.
Step 7: Combine Dry and Wet Mixtures
Now it’s time to bring everything together.
Add the sifted dry ingredients to your wet batter all at once. Using your mixer on low speed, mix just until everything is combined.
Don’t overmix! The moment you stop seeing dry streaks of flour, put the mixer down. Overworking the batter can lead to a dense cake.
Scrape down the sides of the bowl with a rubber spatula to make sure nothing is left behind.
Step 8: Add the Iconic Red Color
Time to turn this cocoa-kissed batter into red velvet magic.
Add:
- ½ teaspoon red gel food coloring
Gel is preferred over liquid food coloring because it’s more concentrated, meaning you need less of it to get that rich, dramatic red.
Mix on low speed until the color is thoroughly blended throughout. Scrape down the sides one last time to make sure it’s even.
If you prefer a darker or lighter shade of red, feel free to adjust the quantity by adding it in small increments.
Step 9: Pour, Bake, and Cool
You’re almost there!
- Divide the red velvet batter evenly between the two prepared pans. A digital kitchen scale is helpful here; simply zero out the pan before pouring and match the weight for both.
- Smooth the tops with a spatula.
- Place them in the preheated oven and bake for about 30 minutes.
To check if they’re done, insert a toothpick into the center. If it comes out clean or with a few moist crumbs, they’re ready.
Once baked:
- Let the cakes cool in their pans for 20 minutes.
- Run a thin knife around the edges, then gently flip them onto a wire rack.
- Allow them to cool completely before frosting. Don’t skip this! Warm cake = melty mess.
🍥 Step 10: Make the Dreamy Cream Cheese Frosting
This might be the best part. Here’s how to make that thick, dreamy, pipeable frosting.
Start with:
- 1½ cups unsalted butter (softened, still slightly cool)
Beat on high speed for 1 minute, until the mixture is light and creamy.
Then add:
- 2 blocks (16 oz total) full-fat cream cheese
Again, beat until smooth. Scrape the bowl a few times to make sure everything is fully incorporated.
Next, mix in:
- 1 tablespoon vanilla extract
- ⅛ teaspoon salt (just a pinch to balance sweetness)
Now slowly add:
- 4 cups powdered sugar (one cup at a time)
Beat on low until each addition is thoroughly mixed in. Once all sugar is added, beat on high speed for 2–3 minutes. The result? A thick, fluffy frosting that’s easy to spread and perfect for piping.
Step 11: Assemble and Frost Your Cake
With everything cooled and ready, it’s time for the grand finale.
- Place the first cake layer on your serving platter.
- Spoon a generous amount of frosting over the top of about ⅓ of your batch. Spread it evenly.
- Add the second cake layer, placing it upside down for a perfectly flat surface.
- Apply a thin crumb coat around the entire cake. This helps trap any crumbs and provides a smooth surface.
- Chill for 15–30 minutes to allow the crumb coat to firm up.
- Spread the remaining frosting over the top and sides with an offset spatula.
Want to go the extra mile? Use a piping bag with a star tip to add decorative puffs or rosettes around the top. Finish with red sprinkles or sanding sugar for a classic, festive look.
Decorating Ideas to Make It Stunning
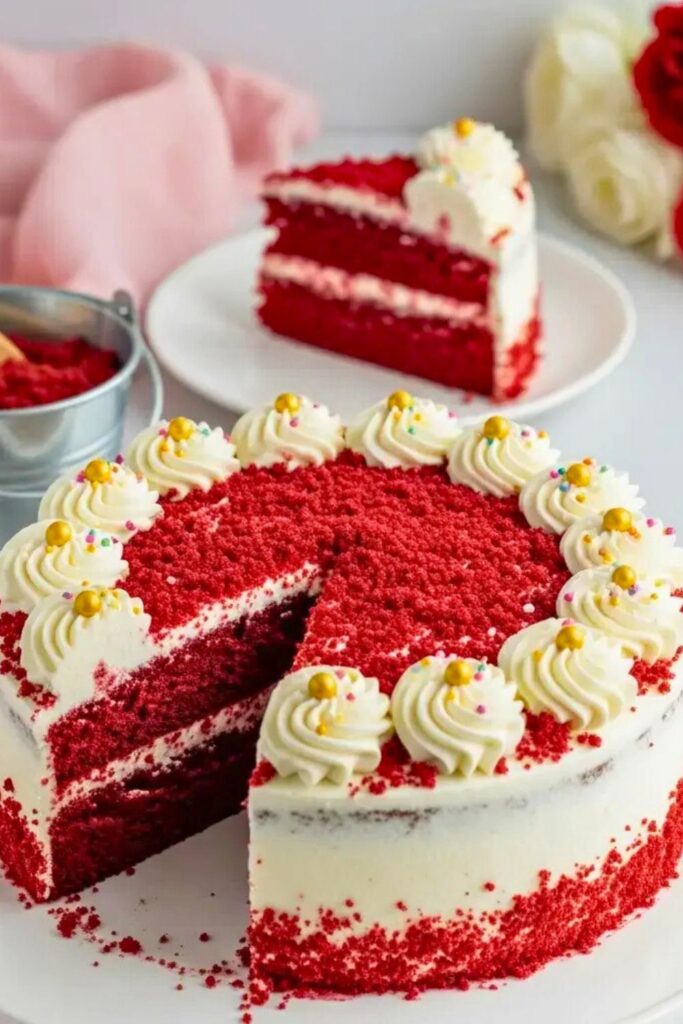
You’ve baked the cake. You’ve whipped the frosting. Now it’s time to make your red velvet cake look as good as it tastes.
Decorating doesn’t have to be complicated. In fact, this cake shines with just a few simple touches:
- Pipe rosettes or puffs using a piping bag fitted with a large open star tip. Gently swirl the top layer around the edge. This gives a bakery-style finish with minimal effort.
- Add sprinkles strategically. Start with larger red sprinkles around the top border of the cake. Then, gently toss a few along the bottom edge for a balanced look.
- Layer in sanding sugar. Sprinkle fine red sanding sugar between the gaps to fill in the design and add a touch of sparkle.
- Clean the cake base. Wipe the cake platter with a paper towel before decorating to maintain a sharp presentation. You can even reuse any fallen sprinkles.
- Chill before slicing. Refrigerate the cake for about an hour. This firms up the frosting, making slicing neater and cleaner.
You can keep it classic with red and white, or customize it for any theme, think pink for Valentine’s Day or green accents for Christmas.
5 Tips for the Best Red Velvet Cake
Red velvet may seem simple, but a few smart tips can take it from good to unforgettable. Here’s how to level up your baking game:
1. Use Gel Food Coloring
Liquid food coloring can water down your batter and leave you with a dull cake. A small amount of gel food coloring provides a bold, vibrant red without altering the texture.
2. Don’t Skip the Vinegar
That tiny teaspoon of white vinegar isn’t just for tradition; it activates the baking soda, making the cake rise beautifully. It also adds a subtle tang that balances sweetness.
3. Room Temperature Ingredients Matter
Butter, eggs, and buttermilk should all be room temperature. This ensures a smoother batter and helps everything emulsify properly.
4. Sift for Softness
Sifting your dry ingredients isn’t just for aesthetics; it aerates the flour and cocoa, ensuring your crumb is tender and evenly distributed.
5. Cool Before Frosting
Don’t rush into frosting warm cake layers. Let them cool completely to room temperature, or your cream cheese frosting will melt, slide, or split.
Bonus Tip: Always use block-style cream cheese, not the whipped or tub kind. It’s thicker, creamier, and perfect for frosting that holds its shape.
Perfect For Any Occasion
One of the best things about red velvet cake is its versatility. That signature red crumb and creamy frosting make it perfect for almost any celebration.
Here’s where it really shines:
- Valentine’s Day: Pair the red layers with heart-shaped sprinkles or a romantic cake topper.
- Christmas: Add green accents or crushed peppermint around the edge for a festive twist.
- Birthdays: Pipe the birthday person’s name or age in cream cheese frosting right on top.
- Anniversaries: Its rich flavor makes it a romantic favorite for couples.
- Just Because: Let’s be honest, red velvet doesn’t need a reason.
It’s the kind of cake that brings smiles, second helpings, and maybe even a few recipe requests. Whether it’s dressed up for a holiday or kept simple with swirls and sprinkles, red velvet cake is always a welcome guest at the table.
Final Thoughts
There’s something magical about a homemade red velvet cake. It’s rich, yet not too sweet. Moist, yet light. Decadent, but approachable.
And the best part? You made it from scratch, and now you know exactly how to recreate this classic dessert any time you’re craving something indulgent.
So go ahead. Bake the cake. Slice it up. And don’t forget to savor every single bite.
🍪 More Delicious Dessert Recipes to Try
If you fell in love with this red velvet cake, these quick and cozy desserts are perfect for your next baking session:
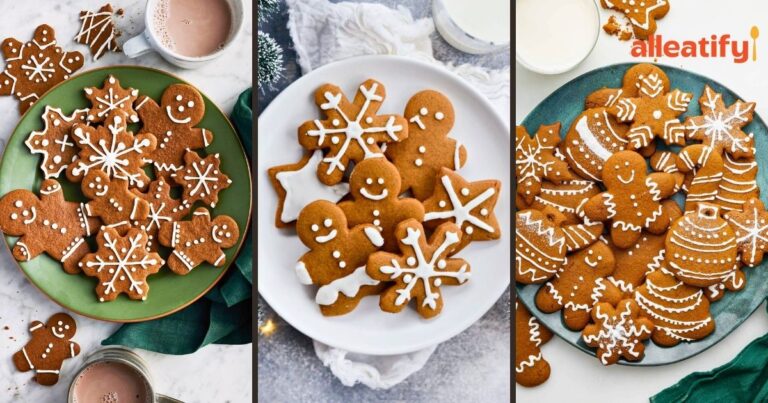
- 🍓 Quick & Easy Thumbprint Cookies Recipe for Christmas: Buttery, jam-filled cookies that melt in your mouth, perfect for gifting or a holiday cookie tray.
- 🍫 The Cutest 30-Min Brownie Cookies Recipe for Girls: These crackly, fudgy brownie cookies are rich, chewy, and totally adorable, ready in under half an hour!
- ☕ Quick 25-Min Tiramisu Recipe for Busy Nights: Creamy, coffee-soaked, and oven-free, this tiramisu is comfort in every layered bite.