10-Min Stewed Apples Recipe for Fall Nights (2026)
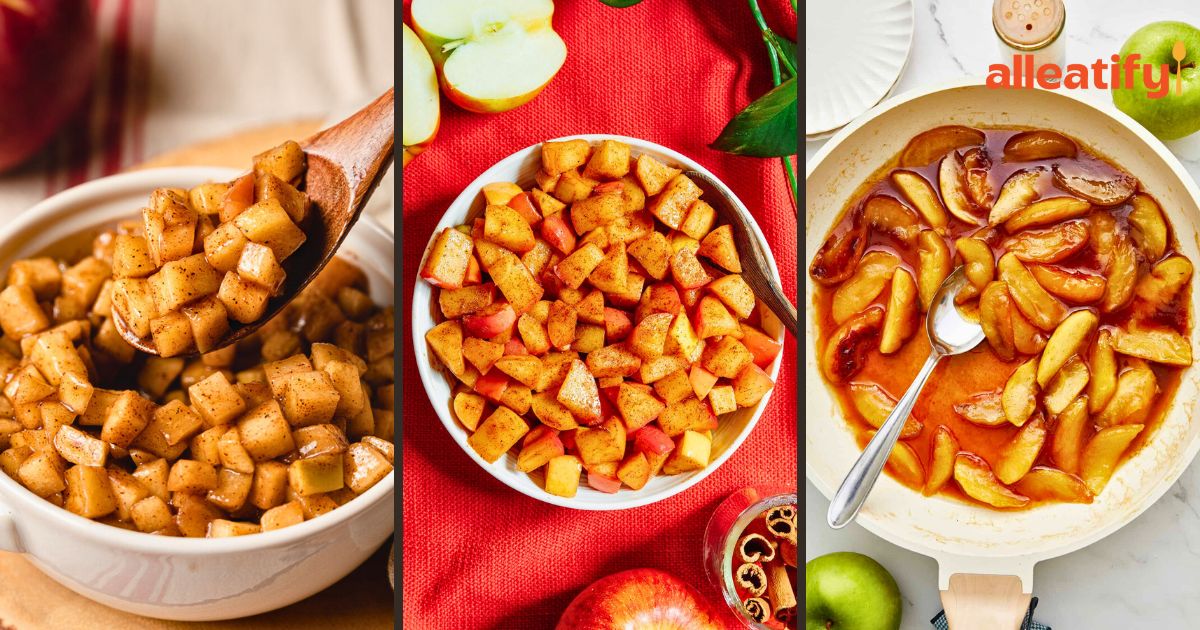
Nothing says comfort quite like a bowl of tender, cinnamon-spiced stewed apples. Whether you call them stewed, fried, or simply caramelized apples, this homestyle recipe is the kind of dish.
That brings back warm memories of cozy kitchens, family dinners, and sweet aromas drifting through the house.
In today’s recipe, we’ll recreate the kind of apples my mother used to make buttery, fragrant, and kissed with cinnamon and nutmeg.
The beauty of this recipe is its simplicity: you only need a handful of ingredients, a skillet, and a few minutes of your time to transform fresh apples into a heartwarming dessert or side dish.
We’ll walk through each step, share tips for perfect texture and flavor, suggest serving ideas, and even offer some variations so you can make this recipe your own.
Why You’ll Love This Stewed Apples Recipe
Stewed apples have a way of turning an ordinary day into something warm and comforting.
- Cozy aromas: The moment the butter melts in the skillet, your kitchen fills with that irresistible, homey scent.
- Fall flavors: Cinnamon and nutmeg wrap each apple slice in a blanket of sweet, spicy warmth.
- Perfect texture: Tender but not mushy, with just enough bite to feel hearty.
- Balanced sweetness: A kiss of caramelized sugar brings out both the sweet and tart notes of the apples.
- Versatile: Serve them over ice cream, pile them on pancakes, or pair with roasted meats for a sweet-savory twist.
- Loved by all ages: Kids devour them, adults ask for seconds, you may want to make a double batch.
- Nostalgic comfort: Every bite feels like a trip back to childhood family dinners or autumn holidays.
This is more than just a recipe. It’s a little bowl of coziness you’ll want to make again and again.
Ingredients You’ll Need
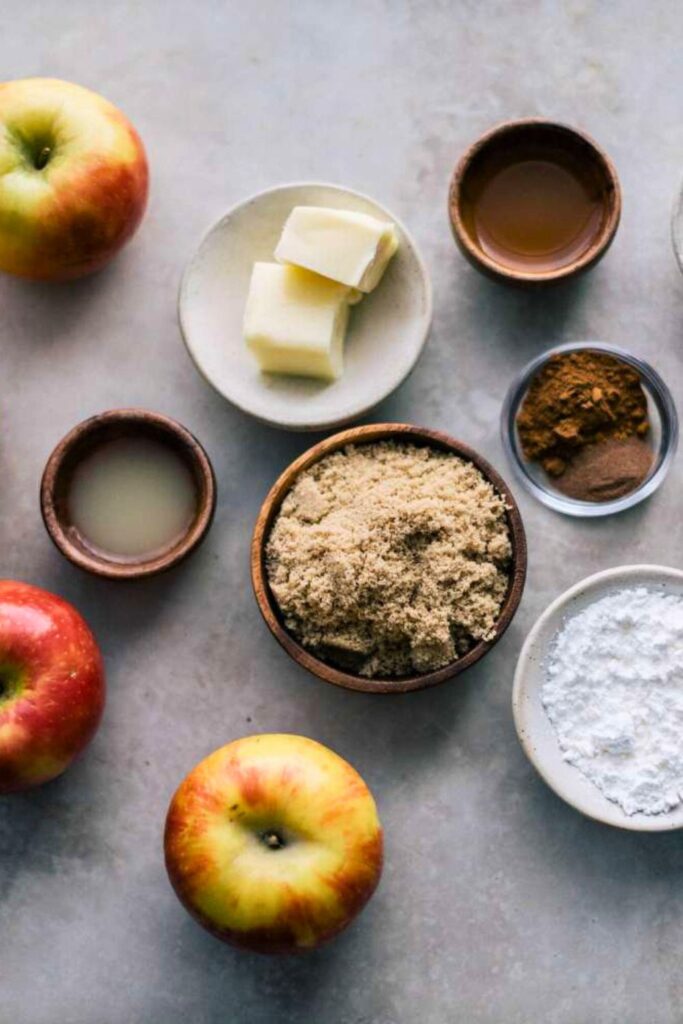
Here’s a detailed look at what goes into this stewed apples recipe and why each ingredient matters.
| Ingredient | Amount | Purpose & Notes |
| Apples | 6 medium (Washington apples used here) | The star of the recipe. Firm, slightly sweet apples hold their shape while cooking. You can use Honeycrisp, Fuji, or Gala for similar results. |
| Butter | ½ stick (about 4 tbsp) | Adds richness and depth, helps the apples caramelize, and infuses them with a smooth, buttery flavor. |
| Vegetable Oil | 1–2 teaspoons | Prevents the butter from burning at higher heat while adding a subtle flavor. |
| Lemon Juice | About 2 capfuls | Keeps apples from browning, adds a gentle brightness, and balances the sweetness. |
| Cinnamon | To taste (about ½–1 tsp) | Provides that classic warm spice aroma and flavor. |
| Nutmeg | A pinch (about ¼ tsp) | Deepens the spice profile and adds an earthy, sweet note. |
| Water | ¼ cup | Helps soften the apples and keeps them from sticking in the early stages of cooking. |
| Sugar | ⅓ cup | Sweetens the apples and helps create a caramel-like glaze during cooking. |
| Optional Apple Peel | 1 unpeeled apple | Adds color and a slight texture variation for visual appeal and rustic charm. |
Pro Tip: Leaving the peel on one apple, just like in the original method, creates beautiful pops of color in the finished dish, making it look as inviting as it tastes.
Step-by-Step Instructions: How to Make Stewed Apples
Stewed apples may be simple to prepare, but there’s a big difference between good stewed apples and bad ones. And the kind that makes people close their eyes and sigh with happiness after the first bite.
The magic comes down to your choice of apples. The way you handle your ingredients, and a few small but essential details that ensure they’re perfectly tender, beautifully caramelized, and bursting with flavor.
Here’s a step-by-step guide to making the best stewed apples you’ve ever tasted.
Step 1: Prepare the Apples
Before you even turn on the stove, start with your apples. This recipe uses six medium apples.
And while Washington apples work beautifully, you can also choose varieties like Honeycrisp, Gala, or Fuji for a naturally sweet flavor and firm texture.
The key here is to pick apples that will soften as they cook without completely falling apart into mush.
- Wash the apples under cold running water to remove any dirt or residue.
- Peel five of the apples thoroughly, removing the skin in long strips if you’re using a peeler or short, careful cuts if you’re using a knife.
- Leave one apple unpeeled for a pop of color and rustic charm. The slight chew of the peel also adds texture contrast.
- Core and slice each apple into wedges or slices about ¼-inch thick. Try to keep them uniform in size so they cook evenly.
Pro Tip: If you prepare the apples in advance, toss them lightly in lemon juice to keep them from browning before they hit the skillet.
Step 2: Melt the Butter and Oil
The base flavor of your stewed apples starts here. For richness and a glossy finish, this recipe uses ½ stick of butter (about 4 tablespoons) combined with a small splash of vegetable oil.
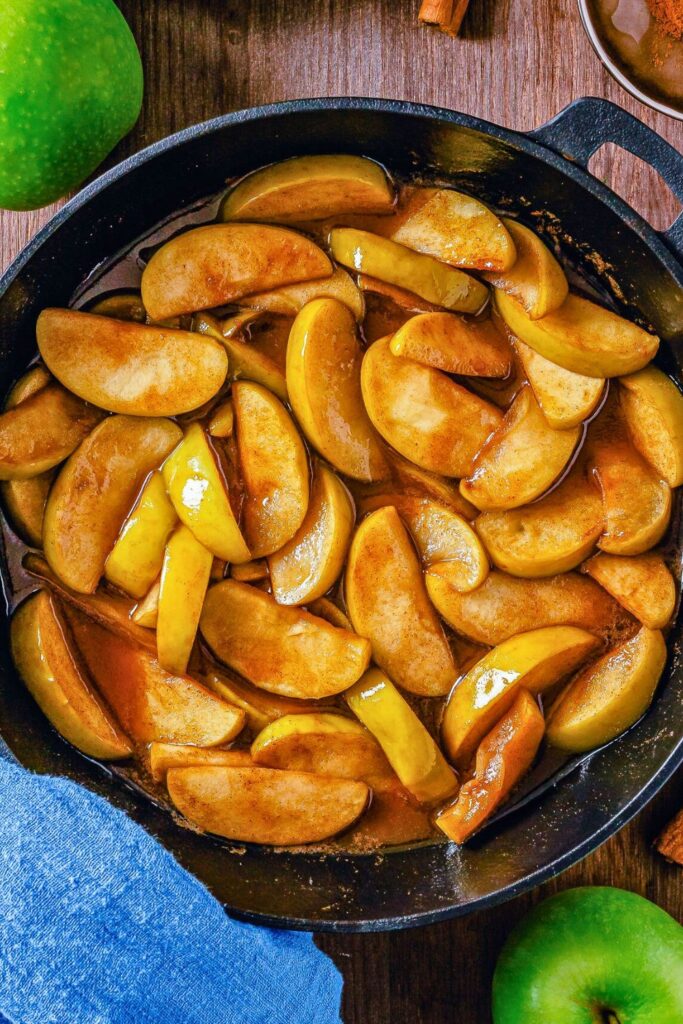
- Place a large cast-iron skillet (No. 10 is ideal) over medium heat. Cast iron retains heat evenly, which helps the apples cook consistently.
- Add the butter to the skillet. Let it melt slowly, swirling the pan so it coats the bottom completely.
- Pour in 1–2 teaspoons of vegetable oil. This is an important step, as the oil raises the butter’s smoke point, preventing it from burning while your apples cook.
You’re looking for a gentle sizzle, not a smoking-hot pan. If your butter starts browning before the apples go in, lower the heat slightly.
Step 3: Add the Apples and Lemon Juice
Once your butter and oil mixture is ready, it’s time to introduce the apples to the heat.
- Place the sliced apples into the skillet, laying them in a relatively even layer so each piece gets some direct contact with the pan.
- Drizzle two capfuls of lemon juice over the apples. This does two important things:
- It brightens the flavor, giving the apples a subtle tang that balances the sweetness.
- It helps maintain their natural color during cooking.
Using a wooden spoon, gently stir the apples so every slice gets coated in the buttery lemon mixture. The wooden spoon is key here; metal can bruise the apples and cause them to break apart too soon.
Step 4: Season with Spices
Now comes the moment when your kitchen will start to smell incredible. Cinnamon and nutmeg are the signature spices for classic stewed apples, and a little goes a long way.
- Sprinkle ground cinnamon evenly over the apples. If you’re a cinnamon lover, be generous, this is where the flavor develops.
- Add a pinch of nutmeg. It’s warmer and more subtle than cinnamon but adds a deep, almost earthy note that complements the fruit beautifully.
Gently stir again, ensuring the spices are evenly distributed. The heat will start to release their aromas, filling the air with that unmistakable “cozy kitchen” scent.
Step 5: Add Water and Sugar
This step is all about creating the perfect balance of moisture and sweetness.
- Pour ¼ cup of water into the skillet. The water helps the apples soften without sticking and creates the base for the syrupy sauce.
- Sprinkle ⅓ cup of sugar over the apples. You can adjust the sugar depending on your apple variety. Tart apples may need the full amount, while sweeter apples might only require 2–3 tablespoons.
Why add sugar now? As the apples cook, the sugar will dissolve into the buttery water, creating a syrup that will gradually reduce and caramelize, coating each slice with a glossy, golden sheen.
Give the apples a gentle stir so the sugar and water are evenly distributed.
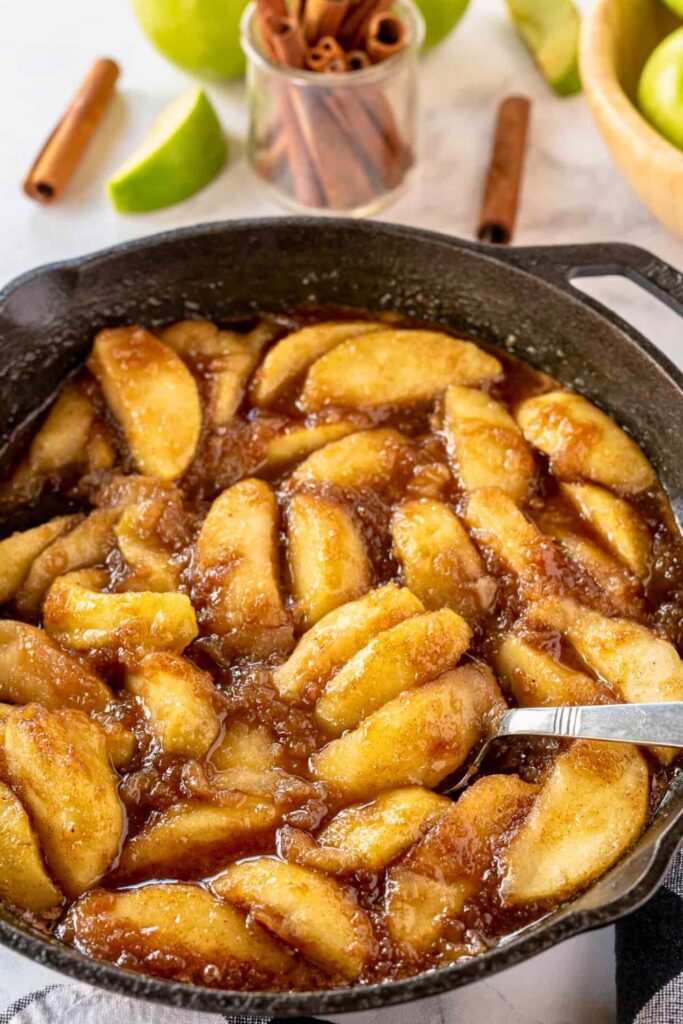
Step 6: Simmer and Caramelize
This is where the magic happens.
- Do not cover the skillet. Covering the traps with steam causes the apples to become mushy instead of tender.
- Keep the heat at medium to medium-low. The goal is to let the liquid simmer so it reduces and thickens without burning.
- Stir occasionally, using your wooden spoon to lift the apples from the bottom and coat them in the bubbling sauce.
As the water evaporates, you’ll notice the sauce becoming thicker and the apples taking on a golden-brown color. Some edges may even darken slightly. This caramelization adds incredible flavor.
Cooking time will vary based on your apples and heat level, but expect 10–15 minutes for them to reach the perfect balance of softness and structure.
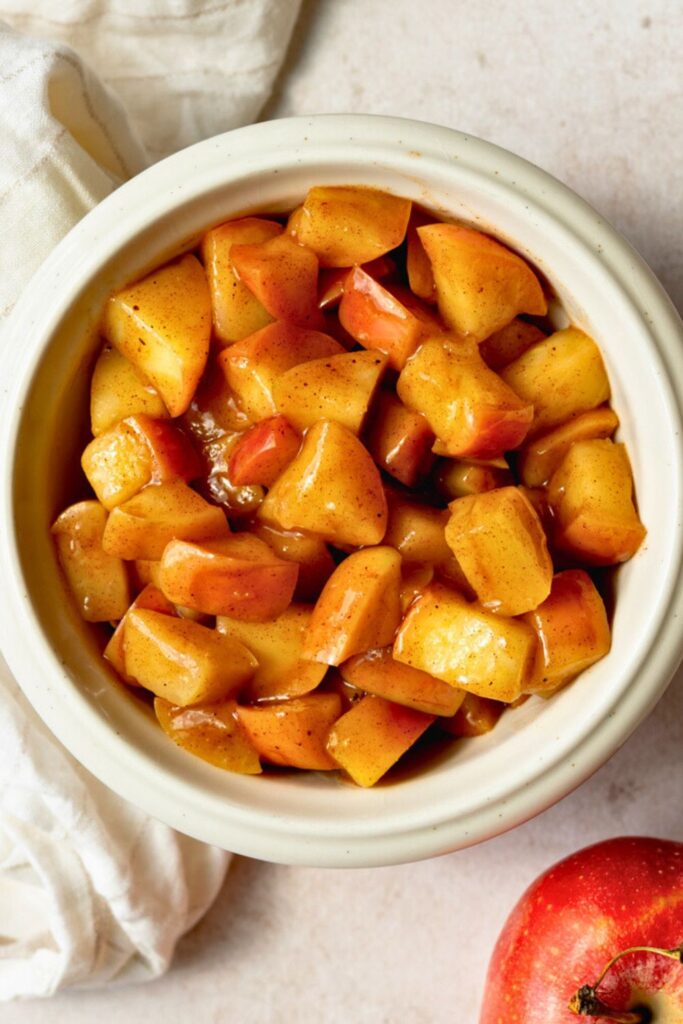
Step 7: Serve Warm
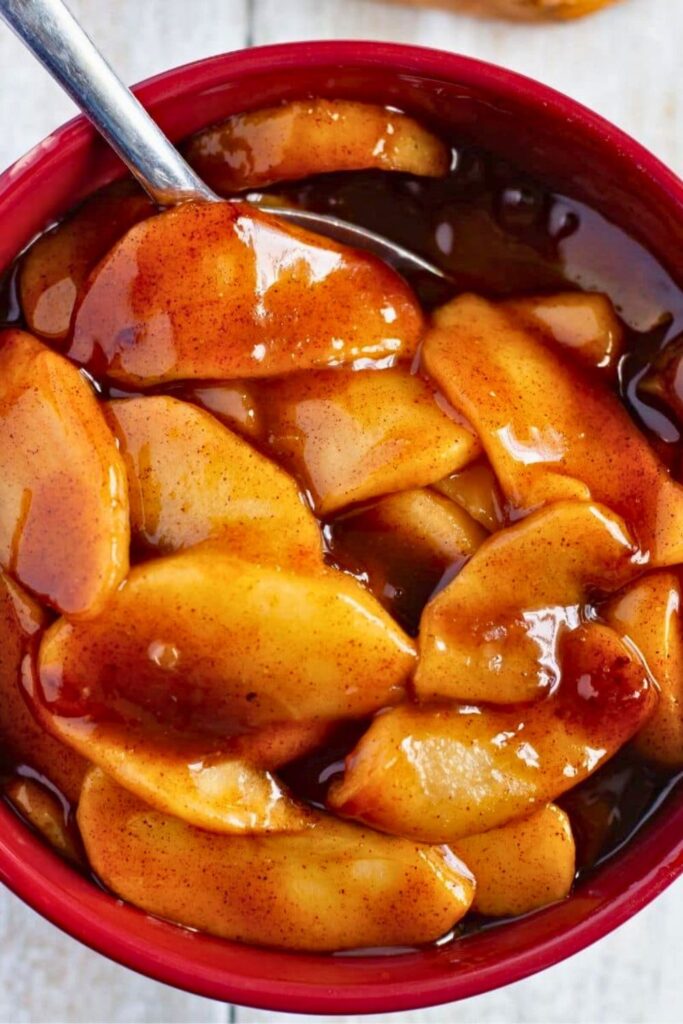
When the liquid has almost completely evaporated and the apples are tender yet still holding their shape, it’s time to serve.
- Carefully spoon the apples into a serving bowl or directly onto plates.
- Pour any remaining syrup from the skillet over the top. This is liquid gold.
- Serve them hot for the best flavor and texture.
Serving Suggestions:
- Over vanilla ice cream for a decadent dessert.
- On top of pancakes, waffles, or French toast for breakfast.
- Alongside roasted pork or turkey as a sweet-savory dinner side.
- Simply in a bowl, with an extra sprinkle of cinnamon for a quick snack.
5 Tips for Perfect Stewed Apples
Making stewed apples isn’t complicated, but there’s a big difference between good and unforgettable. These five tips will help you achieve the perfect texture, flavor, and presentation every time.
1. Use the Right Apples
Not all apples behave the same when cooked. Firm varieties like Washington, Honeycrisp, Fuji, or Gala hold their shape and don’t collapse into applesauce too quickly. Avoid overly soft apples unless you want a more mashed texture.
Pro tip: Mix sweet and tart apples (like Honeycrisp + Granny Smith) for a more complex flavor.
2. Don’t Cover the Pan
It’s tempting to cover the skillet to speed up cooking, but this traps steam and can make your apples mushy. Keeping the pan uncovered allows excess moisture to evaporate, letting the sauce reduce into a rich, syrupy glaze.
3. Stir Gently and Occasionally
Use a wooden spoon to stir it’s gentler on the apples and prevents scratching your skillet. Stirring too often can break down the slices, but you do want to move them enough to coat them in the buttery-spiced syrup.
4. Adjust Sweetness to Taste
The amount of sugar needed depends on your apple variety. Sweeter apples may need less sugar, while tart apples may require the full amount. Taste midway through cooking and adjust as needed.
5. Let Them Rest Before Serving
Once the apples are done, remove them from the heat and let them sit for 2–3 minutes. This rest time allows the syrup to thicken slightly and the flavors to deepen. Plus, it prevents burning your mouth on the first bite.
Serving Ideas

Stewed apples are incredibly versatile. They can swing from breakfast to dessert to savory dinner sides with ease. Here are some delicious ways to enjoy them:
- Over Breakfast Favorites: Spoon over pancakes, waffles, French toast, or oatmeal. The warm cinnamon-spiced apples melt into the base, creating a naturally sweet topping.
- As a Dessert: Serve warm over vanilla ice cream, pound cake, or cheesecake. Add a drizzle of caramel for an extra treat.
- With Savory Dishes: Pair with roasted pork, turkey, or chicken. The sweetness balances the richness of the meat beautifully.
- In Pastries: Use as a filling for hand pies, turnovers, or crepes.
- As a Standalone Snack: Serve in a bowl with a sprinkle of extra cinnamon or a dollop of whipped cream.
Variations to Try
If you want to twist your stewed apples, try one of these creative variations. Each one adds a new layer of flavor while keeping the heart of the recipe intact.
| Variation | How to Make It | Flavor Profile |
| Maple Stewed Apples | Replace sugar with pure maple syrup. | Rich, earthy sweetness with a hint of caramel. |
| Honey-Spiced Apples | Use honey instead of sugar and add a pinch of ginger. | Warm, floral sweetness with a gentle spice kick. |
| Apple-Berry Blend | Add ½ cup fresh or frozen berries during the last 5 minutes of cooking. | Tart, fruity brightness with bursts of berry flavor. |
| Nutty Crunch | Stir in ¼ cup chopped pecans or walnuts before serving. | Buttery crunch that pairs perfectly with the soft apples. |
| Bourbon-Glazed Apples | Add 2 tablespoons of bourbon during the caramelization stage. | Deep, smoky-sweet flavor with a hint of warmth. |
| Vanilla Bean Apples | Stir in the seeds from one vanilla bean or 1 tsp vanilla extract after cooking. | Soft, aromatic sweetness that enhances the apple flavor. |
Final Thoughts
This stewed apples recipe proves that the simplest dishes often hold the most comfort. With just a handful of ingredients, a skillet, and a little patience, you can create something that fills your kitchen with warmth and your table with smiles.
Whether you serve them as a nostalgic dessert, a breakfast topping, or a sweet side dish, these apples deliver on flavor, aroma, and texture every single time.
If you’re anything like me, once you make them, they’ll become a regular in your cooking routine, especially in the cooler months when cozy, spiced recipes are what we crave most.
👉 More Cozy Apple Recipes to Try
If you loved these stewed apples, here are a few more cozy apple recipes you’ll want to try next:
- 🍩 Delicious Apple Fritter Recipe for Gen Z Bakers – Crispy, sweet, and glazed to perfection.
- 🍞 Cozy 15-Min Prep Apple Cinnamon Bread Recipe – Soft, moist, and swirled with cinnamon sugar.
- 🍏 Best Ever 5-Step Caramel Apples Recipe for Fall – Fun, festive, and perfect for seasonal gatherings.