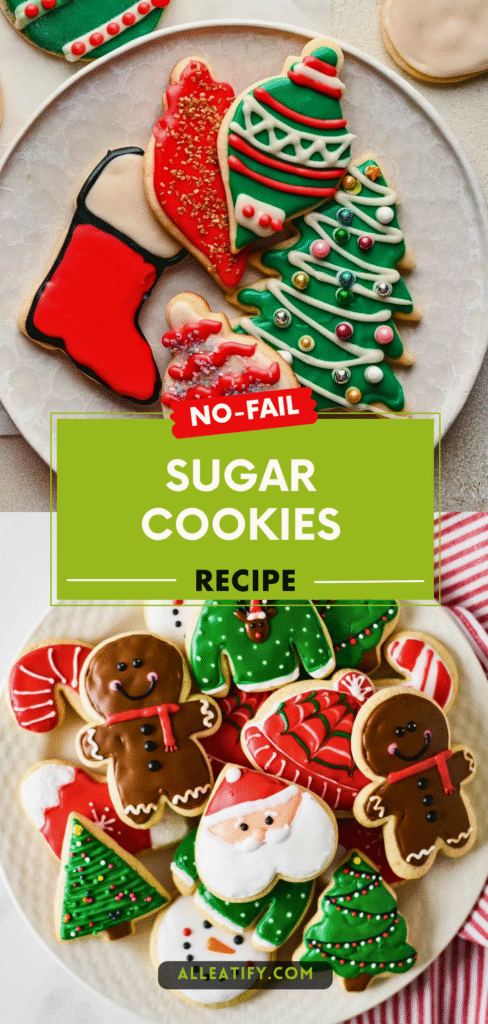
Easy 30-Min Sugar Cookies Recipe for Holidays in 2026
It’s cookie season, y’all, that magical time of year when the oven stays busy and the air smells like butter, sugar, and joy. And honestly, is there anything more iconic than classic sugar cookies?
Whether you’re baking with family, planning a holiday cookie exchange, or just craving something sweet with your evening coffee, sugar cookies never disappoint.
They’re soft yet slightly crisp, buttery but not heavy, and perfect for decorating with icing, sprinkles, or a touch of holiday sparkle.
This easy sugar cookie recipe is everything you need to make bakery-quality cookies right at home. It’s simple, tried, and tested with a few secret ingredients that make all the difference.
So grab your mixing bowl, roll up your sleeves, and let’s bake some homemade sugar cookies that’ll make this holiday season extra special.
Why Sugar Cookies Are a Holiday Essential
Sugar cookies are the ultimate holiday classic, simple, nostalgic, and endlessly customizable. Every bite brings that perfect balance of buttery softness, sweetness, and comfort that feels like home.
But what truly makes sugar cookies special isn’t just their taste; it’s their versatility and tradition.
Here’s why sugar cookies are a must-bake during the holiday season:
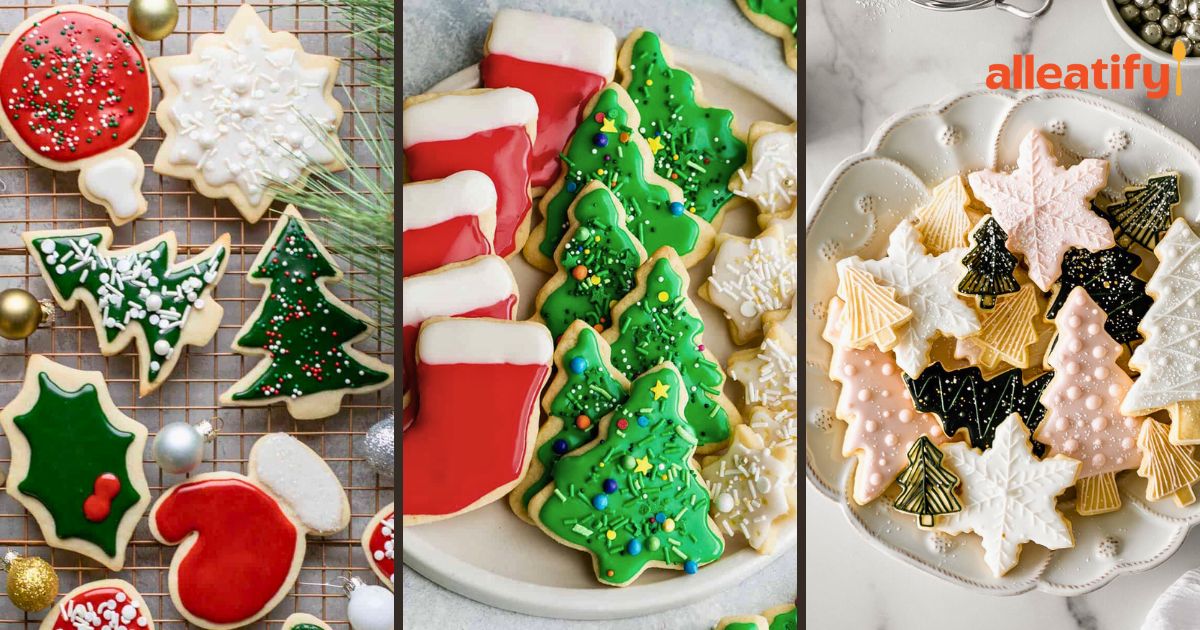
- Timeless Tradition: Sugar cookies have been a staple of Christmas baking for generations. Whether shaped into stars, snowflakes, or trees, they capture the magic of the holidays in every form.
- Perfect Canvas for Creativity: Their smooth, flat surface makes them ideal for decorating with royal icing, colorful sprinkles, or edible glitter. You can turn each cookie into your own edible artwork.
- Simple Yet Elegant: With just a few basic ingredients, you can create cookies that look professional and taste incredible, no advanced baking skills required.
- Customizable Flavor: The combination of vanilla extract and a hint of almond extract gives sugar cookies a delicate aroma that can be adjusted to suit your personal taste.
- Great for Sharing: Few treats bring people together like homemade sugar cookies. Baking and decorating them with loved ones is a cozy, memory-filled ritual that defines the season.
From the first creamy bite to the fun of decorating, sugar cookies are more than a dessert. They’re a warm reminder that the sweetest moments come from the simplest traditions.
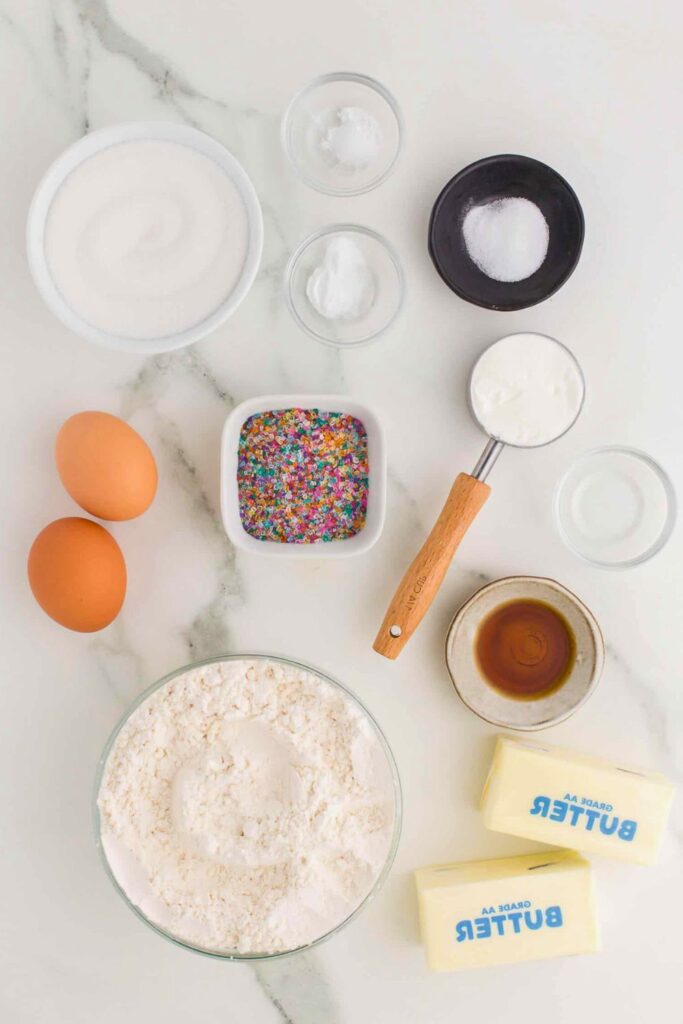
Ingredients of Sugar Cookies
| Ingredient | Quantity | Purpose / Notes |
| Unsalted Butter | 1 cup (softened) | Adds richness and tender texture; use room-temperature butter for a smoother mix. |
| Cream Cheese | 3 oz (softened) | Secret ingredient that adds tanginess and prevents cookies from becoming overly sweet. |
| Granulated Sugar | 1 cup | Sweetens the dough and helps create that pale, buttery color. |
| Egg | 1 large | Provides structure and moisture, keeping cookies soft. |
| Egg Yolks | 2 | Add richness and give a melt-in-the-mouth texture. |
| Vanilla Extract | 1 tsp | Adds warmth and depth to the cookie flavor. |
| Almond Extract | ½ tsp | Enhances aroma and gives cookies that signature holiday flavor. |
| Kosher Salt | ½ tsp | Balances sweetness and brings out other flavors. |
| All-Purpose Flour | 2½ cups | The dough’s primary structure provides firmness and shape. |
| Baking Powder | ½ tsp | Helps the cookies rise slightly and stay light. |
| Cream of Tartar | ½ tsp | Adds acidity to prevent browning and ensures a soft, snappy texture. |
How to Make Sugar Cookies (Step-by-Step Guide)
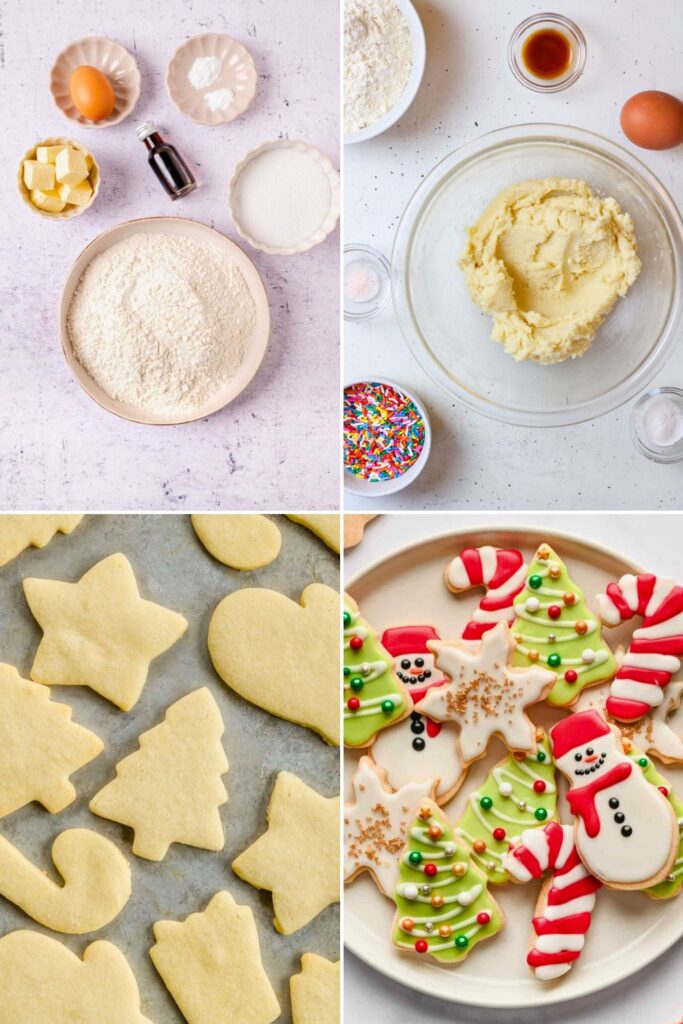
There’s something magical about homemade sugar cookies. The creamy dough, the sweet scent of vanilla, and the joy of decorating each one all feel festive and comforting.
Whether you’re a seasoned baker or just starting, this guide breaks down every step with clear directions and simple tips from a tried-and-true recipe.
Let’s roll into it, literally!
Step 1: Cream the Butter, Sugar, & Cream Cheese
Start with the most essential part of any good cookie: the base mixture. This step sets the tone for the entire batch.
- Use softened butter, not melted. Melted butter creates greasy, spread-out cookies, not what we want.
- Add in your granulated white sugar. We’re using white sugar specifically because it helps the dough stay light in color and creates that signature sugar cookie texture.
- Now for the secret ingredient: cream cheese. It adds a subtle savory tang and gives the cookies richness without overwhelming sweetness.
Cream the butter, sugar, and cream cheese together for a solid 5 minutes. It should look pale, fluffy, and smooth. Don’t rush this; we’re whipping air into the mixture, which will give your cookies a light and tender bite.
Pro Tip: If the sugar still feels gritty when you rub the mixture between your fingers, keep mixing. You want it smooth and airy.
Scrape down the sides of your bowl halfway through to make sure everything is evenly incorporated.
Step 2: Add Eggs & Flavor Extracts
Now it’s time to bring in moisture and flavor.
- Add 1 whole egg plus 2 extra egg yolks. The yolks make the cookies rich and soft, giving them that melt-in-your-mouth texture.
- Add vanilla extract for that cozy, familiar flavor.
- Then add a touch of almond extract, the second “secret weapon” in this recipe. A little goes a long way, so don’t overdo it.
Mix until the eggs and extracts are fully incorporated. The mixture will look silky and thick. You want everything combined before adding the dry ingredients.
Why both extracts? Vanilla provides warmth and sweetness, while almond gives the cookies a delicate, almost bakery-style finish. Together, they take the flavor to a whole new level.
Step 3: Add the Dry Ingredients
Time to turn that creamy base into cookie dough.
In a separate bowl, whisk together:
- All-purpose flour
- Kosher salt
- Baking powder
- And our third secret: cream of tartar
What’s cream of tartar for? It’s actually a byproduct of winemaking, a powdery acid left in wine barrels. In baking, it prevents cookies from over-browning, adds subtle chewiness, and improves texture.
Add the dry ingredients to the wet ingredients gradually. Start folding by hand with a spatula so the flour doesn’t fly everywhere. Once most of it is mixed in, switch to your mixer and beat just until incorporated.
Don’t overmix! You want to stop as soon as the flour disappears. Overworking the dough can make the cookies tough and ruin that delicate bite.
Step 4: Chill the Dough
Now pause. Chill time is essential.
Your dough will be soft, buttery, and just a bit sticky, exactly how we want it. Gather it into a rough ball, press it into a disk, and wrap it in cling film or plastic wrap.
Pop it into the fridge for at least 2 hours. Why?
- It firms up the butter.
- Hydrates the flour.
- Helps the cookies hold their shape when baked.
Bonus: You can make this dough a day ahead and refrigerate it overnight. It even freezes well for up to a month!
Step 5: Roll the Dough Like a Pro
Once your dough is chilled and firm, it’s time to roll.
- Work in batches, take out half the dough, and keep the other half in the fridge.
- Lightly flour your work surface and rolling pin.
- Press the dough gently with your palms before rolling. This helps flatten it evenly without cracks.
- Roll it to about ¼-inch thickness, the ideal balance between soft and crisp.
Rolling tip from culinary school: Turn the dough a quarter-turn after every few rolls. This helps keep the shape even and prevents sticking.
No ruler? No problem! Use bottle caps as makeshift guides. Line them up beside your dough to check if it’s evenly rolled out.
Step 6: Cut the Cookies
Time for the fun part, cutting shapes!
- Flour your cookie cutters before each use to prevent dough from sticking.
- Press down and give them a little shimmy to ensure they’ve cut clean through.
- Remove the excess dough carefully, leaving the shapes behind on the floured surface.
Bright tip: If you’re cutting multiple shapes, press all your cutters down at once, then lift them together. This helps prevent the dough from dragging or tearing.
Save your dough scraps! Just gather, re-roll, and chill again before cutting more cookies.
Step 7: Chill Again Before Baking
Before you pop them in the oven, chill the cut-out cookies again.
Transfer the cookies to a parchment-lined baking sheet and refrigerate for 15–20 minutes.
This extra chill step:
- Prevents spreading in the oven
- Keeps your cookie shapes sharp and clean
- Helps them bake more evenly
Trust us, this step makes a big difference!
Step 8: Bake to Perfection
Preheat your oven to 350°F (175°C).
Once the cookies are chilled and ready, bake them for 8 to 10 minutes, depending on their size.
What you’re looking for:
- Edges should stay pale. No golden brown here, sugar cookies should be soft and light.
- The center may look slightly underbaked when you pull them out, but they’ll continue to set as they cool.
Let them sit on the baking sheet for 2–3 minutes, then transfer to a cooling rack. Let them cool completely before decorating.
Step 9: Make the Perfect Royal Icing
Now it’s time to make those cookies shine literally.
Royal icing is simple, elegant, and dries firm, making it perfect for cookie decorating.
You’ll Need:
- Sifted powdered sugar
- Pasteurized egg whites (or meringue powder)
- A splash of vanilla extract
- A pinch of salt
- Water (for adjusting consistency)
- Gel food coloring (optional but fun!)
Start by placing the powdered sugar in a bowl. Add the egg whites, salt, and vanilla, but set them aside in one corner of the bowl. Begin mixing from that side and gradually incorporate more sugar as you go. This method helps prevent lumps.
Royal Icing Consistency Tips:
- Thick icing is best for piping borders or writing.
- Flood icing is a thinner version that spreads across the cookie’s surface for a smooth finish.
Start thick; you can always thin it later with drops of water. If you’re using food coloring, add it now. Gel coloring is best because it won’t thin out your icing.
Cover your icing with plastic wrap when not in use; it dries fast!
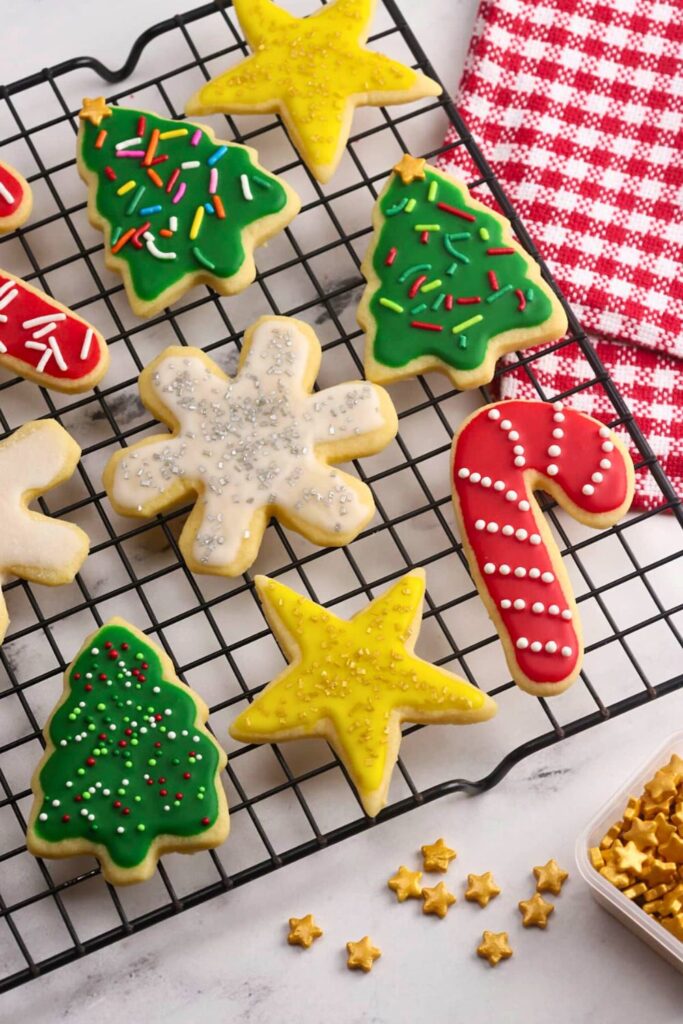
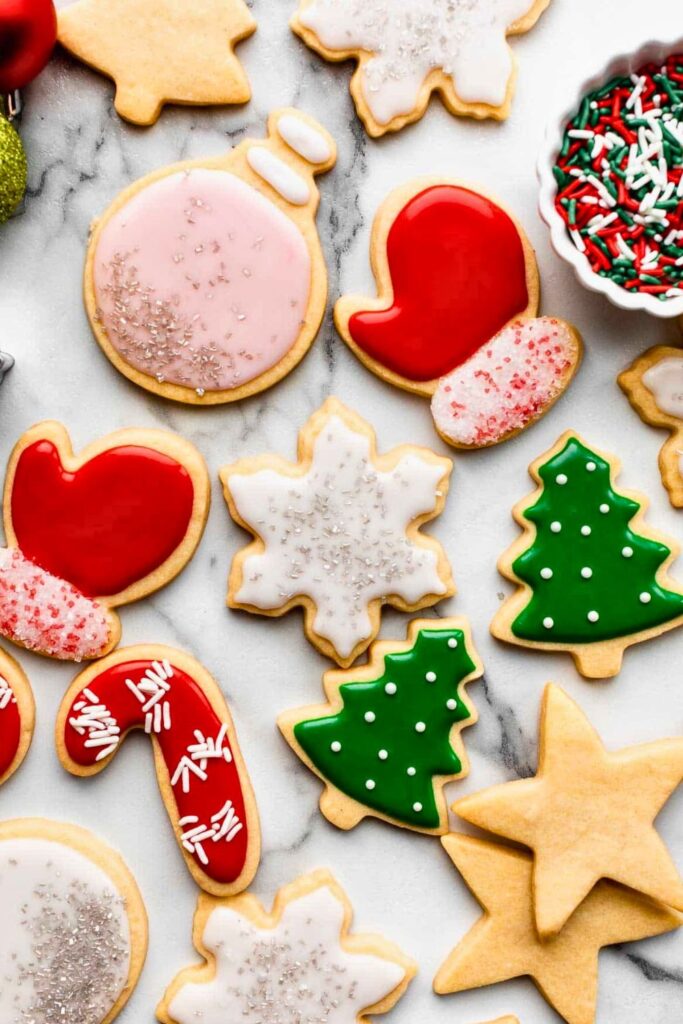
Step 10: Decorate Like a Pro
Let the cookie canvas begin!
You have two options for applying icing:
1. Dipping: Dip the entire top of a cookie into your flood icing. Let the excess drip off, then set it on a rack or parchment to dry.
2. Flooding with Piping: Pipe a border using thicker icing, then fill the center with flood icing. Use a toothpick to spread it evenly and pop any air bubbles.
Want to layer sprinkles or designs?
- Add sprinkles while the icing is wet.
- If adding designs on top (like polka dots, lines, or writing), let the base layer dry for 15–30 minutes first.
Decorated cookies will need 4–6 hours (or overnight) to fully dry and set.
Extra Tips for Perfect Sugar Cookies
Even a simple sugar cookie can go from good to amazing with the right little tricks. These small details make a big difference in texture, shape, and flavor.
If you’ve ever wondered how to get that bakery-style perfection at home, these expert-tested tips will help you every time you bake.
- Always chill your dough. Cold dough is easier to roll, holds its shape, and prevents spreading during baking.
- Keep your butter at room temperature, not melted. Softened butter creams perfectly with sugar, creating light and airy cookies.
- Work in batches. While one batch bakes, keep the remaining dough in the fridge to maintain its firmness.
- Use parchment paper. It ensures even baking and helps cookies stay flat and smooth.
- Avoid overmixing. Once the flour is in, mix just until combined to keep the cookies tender.
- Measure precisely. A little too much flour can dry out your dough; too little can cause your cookies to spread.
- Try different extracts. Vanilla and almond are classics, but lemon, peppermint, or orange can make your cookies extra special.
- Mind your icing. Royal icing dries fast. Keep it covered with plastic wrap and adjust with a few drops of water if it thickens.
- Patience matters. Let icing set completely before stacking or storing to keep that perfect glossy finish.
With these tips, every batch of sugar cookies will look gorgeous, taste amazing, and stay soft for days.
Serving Ideas
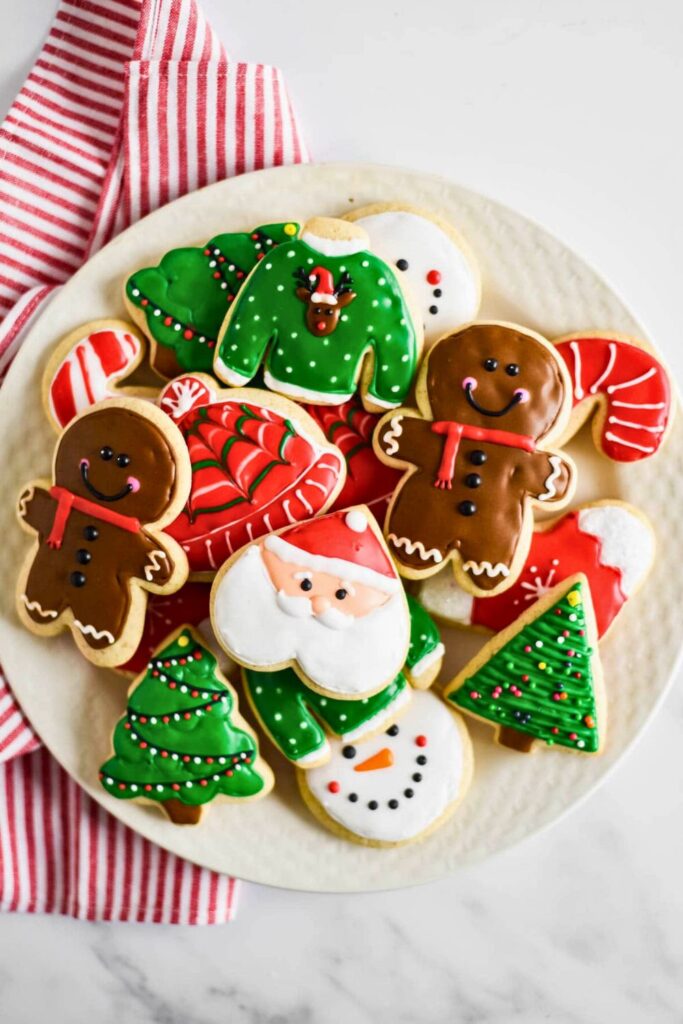
Sugar cookies are incredibly versatile, perfect for every occasion and mood. You can:
- Serve them plain with coffee or tea for a simple afternoon treat.
- Arrange them on a holiday dessert platter alongside gingerbread, snickerdoodles, and chocolate crinkles.
- Wrap a few in clear treat bags with ribbons for thoughtful homemade gifts.
- Use them as place cards at parties by piping names with royal icing.
- Create a cookie-decorating station for kids or friends, a fun, hands-on holiday activity.
- Crumble them over ice cream or yogurt for a sweet, buttery topping.
Variants of Sugar Cookies
| Variant Name | Key Differences / Ingredients | Flavor Profile & Notes |
| Classic Sugar Cookies | Uses vanilla and almond extract; decorated with royal icing | Soft, buttery, and lightly sweet, the traditional favorite |
| Lemon Sugar Cookies | Add lemon zest and juice instead of almond extract | Fresh, zesty, and bright, perfect for spring or summer |
| Cinnamon Sugar Cookies | Mix cinnamon into the dough or sprinkle it before baking | Warm, aromatic, and cozy, ideal for fall baking |
| Brown Sugar Cookies | Substitute half the white sugar with brown sugar | Deeper caramel flavor and a slightly chewy texture |
| Gluten-Free Sugar Cookies | Replace flour with a gluten-free baking blend | Same buttery taste, suitable for dietary needs |
| Frosted Sugar Cookies | Top with creamy buttercream instead of royal icing | Soft, rich, and decadent bakery-style sweetness |
| Chocolate-Dipped Sugar Cookies | Dip half of each cookie in melted chocolate | Elegant and indulgent with a perfect flavor contrast |
| Peppermint Sugar Cookies | Add crushed peppermint candy or extract | Refreshing, festive, and a Christmas-time favorite |
Each version keeps the essence of the classic soft, sweet, and buttery while adding its own seasonal twist or personal flair.
Final Thoughts: The Spirit of Holiday Baking
When the oven warms the kitchen and you smell butter and vanilla in the air, that’s when the holidays truly begin.
Baking sugar cookies isn’t just about dessert; it’s about tradition, creativity, and connection.
Each batch tells a story of laughter, flour-covered counters, and memories shared over sweet treats.
So take your time. Play with the icing. Bake extra for neighbors or friends.
Because at the end of the day, it’s not about perfection,n it’s about the joy baked into every bite.
Recommended Recipes You’ll Love
Looking for more cozy holiday bakes to add to your cookie platter? Here are a few must-try favorites that pair beautifully with sugar cookies:
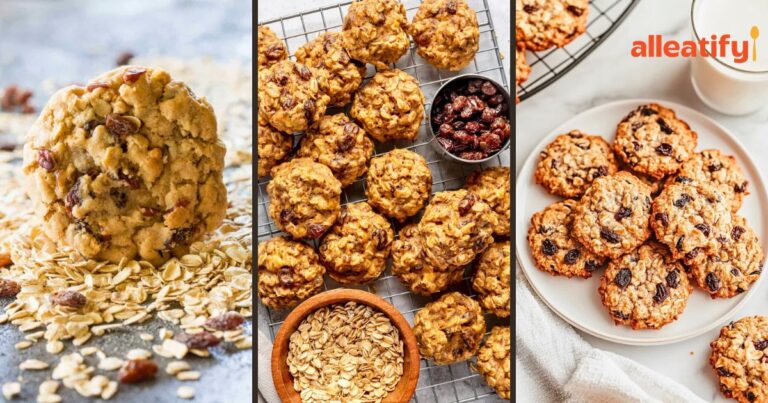
- 🍪 Classic Gingerbread Cookies Recipe for the Holidays – Soft, spiced, and full of warm holiday flavors. Perfect for decorating or dipping in coffee.
- 🍥 Soft Snickerdoodle Cookies Recipe for Busy Moms – Quick to make, chewy in the center, and coated in cinnamon sugar, a true crowd-pleaser.
Add these to your baking list and turn your kitchen into a festive cookie workshop this season!