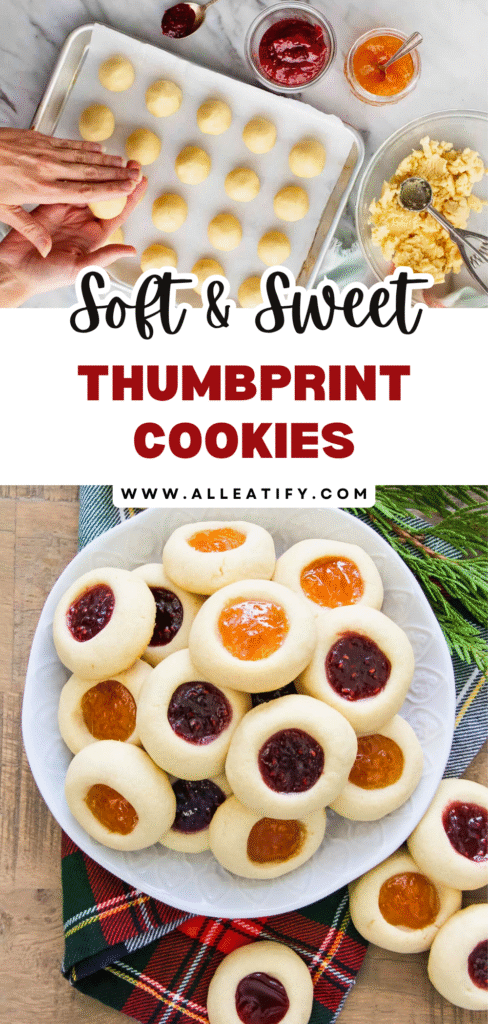
Quick & Easy Thumbprint Cookies Recipe for Christmas in 2026
Thumbprint cookies are small, buttery treats that bring instant holiday cheer. Each cookie has a soft, melt-in-your-mouth texture and a tiny pool of jam in the center. They look fancy but are surprisingly simple to make.
These cookies have been around for generations. You’ll often find them on Christmas trays, cookie exchanges, or tucked into gift boxes during winter. Their charm comes from how personal they feel, each one pressed by hand and filled with your favorite jam flavor.
If you love baking that feels cozy and homemade, this recipe is perfect for you. It’s easy, fun, and delivers bakery-style cookies right from your kitchen. Let’s start baking!
The Charm Behind Thumbprint Cookies
There’s a timeless magic in thumbprint cookies, the kind that instantly makes you think of warm kitchens, family gatherings, and sweet, buttery aromas drifting through the air. These cookies are the ultimate blend of simplicity and nostalgia.
They start with a dough that feels like soft shortbread, rich, buttery, and delicate, but with a twist. The addition of egg yolks makes them slightly more substantial, giving each cookie a soft crunch outside and a tender center that melts as soon as you take a bite.
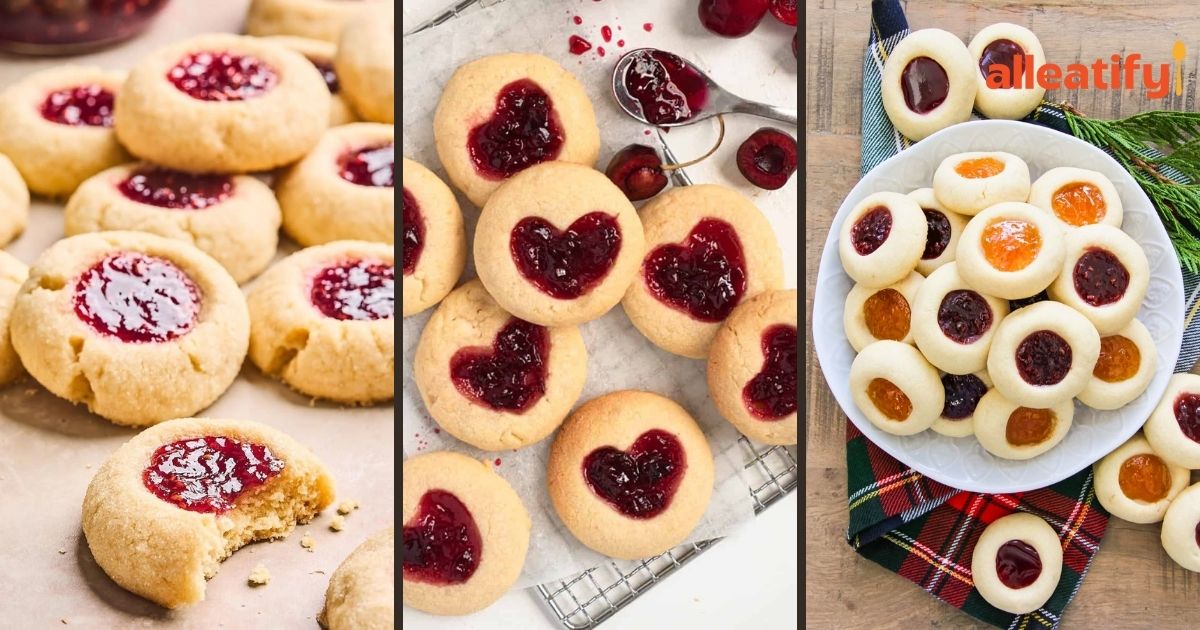
What truly sets these cookies apart is their personality. Each one carries a unique little pool of jam: ruby-red raspberry, golden apricot, deep purple blackberry, or even fig if you’re feeling fancy.
That glossy center doesn’t just add color; it adds a burst of flavor that perfectly balances the buttery dough.
And the best part? Thumbprint cookies invite creativity. You can roll them in sugar for sparkle, shape them into hearts, or fill them with chocolate or caramel instead of jam.
No matter how you make them, they always bring that same cozy, homemade charm that never goes out of style.
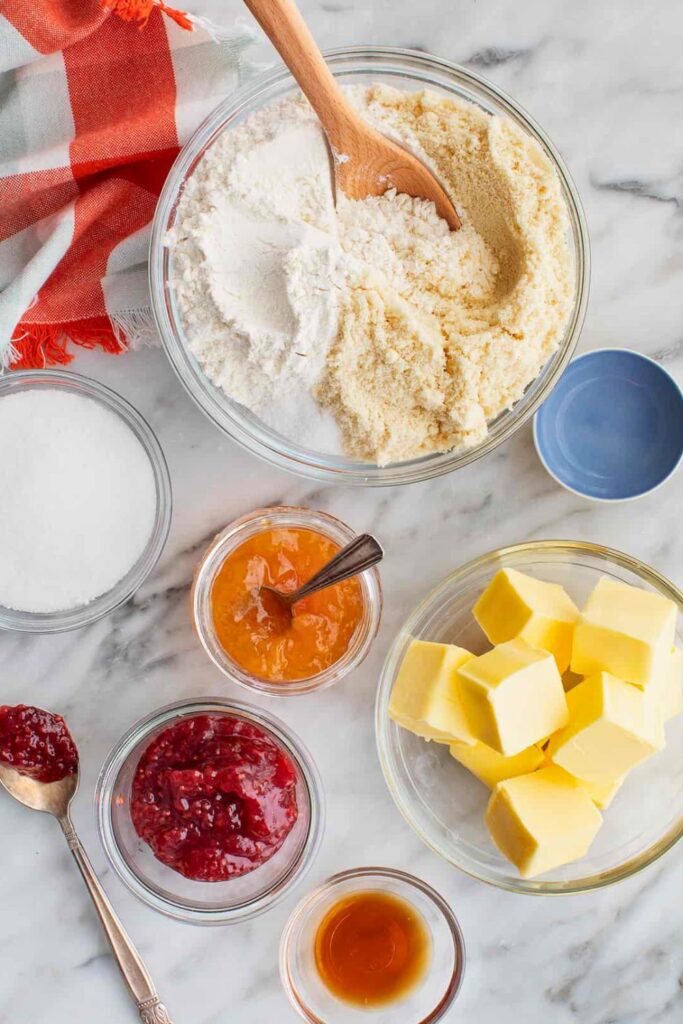
Ingredients You’ll Need
| Ingredient | Amount | Purpose / Notes |
| Unsalted butter | 1 cup (226 g), room temperature | Gives the cookies their buttery, rich flavor and tender texture. |
| Granulated sugar | ¾ cup (150 g) | Adds sweetness and helps create a light, creamy dough. |
| Egg yolks | 2 large | Add richness and structure while keeping the cookies soft and tender. |
| Vanilla extract | 1 teaspoon | Enhances the cookie’s warm, sweet aroma. |
| Sea salt | ½ teaspoon | Balances sweetness and deepens flavor. |
| All-purpose flour | 3 cups (360 g) | The base that gives the dough its structure and form. |
| Jam or preserves | About ½ cup total | Fillings: try raspberry, apricot, blueberry, fig, or your favorite flavor. |
| Optional granulated sugar | For rolling | Adds sparkle and a subtle crunch before baking. |
How to Make Thumbprint Cookies (Step-by-Step Guide)
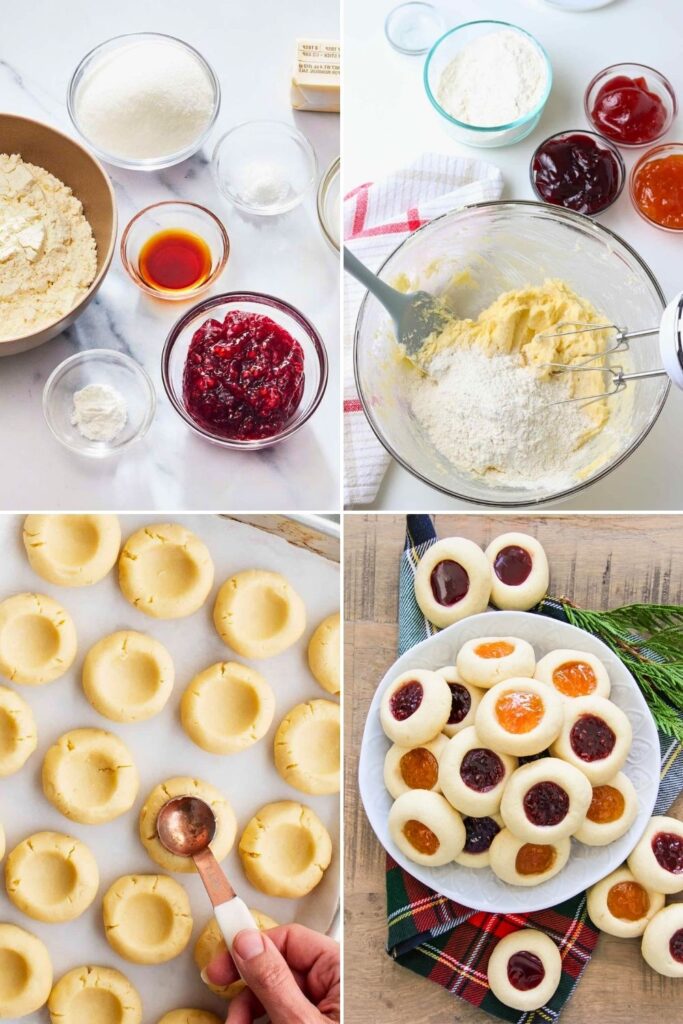
Let’s break down each step of this delicious journey from creaming the butter to the final jam-filled bake.
Every stage has its own little tips and tricks, so whether you’re baking with kids or prepping for a holiday cookie swap, you’ll get perfect results every time.
Step 1: Cream the Butter and Sugar
Start with room-temperature butter, not melted, not cold, but just soft enough that you can press your finger in and leave a dent. Drop 1 cup (226g) unsalted butter into the bowl of your stand mixer or use a large mixing bowl with a hand mixer.
Add ¾ cup (150g) granulated sugar. This combo of butter and sugar is the base of our cookie dough. Attach the paddle attachment if you’re using a stand mixer and beat everything on medium speed for about 1 minute.
You’re looking for a texture that’s smooth and creamy, not overly fluffy, but well-blended. At the same time, it’s mixing, separate the two eggs. We’ll only use the yolks here, which gives these cookies their rich, shortbread-like crumb.
Step 2: Add the Egg Yolks and Flavoring
Once the butter and sugar are well combined, add the two egg yolks, one at a time. Then add ½ teaspoon of sea salt for balance and 1 teaspoon of vanilla extract for that warm, sweet aroma.
Don’t forget to scrape down the sides of the bowl; it helps ensure everything mixes evenly. After a quick blend, you’ll have a soft, creamy dough base ready for flour.
This is also a great time to set aside the egg whites if you want to save them for later use. They’re perfect for omelets or meringue cookies later in the week.
Step 3: Add the Flour
Next, measure out 3 cups (360g) of all-purpose flour and slowly incorporate it into the dough. You can add it in thirds to prevent flour clouds or overmixing.
Mix on the lowest speed until the dough comes together. Overmixing at this stage can activate too much gluten, leading to tough cookies, whereas we aim for melt-in-your-mouth magic here.
Once it’s halfway mixed, stop the mixer and finish combining the dough by hand. It gives you more control and prevents overworking the flour. The final dough should feel like firm, pliable Play-Doh, smooth, clumpable, and not sticky.
Step 4: Customize Your Dough (Optional)
This is where you can have a little fun. Thumbprint cookies are a blank canvas. Here are a few creative tweaks you can make to the base dough:
- Spice it up: Add a pinch of cloves, cinnamon, or allspice for a warm holiday twist.
- Add texture: Mix in finely chopped nuts or zest for an extra layer of flavor.
- Get sparkly: Roll each dough ball in granulated or sanding sugar before baking for a festive crunch.
- Drizzle glaze: Once baked and cooled, drizzle with a simple powdered sugar glaze or melted chocolate for a bakery finish.
Think of the dough like your cookie foundation, as long as the core is solid, you can take it in lots of fun directions.
Step 5: Shape the Cookies
Use a 1-tablespoon cookie scoop to portion out the dough evenly. If you don’t have one, a regular spoon will do, just try to keep the size consistent so the cookies bake evenly.
Roll each scoop into a smooth ball using the palms of your hands. If the dough feels a little dry or crumbly, just keep rolling it gently. Your body heat will help soften and smooth it out.
Place the dough balls on a parchment-lined baking sheet, spaced about 2 inches apart. Now it’s time to make the signature “thumbprint.”
Using your thumb or index finger, gently press down in the center of each ball to form a shallow indent. Go slowly; if you press too hard or too fast, the dough may crack. If you do see cracks, don’t panic. Just pinch and smooth the edges with your fingers.
Step 6: Chill the Dough
This step is crucial for achieving perfect cookies. Once shaped, the cookies need to chill for at least 1 hour in the refrigerator, or 30 minutes in the freezer if you’re short on time.
Chilling helps the butter firm up again, which:
- Prevents spreading in the oven
- Keeps the indent shape intact
- Enhances the flavor and texture
You can even chill them overnight if you’re prepping ahead. Just make sure they’re covered lightly with plastic wrap or parchment to prevent drying out.
Step 7: Preheat the Oven
While your cookies are chilling, set your oven to 375°F (190°C) so it’s nice and hot when you’re ready to bake.
A fully preheated oven ensures the cookies start cooking right away, which helps maintain their shape and creates that ideal light golden edge.
Step 8: Fill with Jam
Once the dough is thoroughly chilled and your oven is ready, remove the baking sheets from the fridge.
Grab your favorite jam or preserves and a ½ teaspoon measuring spoon. Fill each indent with just enough jam to fill the space about half a teaspoon.
Don’t overfill! A little goes a long way, and too much can overflow and create a sticky mess on your tray.
Some jam ideas to try:
- Raspberry (classic and festive)
- Apricot (bright and fruity)
- Blueberry (deep and rich)
- Fig or guava (unique and exotic)
- Mixed berry or cherry (for Valentine’s or red-themed trays)
If you’re feeling particular, use a tiny spoon or pastry brush to neaten the edges of the filling.
Step 9: Bake to Perfection
Place the filled cookies into your preheated oven and bake for 12 to 14 minutes.
You’ll know they’re done when the edges turn lightly golden but the centers still look soft. Don’t wait for the jam to bubble; that’s a sign it’s overcooked.
Cookies should still be soft when they are removed from the oven. That’s perfect! They’ll continue to firm up as they cool.
If you made heart-shaped indents, keep an eye on them; they might bake slightly faster depending on their size and depth.
Pro Tip: Bake one tray at a time in the center of the oven for the most even results. Rotate the sheet halfway through if needed.
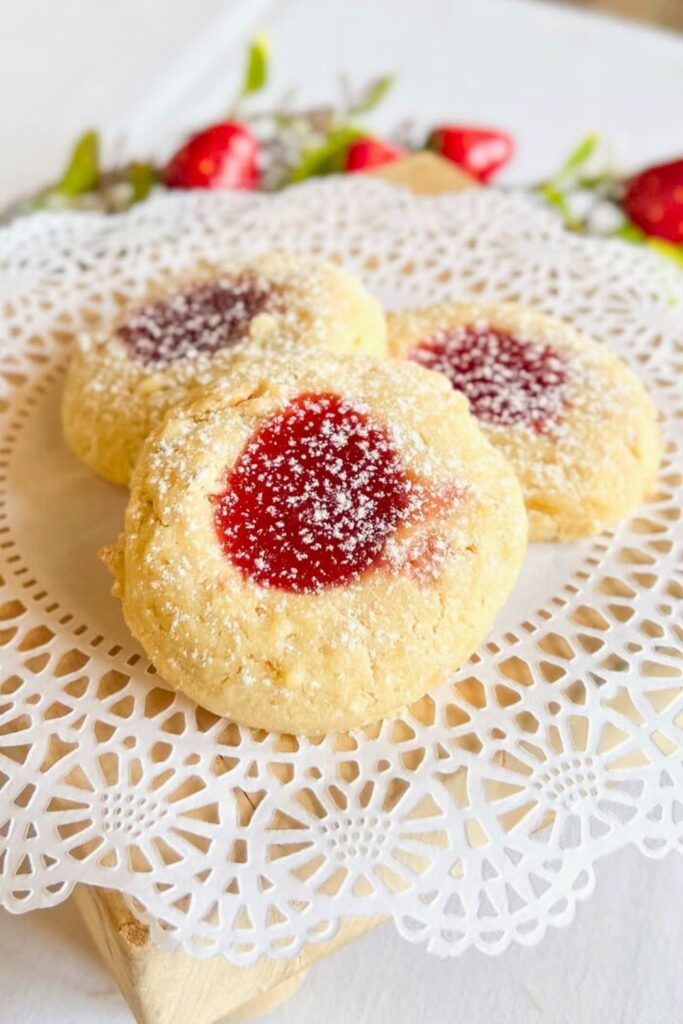
Step 10: Cool and Serve
Once baked, let the cookies sit on the baking sheet for about 5 minutes before transferring them to a cooling rack. The jam will be molten-hot straight out of the oven. Resist the urge to sample!
Once cooled completely:
- The jam sets into a glossy, chewy center
- The edges remain tender with a delicate crunch
- The flavors come together into perfect balance
Stack them gently in a cookie tin, arrange them on a serving plate, or box them up for gifting. They’re beautiful, delicious, and absolutely irresistible.
Troubleshooting: Common Thumbprint Cookie Issues
Even the simplest cookie recipes can have their share of hiccups. If your batch didn’t turn out quite picture-perfect, don’t worry, here’s how to diagnose what went wrong and how to fix it next time.
| Issue | Possible Cause | Quick Fix |
| The cookies spread too much | Butter was too warm, or the dough wasn’t chilled. | Always chill the dough for at least 1 hour before baking, and make sure the butter is just soft, not greasy. |
| Cracked edges around the thumbprint | Pressed too quickly or dough too cold. | Warm the dough slightly in your hands before pressing and applying gentle, slow pressure. |
| Jam overflowed | Added too much filling. | Use only about ½ teaspoon of jam, as it expands in the oven. |
| Dry or crumbly texture | Overmixed or too much flour. | Mix only until the dough just comes together. If the dough is crumbly, add 1 teaspoon of milk and knead lightly. |
| Flat or greasy cookies | Butter content is too high, or the oven is too cool. | Measure butter accurately and preheat the oven thoroughly before baking. |
| Pale bottoms | Under-baked or uneven heat. | Bake on the center rack and allow the cookies to stay until they are lightly golden at the edges. |
Tiny tweaks make a big difference. Once you learn the rhythm of this dough, it becomes almost foolproof.
Serving Ideas
Thumbprint cookies are versatile little treats that fit into any setting. Here are a few delightful ways to serve them:
- Classic dessert platter: Mix and match raspberry, apricot, and blueberry varieties for a vibrant display.
- Afternoon tea companion: Their buttery texture pairs beautifully with black tea or coffee.
- Holiday gift boxes: Arrange a few cookies in parchment-lined tins or small glass jars, then tie them with ribbons.
- Party favor bags: Wrap two or three cookies in cellophane with a festive tag, perfect for guests to take home.
- Dessert boards: Combine with biscotti, chocolate bark, and truffles for an elegant sweet grazing board.
- Ice cream topping: Crumble a few over vanilla or butter pecan ice cream for a quick dessert upgrade.
Whether served warm from the oven or presented beautifully at a party, these cookies consistently impress.
Tips for Holiday Baking Success
Holiday baking is part science, part celebration, and thumbprint cookies are no exception. To get bakery-perfect results while keeping your sanity intact, follow these time-tested tips:
- Plan. Bake in stages: make and chill the dough a day early, then fill and bake the next day. It saves stress during busy holidays.
- Use quality ingredients. Real butter and pure vanilla make a noticeable difference in flavor. Cheap substitutes can dull the taste.
- Measure precisely. A kitchen scale ensures accuracy, especially when measuring flour and butter. Even a slight imbalance can change the texture.
- Rotate your pans. Oven hot spots are real. Rotate halfway through baking so each cookie gets an even golden finish.
- Cool before stacking. Let cookies cool fully so the jam sets. Stacking them too soon can cause sticking or smudging.
- Mix jam colors. Red, orange, and purple jams look stunning together, perfect for Christmas cookie trays or gift boxes.
- Double the batch. These go fast! Making extras ensures you have plenty to share (and keep a few for yourself).
A little preparation and attention go a long way toward stress-free, joy-filled baking days.
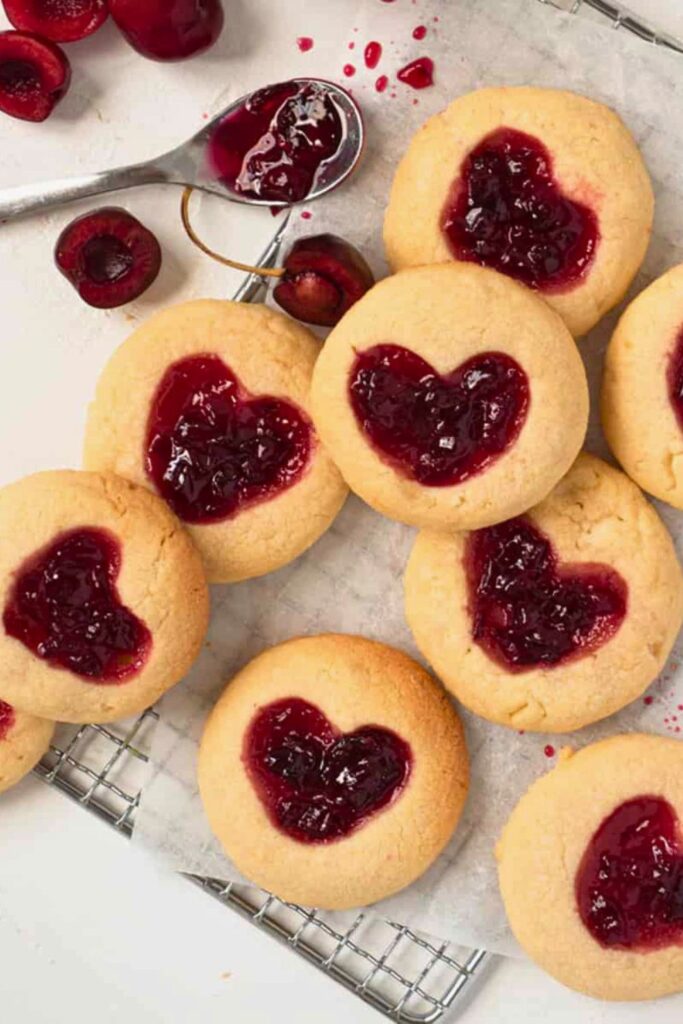
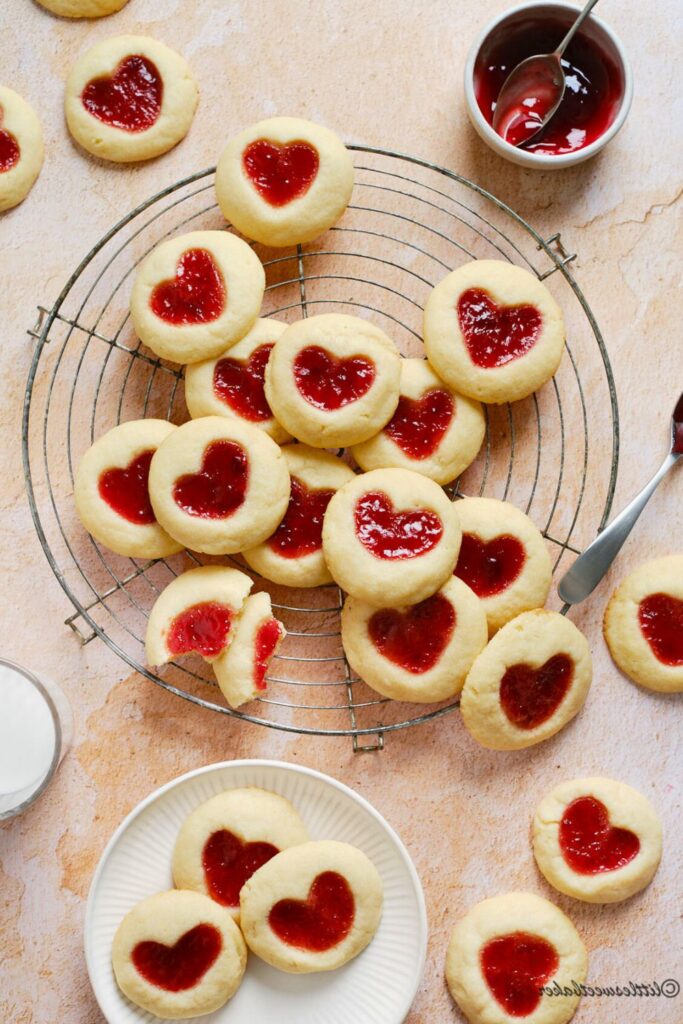
How to Make Heart-Shaped Thumbprint Cookies
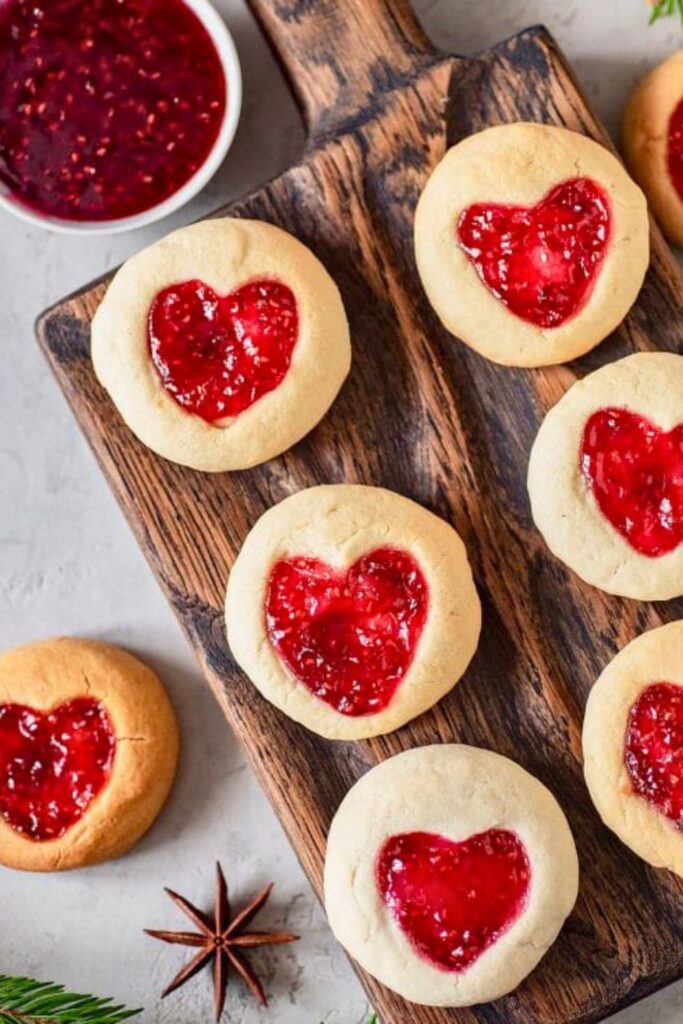
Want to add a touch of whimsy to your cookie tray? Try heart-shaped thumbprint cookies; they’re adorable, festive, and surprisingly easy to shape.
- Roll and prep: Start with chilled dough rolled into smooth balls. Place them on a parchment-lined baking sheet as usual.
- From the heart: Instead of pressing once with your thumb, use your pinky or index finger twice, once diagonally left, once diagonally right, to form the top of the heart.
- Smooth the edges: If the bottom of the heart looks rough, gently pinch it to create a point. Don’t worry if it’s imperfect; the jam will hide minor flaws.
- Fill carefully: Spoon a tiny amount of red or pink jam (raspberry or strawberry works best) into the indent.
- Chill and bake: Follow the exact chilling and baking instructions at 375°F for 12–14 minutes.
When they come out, you’ll have cookies that look like little edible love notes, perfect for Christmas, Valentine’s Day, or as a sweet homemade gift.
Final Thoughts
If you’ve been searching for an easy, fail-proof thumbprint cookies recipe, this is it. Buttery, tender, sweet, and full of flavor, these cookies will steal the show at any gathering.
Bake them once, and they’ll become your family’s new holiday tradition. So grab your mixing bowl, pick your favorite jam, and let’s make something that tastes like comfort, love, and celebration all in one bite.
More Cozy Cookie Recipes You’ll Love
If you enjoyed making these thumbprint cookies, you’ll fall in love with these festive favorites too:
- 🍪 15-Min Prep Red Velvet Cookies Recipe for Holidays: Soft, chewy, and full of Christmas charm.
- 🥜 Quick 25-Min Peanut Butter Blossom Cookies Recipe: Buttery peanut cookies topped with a chocolate kiss.
- 🍫 Easy & Chewy Monster Cookies Recipe You’ll Love: Packed with oats, peanut butter, and colorful chocolate candies.
Each of these recipes brings a touch of holiday sweetness, making your cookie platter look absolutely irresistible.